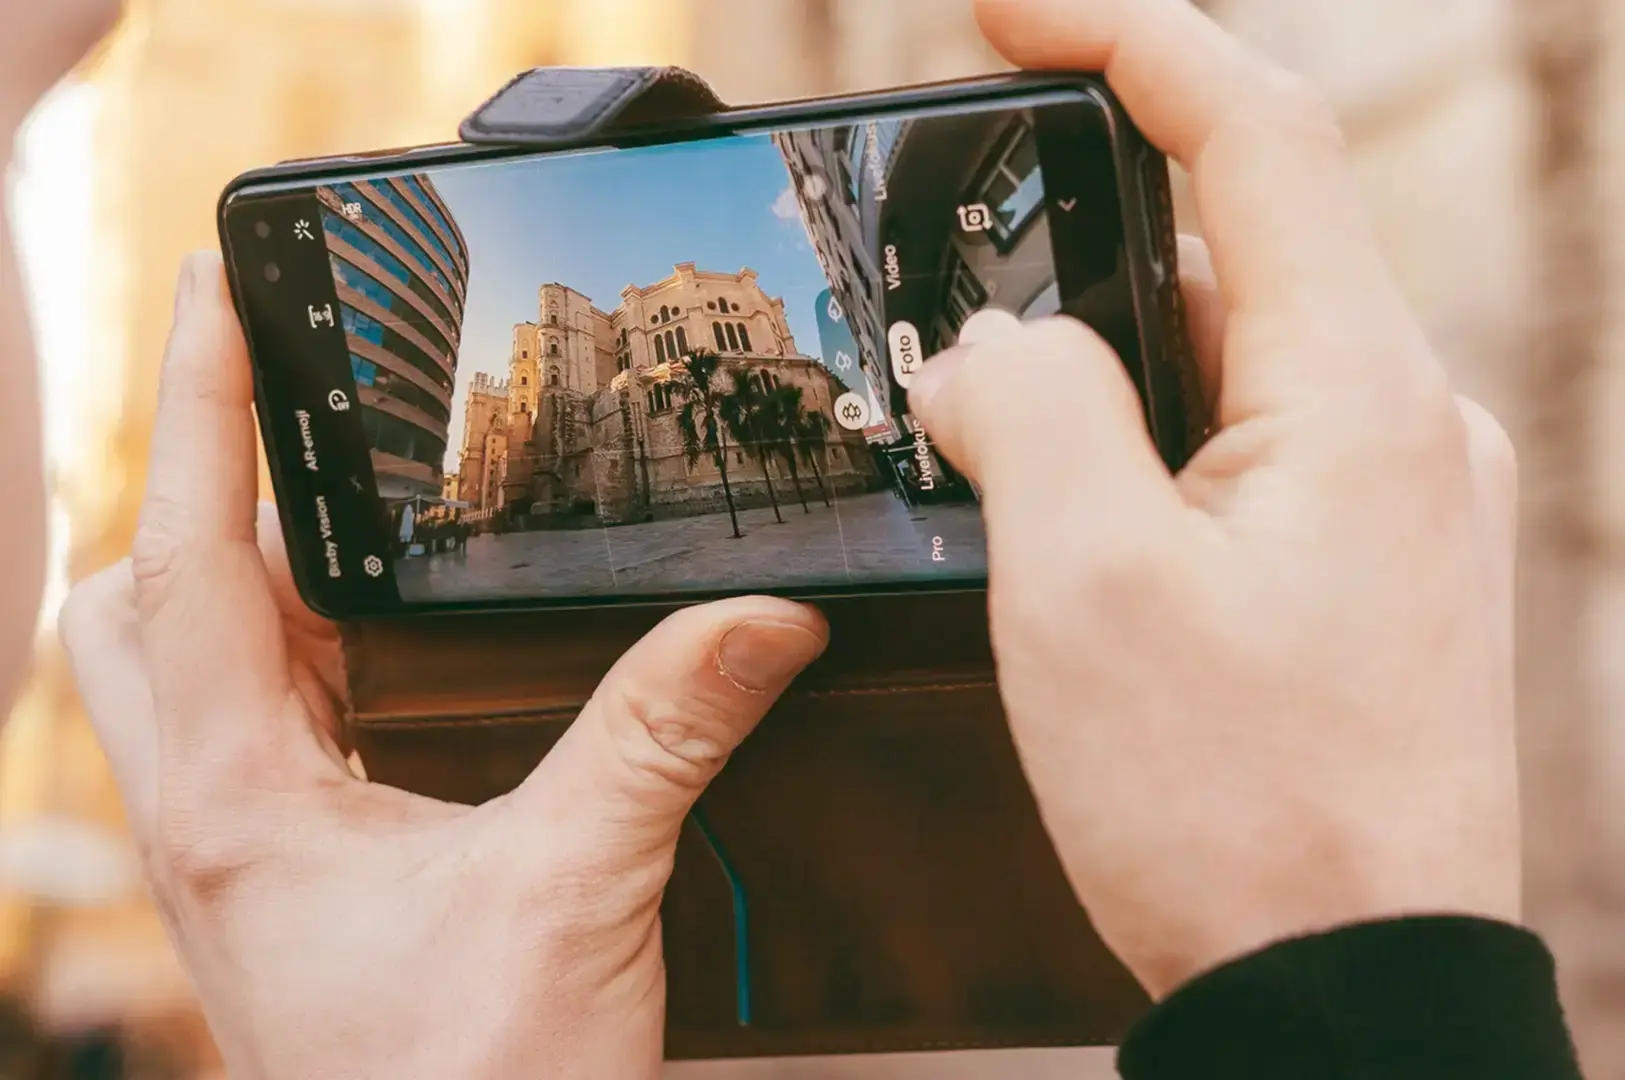
My first real photography purchase after my phone was a lens kit. You know the type — a little pouch with a fisheye, a macro, a wide-angle, all clipping onto the smartphone camera. It cost me less than a nice dinner, and I was convinced it would transform my photos and enhance my mobile photography skills.
I used it exactly twice.
The fisheye distorted everything. The wide-angle had soft, mushy edges. The macro sort of worked, but my phone already did most of that natively. The kit lived in a drawer for two years before I finally gave it away.
That little mistake taught me the one principle I keep coming back to: buy an accessory because you’ve hit a real problem, not because another photographer in the creative industry has it in their bag. Everything below flows from that idea. Whether you use ab iPhone or a samsung, this will help you improve your art.
First, Do You Even Need Smartphone Photography Accessories?
Honestly? Probably not to start.
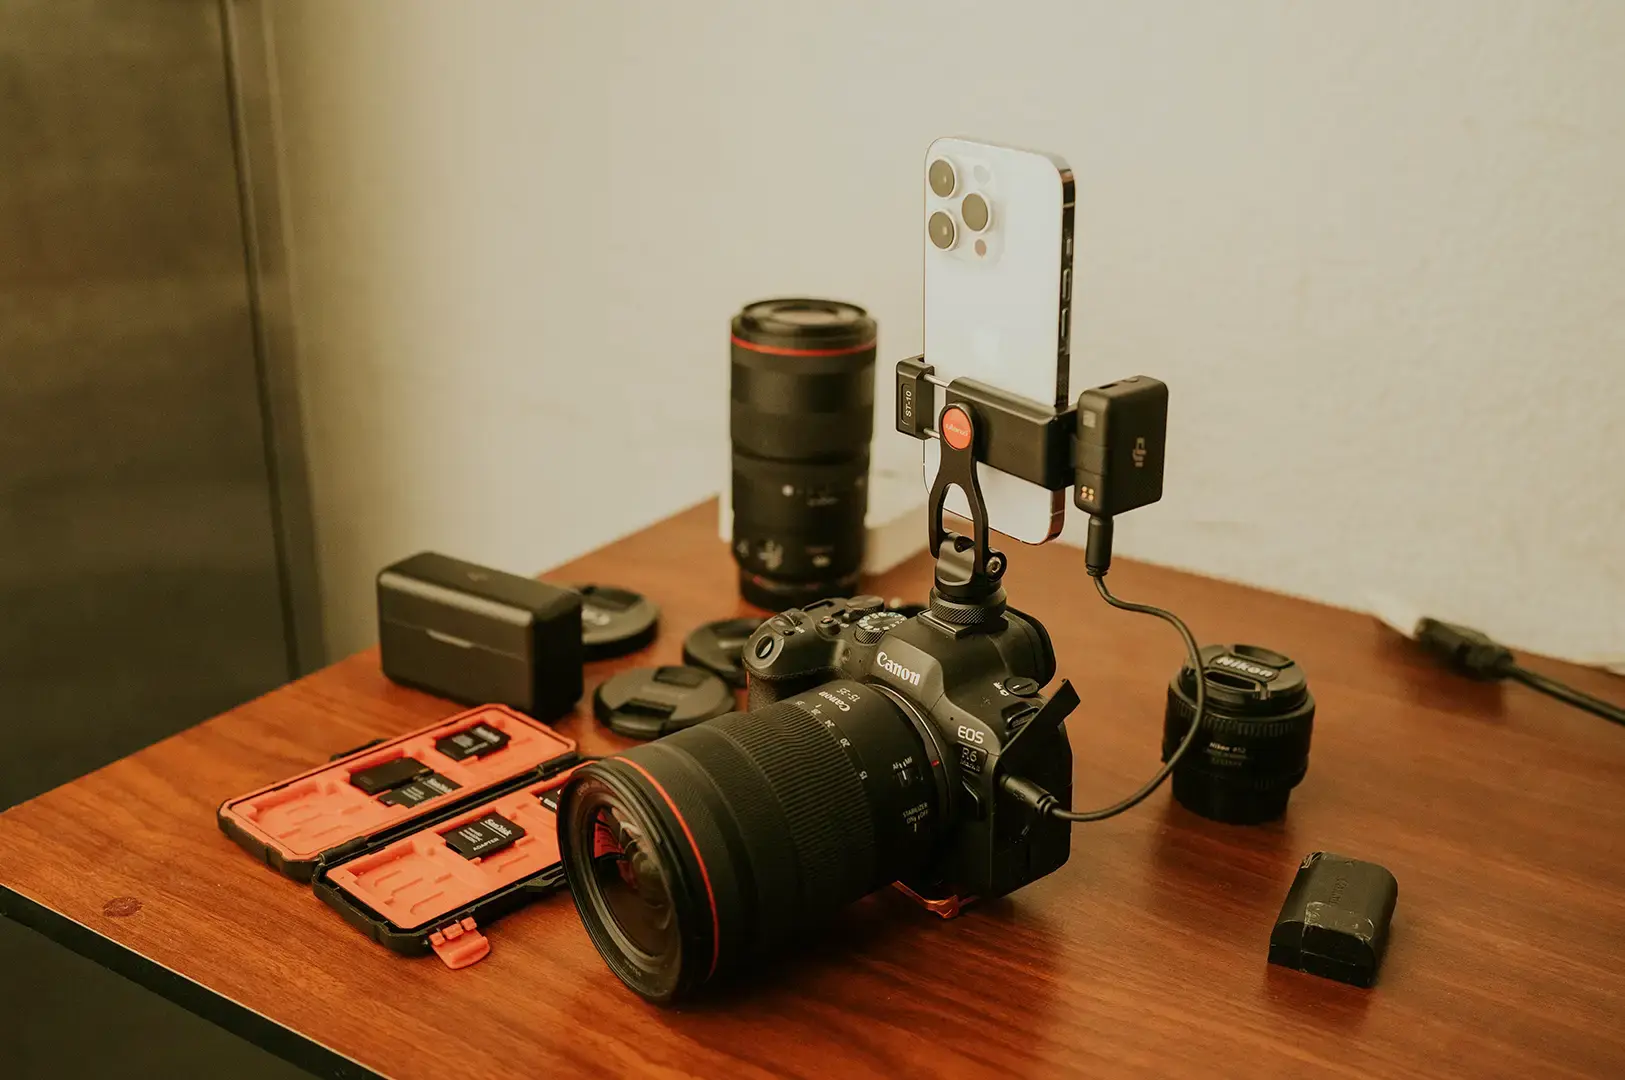
Modern smartphones already handle exposure, HDR, stabilisation, and multiple focal lengths beautifully. An accessory only earns its place when it solves a specific limitation your phone can’t. Blurry low light shots. Dark restaurant food. Shaky walking videos. A dead battery halfway through the day.
If you don’t have the problem yet, you don’t need the fix yet. Keep that in mind as you read.
The Compact Tripod
If I could recommend only one accessory for a still photographer, it would be this. A compact tripod solves camera shake, opens up long exposures with slower shutter speed, and lets you photograph yourself without begging a stranger.
I’ve found the affordable options in Singapore are genuinely good. Cathay Photo lists Ulanzi phone tripods around S$27–S$40, with sturdier models climbing toward S$70. You don’t need to spend more than that.
When you’re choosing one, look for a solid phone clamp, an adjustable angle, metal rather than flimsy plastic, and rubberised feet. If you shoot yourself often, one with a bundled Bluetooth remote shutter saves you a separate purchase.
The Small LED Light
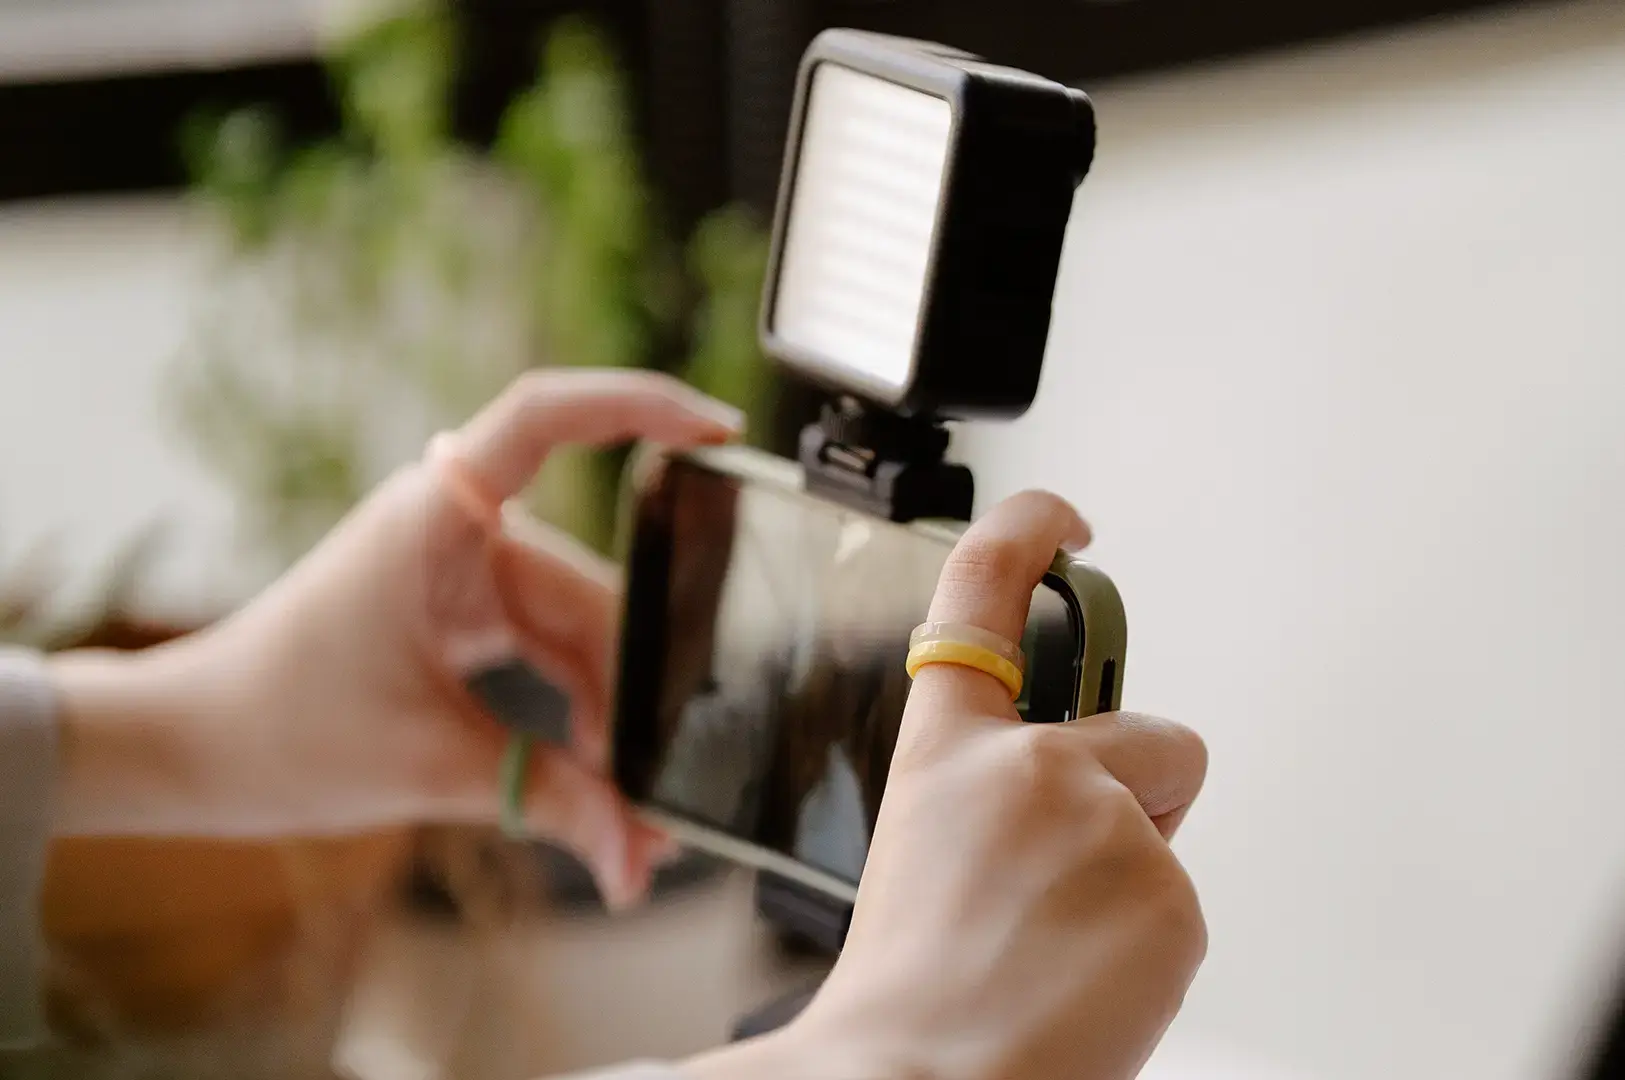
This is the accessory that most genuinely changed my photos and helped me create high quality photography. A small LED lets you shape lighting instead of relying on whatever a restaurant throws at you from the ceiling.
The Ulanzi VL49 is my go-to recommendation — around S$25 at Cathay Photo for the RGB version, a little less for the plain one. It’s tiny, charges over USB-C, and lets you adjust brightness and colour temperature. That last part matters more than you’d think, because Singapore’s dining spaces swing wildly from cold fluorescent hawker lighting to warm, dim café interiors.
Skip the front-facing ring light for food. It flattens everything. A small LED positioned to the side or slightly behind your dish creates far more depth. Typical useful budget: S$20–S$60.
The Phone Grip
A grip won’t improve your image quality one bit. What it improves is how confidently and steadily you hold the phone — and that shows up in your photos indirectly.
I reach for mine when I’m walking Chinatown for a few hours, shooting quickly on the street, or working one-handed. It makes the phone feel like a camera rather than a slippery slab. Just avoid the bulky ones that turn your pocketable phone into a brick.
The Bluetooth Remote Shutter
Cheap, tiny, and it solves a problem you’ll hit the moment you own a tripod: tapping the screen introduces a little shake right when you need stillness.
I use one constantly for night shots, long exposures, group photos, and self-portraits. Before you buy one separately, though, check your tripod box — plenty of them already include a remote. No point paying twice.
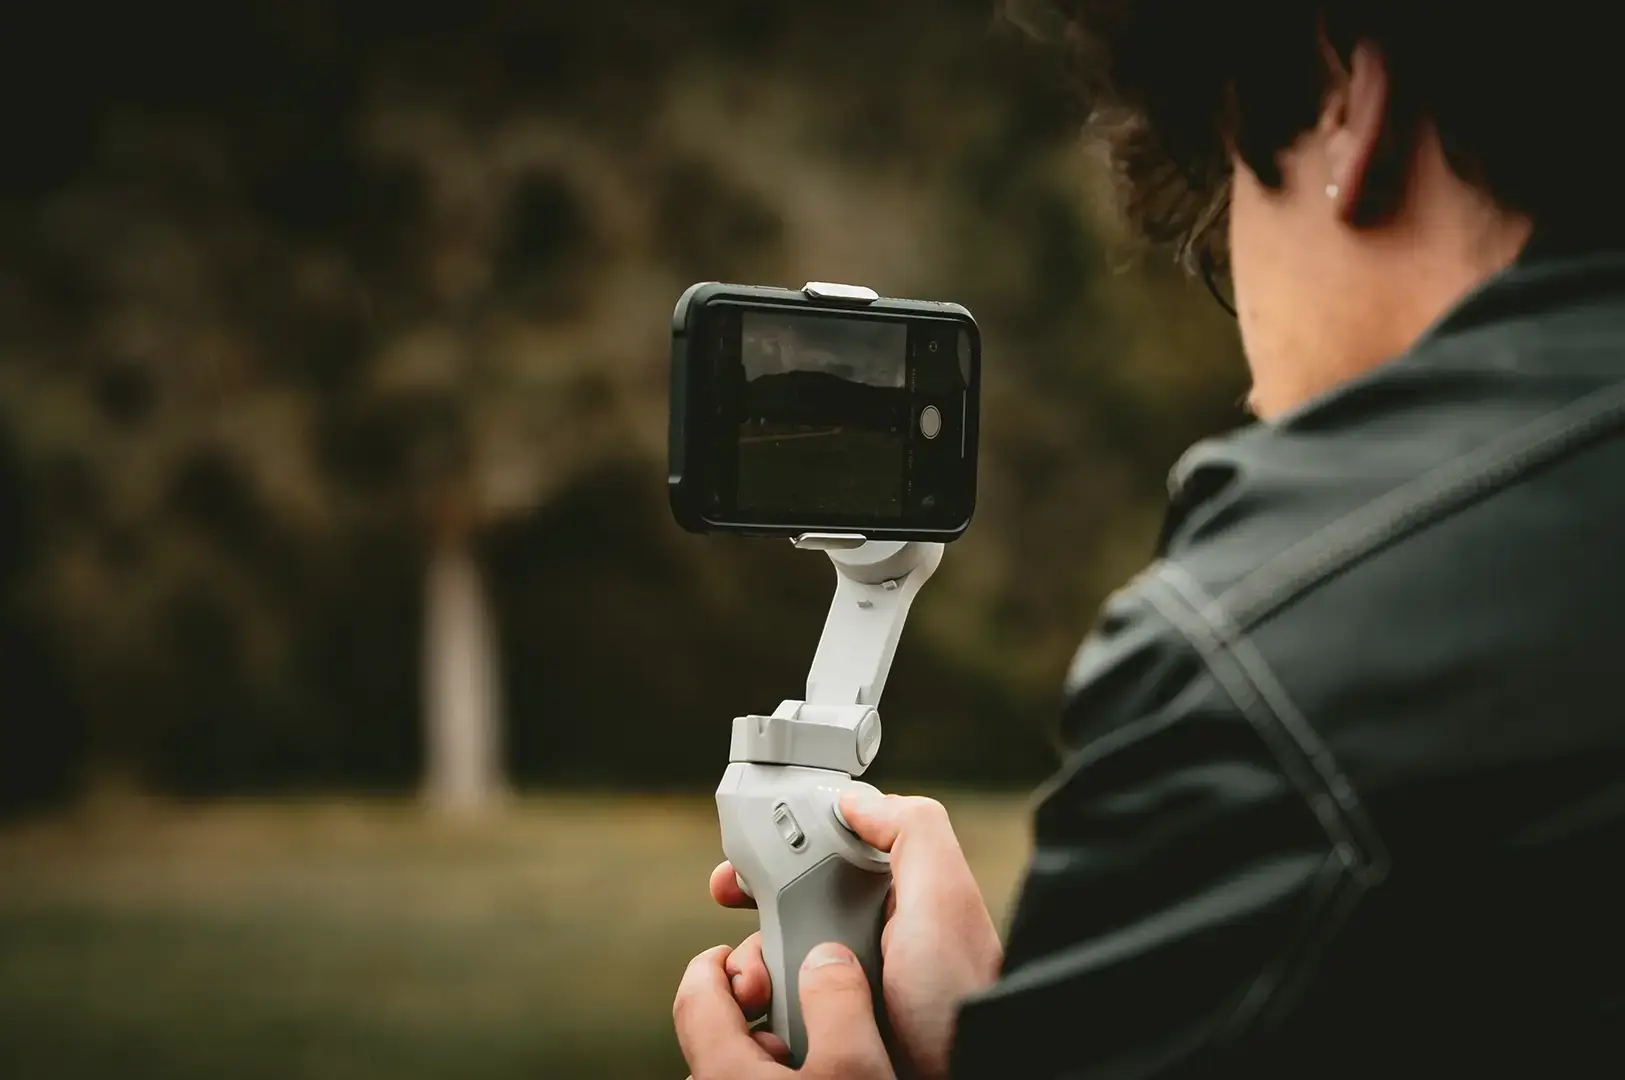
The Smartphone Gimbal
A gimbal earns its place when your phone becomes a video camera — walking clips, restaurant reels, travel content, filming yourself. Current Singapore listings put decent smartphone gimbals roughly in the S$130–S$250 range depending on the model and kit.
Before you buy one, ask yourself one honest question: am I actually shooting enough video to justify carrying this around? When I first bought mine, the answer was no. It sat unused for months. If your answer is no too, buy the tripod instead.
The Power Bank
The least glamorous item on this list, and often the most useful.
Photography drains your battery fast — camera use, GPS, editing, screen brightness, Bluetooth accessories all pulling at once. On a full day wandering Marina Bay or the Southern Ridges, a compact power bank and a short cable will save more photos than any lens ever will. Don’t overlook it.
External Lenses
I’ll be honest given my own history: most beginners don’t need these.
A good external lens can give you a genuinely different perspective — real macro, telephoto, or anamorphic video. But a cheap “10-in-1” kit will only introduce softness, flare, and distortion. If you go this route, buy a single quality lens for a purpose you already understand, and check it works with your exact phone model and case before committing.
What I’d Prioritise for A Smartphone Camera
Budget | Recommended setup | Best for |
|---|---|---|
S$0–S$30 | Phone + small tripod or remote | Beginners |
S$30–S$70 | Tripod + LED light | Food, travel, indoor |
S$70–S$150 | Better tripod + light + grip or power bank | Regular shooters |
S$150–S$300 | Gimbal + tripod/light | Photo + video creators |
S$300+ | Dedicated rig, premium lens/filter system | Serious mobile creators |
Notice the good news at the top: a basic tripod-and-light combination can be built for under S$50. You don’t need to spend hundreds of money to have a genuinely capable and inclusive kit.
FAQs: Take Better Photos
- Will a clip-on lens make my phone look professional?
No. A good one changes your perspective; a cheap one just adds softness and distortion. For most people, a tripod or light improves photos far more. - Do I need a ring light for food?
Not really. A small side-positioned LED shapes light much better than a flat, front-facing ring. - Will a tripod make me look awkward in public?
Only if it’s huge. A compact tabletop tripod sets up fast and stays out of everyone’s way — which matters in cafés and hawker centres. - Is a gimbal worth it?
Only if you shoot a fair amount of video. For stills, spend that money on a tripod instead.
Three Real Singapore Scenarios
- A hawker dish that looks flat. The overhead lighting kills it. Move your phone slightly to the side, add a small LED at low brightness, and shoot from a 45-degree angle. Buy: the LED. Skip: the gimbal.
- The Marina Bay skyline after sunset. Handheld shots go blurry as the light fades. Mount the phone on a tripod and fire with a remote or timer, so a slower shutter speed stays sharp. Buy: the compact tripod. Just note that if it’s crowded, do not forget the street photography etiquette in Singapore.
- Flowers at the Botanic Gardens. You want tight detail without crowding the subject. Test your phone’s native macro feature first, it’s often enough. Only reach for a dedicated macro lens if the built-in camera genuinely falls short.
After Buying? Learn More
Buy the fix for the problem you have, not the problem someone else has. Do that, and you’ll spend less, carry less, and shoot far more. If you’re taking your mobile photography interest seriously, join a course to explore the fundamentals of composition, lighting, and editing techniques that will transform your photos and storytelling abilities, whether you use an Apple or Android smartphone. Learning these skills can open doors in the creative industry and help you capture great photos and hidden gems in everyday life and architecture.
I suggest that you check registration details and course fee of mobile photography. If you’re a Singapore citizen, explore subsidies like SkillsFuture Credit and the post secondary education account to make the course more affordable.
Note: Course schedules and payment options vary, so be sure to check the date and fee details before you register. With the right tools and knowledge, you can create quality images that elevate your personal and professional visuals and marketing materials.
Before You Buy Anything
The best kit isn’t the biggest one. It’s the one small enough that you actually carry it, and focused enough that every piece solves a problem you’ve genuinely met.
If you’re starting out, I’d get two things: a compact tripod and a small LED light. Around S$20–S$70 each, they fix the two most common headaches — camera shake and bad lighting — and they’ll cover most of what you shoot across this city.
Then stop. Shoot with them for a month. Let your photography skills and creativity tell you what’s missing next. Once you’ve captured the shot, the right editing app can make a big difference, here’s a helpful breakdown of The Only Mobile Photography Apps Worth Keeping on Your Phone.
Happy shooting!