
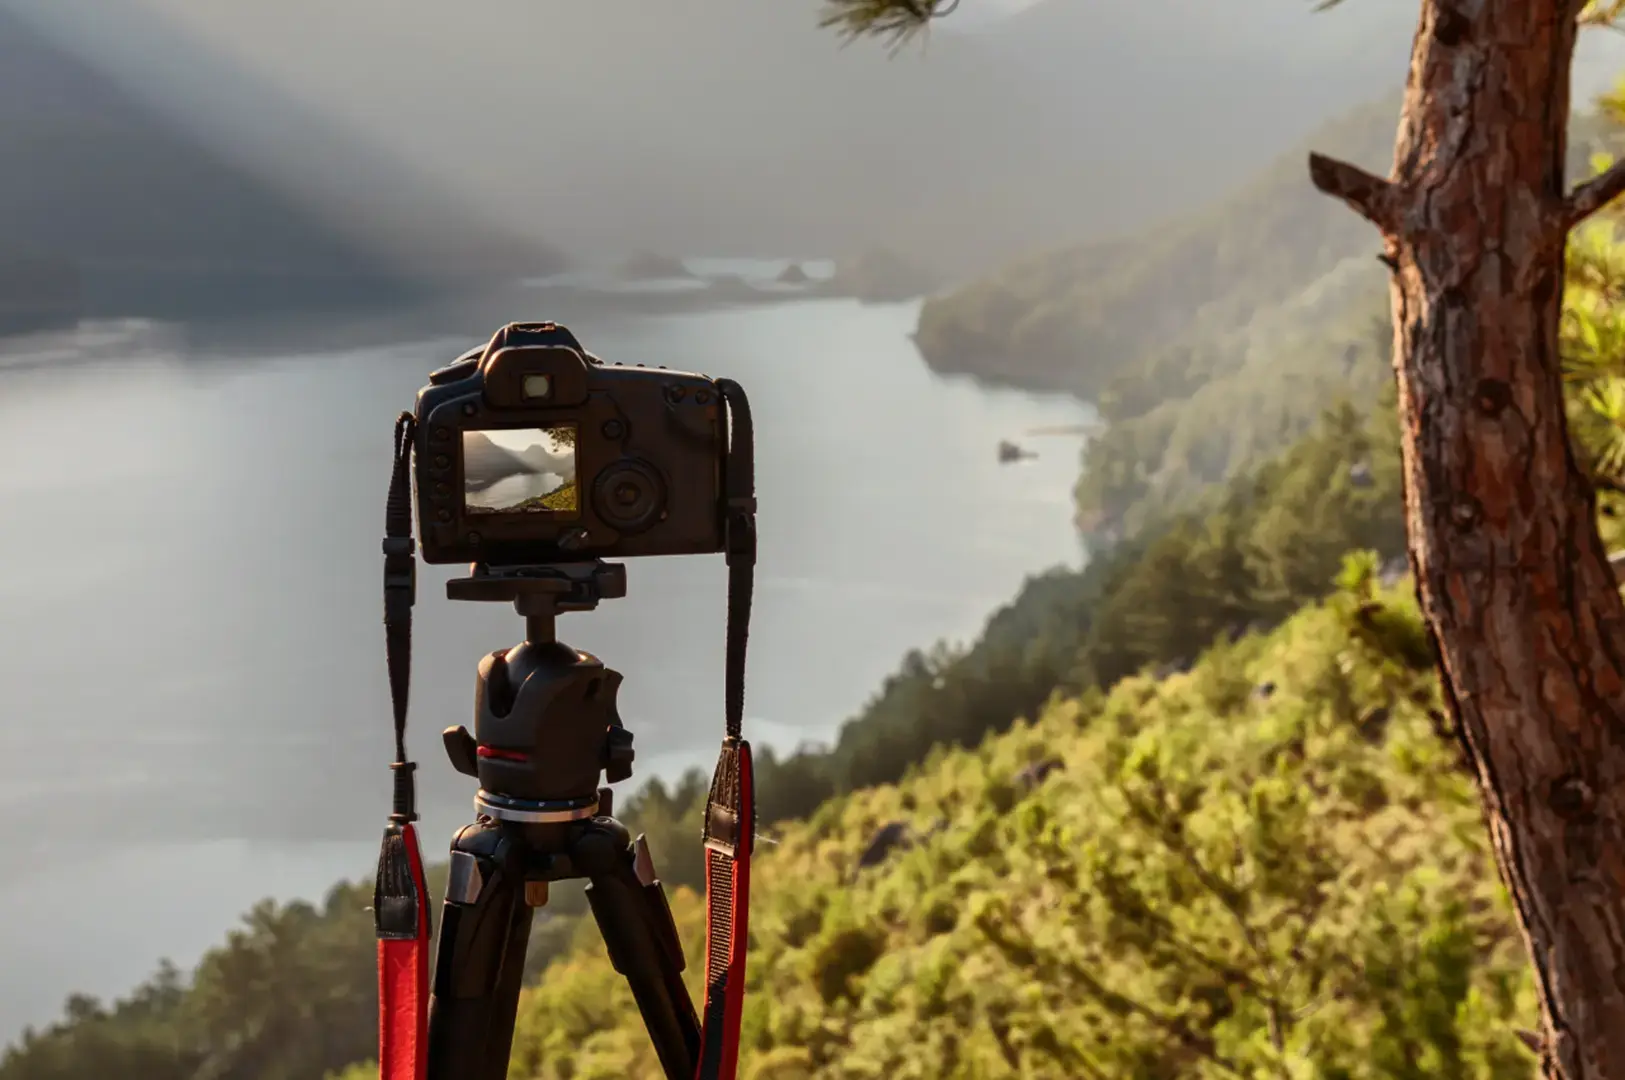
I once spent a long while watching light move across a single leaf.
Nothing dramatic happened. No storm rolled in and no sunset flared. The light simply shifted, and the leaf changed with it: brighter, then softer, then almost flat. That small moment taught me more about landscape photography than any grand view has. Before you learn settings, you learn to notice.
This guide is for anyone in Singapore who has stood at a reservoir edge or a coastal path, raised a camera, and felt the photograph fall short of the place. Let’s close that gap slowly.
What Landscape Photography Means in Singapore
Many beginners believe landscape photography needs a mountain. It doesn’t. A landscape can be any environment, natural or shaped by people, told through land, water, sky, vegetation, weather, and light.
Singapore has plenty of that. There are the quarry cliffs at Hindhede, the mangroves of Sungei Buloh, and the rocky sea cliff at Labrador. There are reservoir shorelines at sunrise and the skyline around Marina Bay meeting water and cloud. Judging a landscape for photography means looking past whether a place is pretty. You look for structure: what the eye enters on, where it travels, and where it finally rests.
Understanding Light Across the Day
The question I keep coming back to is not “Is this good light?” It is “What does this light let me photograph?“
- Sunrise and sunset bring low, directional light, long shadows and colour in the clouds.
- Midday sun is harsh, with short shadows and strong contrast, but it can suit graphic shapes and saturated tropical colour.
- Overcast days soften everything, which is kind to forest and foliage.
- After rain, surfaces reflect and the sky turns moody.
- At blue hour, urban scenes balance artificial light against the sky’s last glow.
Each condition gives the same place a different mood.
Ethan’s Insight: Stay after the moment you came for. Light keeps changing after sunset, and the scene you almost walked away from is often the one worth keeping.
Composition: Giving the Eye Somewhere to Go
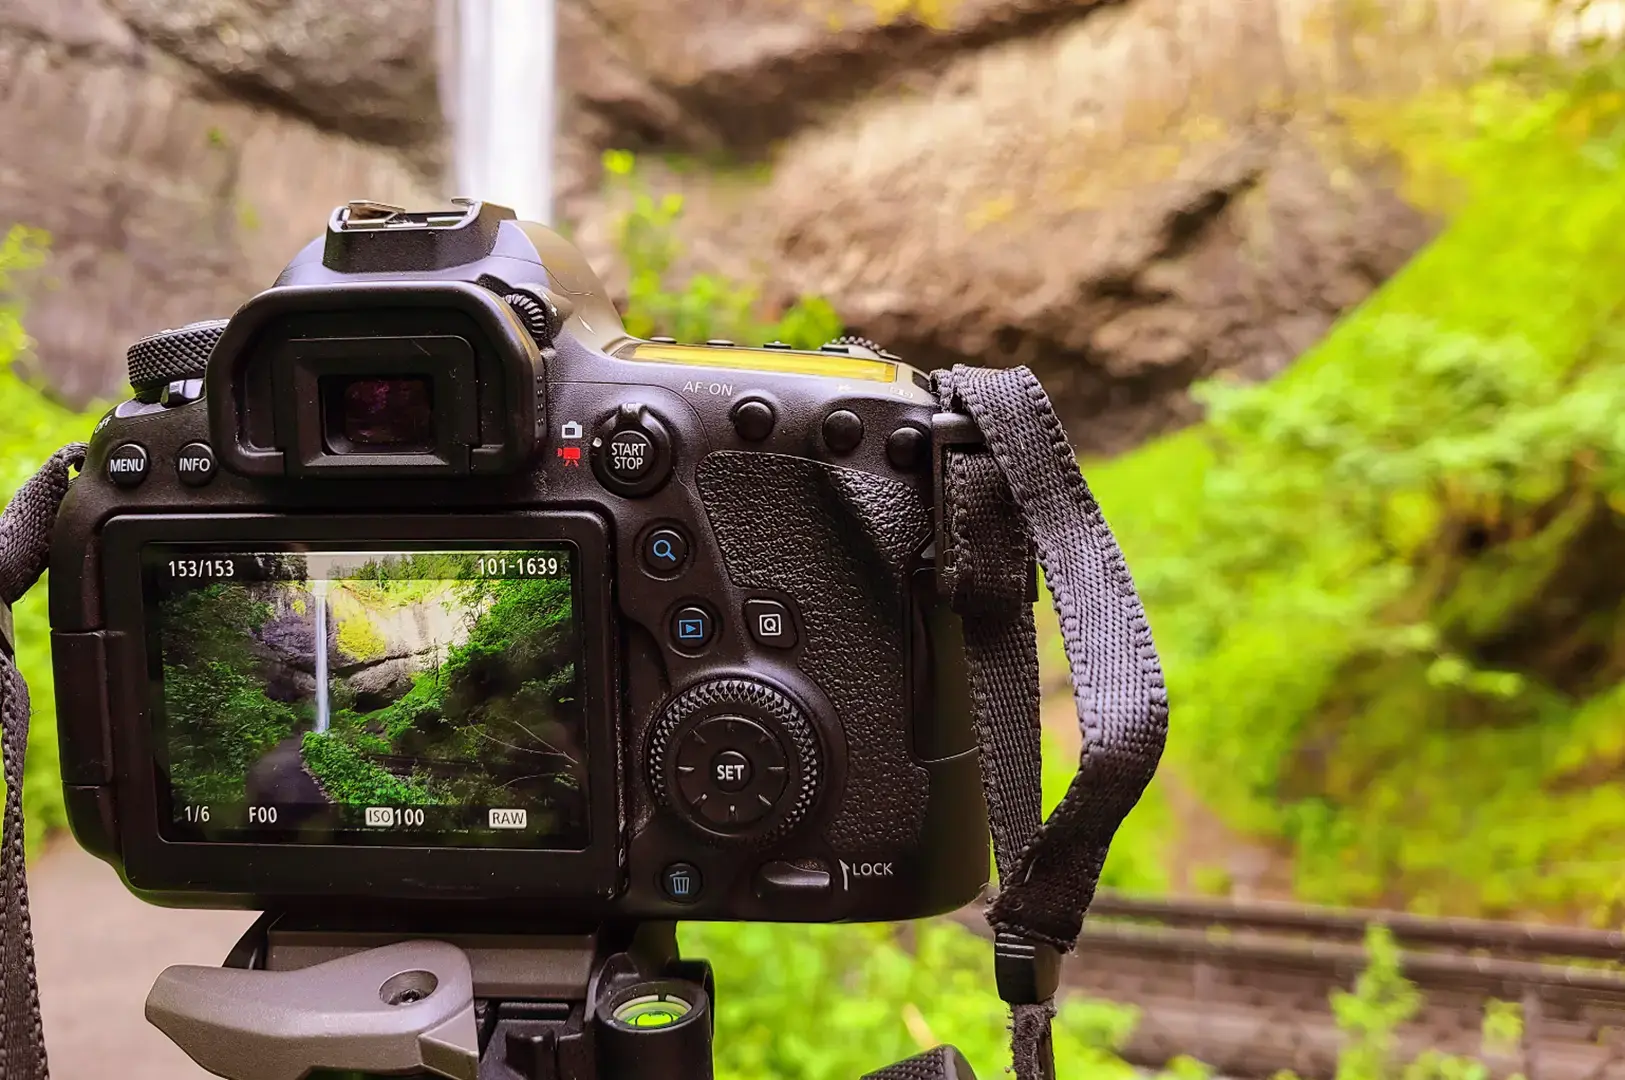
Your camera flattens a three-dimensional place into two dimensions. Layering brings the depth back. Think foreground, middle ground, and background: boardwalk, then mangroves, then sky. Or rocks, then water, then skyline. The foreground should earn its place, not just fill empty ground.
Leading lines help too. Paths, railings, coastlines and water edges carry the eye through the frame, and curved lines often do it most gracefully. The rule of thirds is a guideline, not a law. A centred horizon can suit a still reflection. A high horizon favours the land, and a low one gives the sky more weight. Most of all, remove before you add. Stray branches, bright signs, and blank sky rarely help. Stepping a few metres left can do more than a new lens.
Camera Settings: Starting Points, Not Rules
No single setting works for every landscape. Moving water, windblown leaves, and a bright sun each ask for something different. Here is where I’d suggest you begin in good light:
Setting | Starting point | Why |
|---|---|---|
Mode | Aperture Priority or Manual | Control over depth of field |
Aperture | Around f/8 to f/11 | Often keeps near and far sharp |
ISO | Base ISO where practical | Protects image quality |
Shutter | Set by light and movement | Freeze or blur motion |
File type | RAW if you plan to edit | More room in processing |
Focus | Single AF point or manual | Stops the camera guessing |
Resist stopping down to f/16 or beyond out of habit. More depth isn’t always a better photograph. ISO is a trade-off. If a low ISO forces a shutter too slow to hold by hand, a modest increase beats a blurred frame. Shutter speed describes time as much as exposure. A fast shutter freezes waves. A slow one turns water to silk. Check the histogram and highlight warnings too, because a bright Singapore sky can fool the rear screen.
Lens Choice: Three Different Jobs
A wide angle takes in land and sky and stretches the space between a close foreground and a distant subject. A standard focal length feels calmer and makes you frame with care. A telephoto isolates and simplifies. One lit building, a band of trees or a layer of clouds becomes the whole photograph. A wide landscape doesn’t need a wide lens.
What you carry matters as much as what you own. Lenses, filters and a tripod all travel together, and the same portability trade-offs I weighed when comparing cameras for travel photography hit hardest on a hot morning hike.
When to Reach for a Tripod or Filters
A tripod is a tool, not a badge. Use one before sunrise or after sunset, for long exposures, brackets, panoramas, focus stacking, or when you want the same frame as the light shifts.
Filters should solve a problem you can name. A circular polariser cuts some glare from water and wet leaves and can deepen a blue sky, though it costs light. A neutral-density filter darkens the scene so you can blur moving water or cloud in daylight. A graduated ND holds back a bright sky over darker ground. Exposure bracketing, blended later, is the digital alternative.
A Simple Landscape Photography Workflow
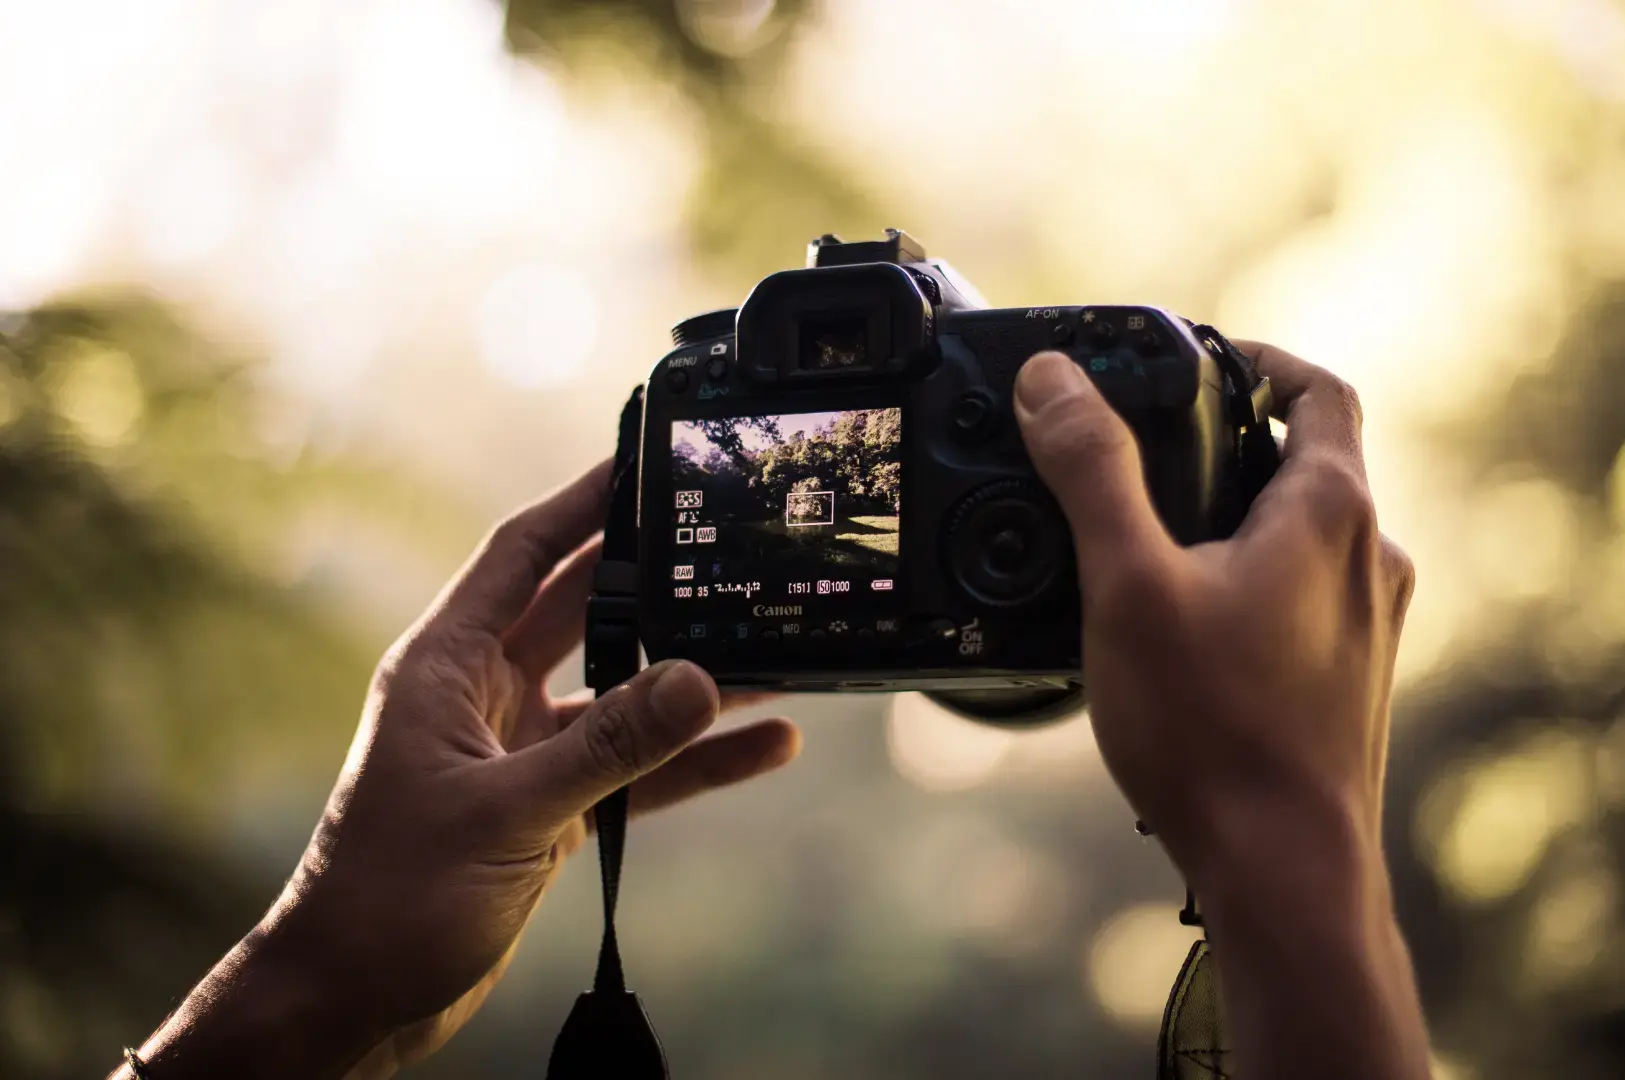
- Ask what made you stop here.
- Walk the scene. Go higher, lower, eye-level, or look behind you.
- Build your layers and find your lines.
- Choose focal length for the story you are creating.
- Set aperture for the depth you need, then ISO and shutter.
- Check highlights, refine, and wait for the light.
Common Beginner Mistakes
The usual ones: shooting ultra-wide by default, including everything, ignoring the foreground, clipping a bright sky, obsessing over settings, and leaving before the light turns. Each has the same cure: slow down, simplify, and let the place set the pace.
Ethan’s Insight: Photograph one scene three ways: wide, standard, and tight. The comparison teaches composition faster than any rulebook.
Singapore Conditions: Heat, Humidity and Storms
Equatorial light is fierce. NEA notes the UV Index often reaches Very High or Extreme between 11am and 3pm on clear days, so carry sunscreen, a hat, and water. Humidity averages around 82% and can top 90% before dawn. Keep a lens cloth close, and let gear acclimatise when you step out of air-conditioning.
Storm clouds are beautiful, but please take this seriously. Singapore averages about 176 lightning days a year, and lightning can strike more than 10 km from a storm. Don’t stay exposed for a dramatic sky. NParks also advises against entering forested areas during or right after bad weather. Check myENV before you set out.
Singapore Landscape Locations, From Park Map to QR Code
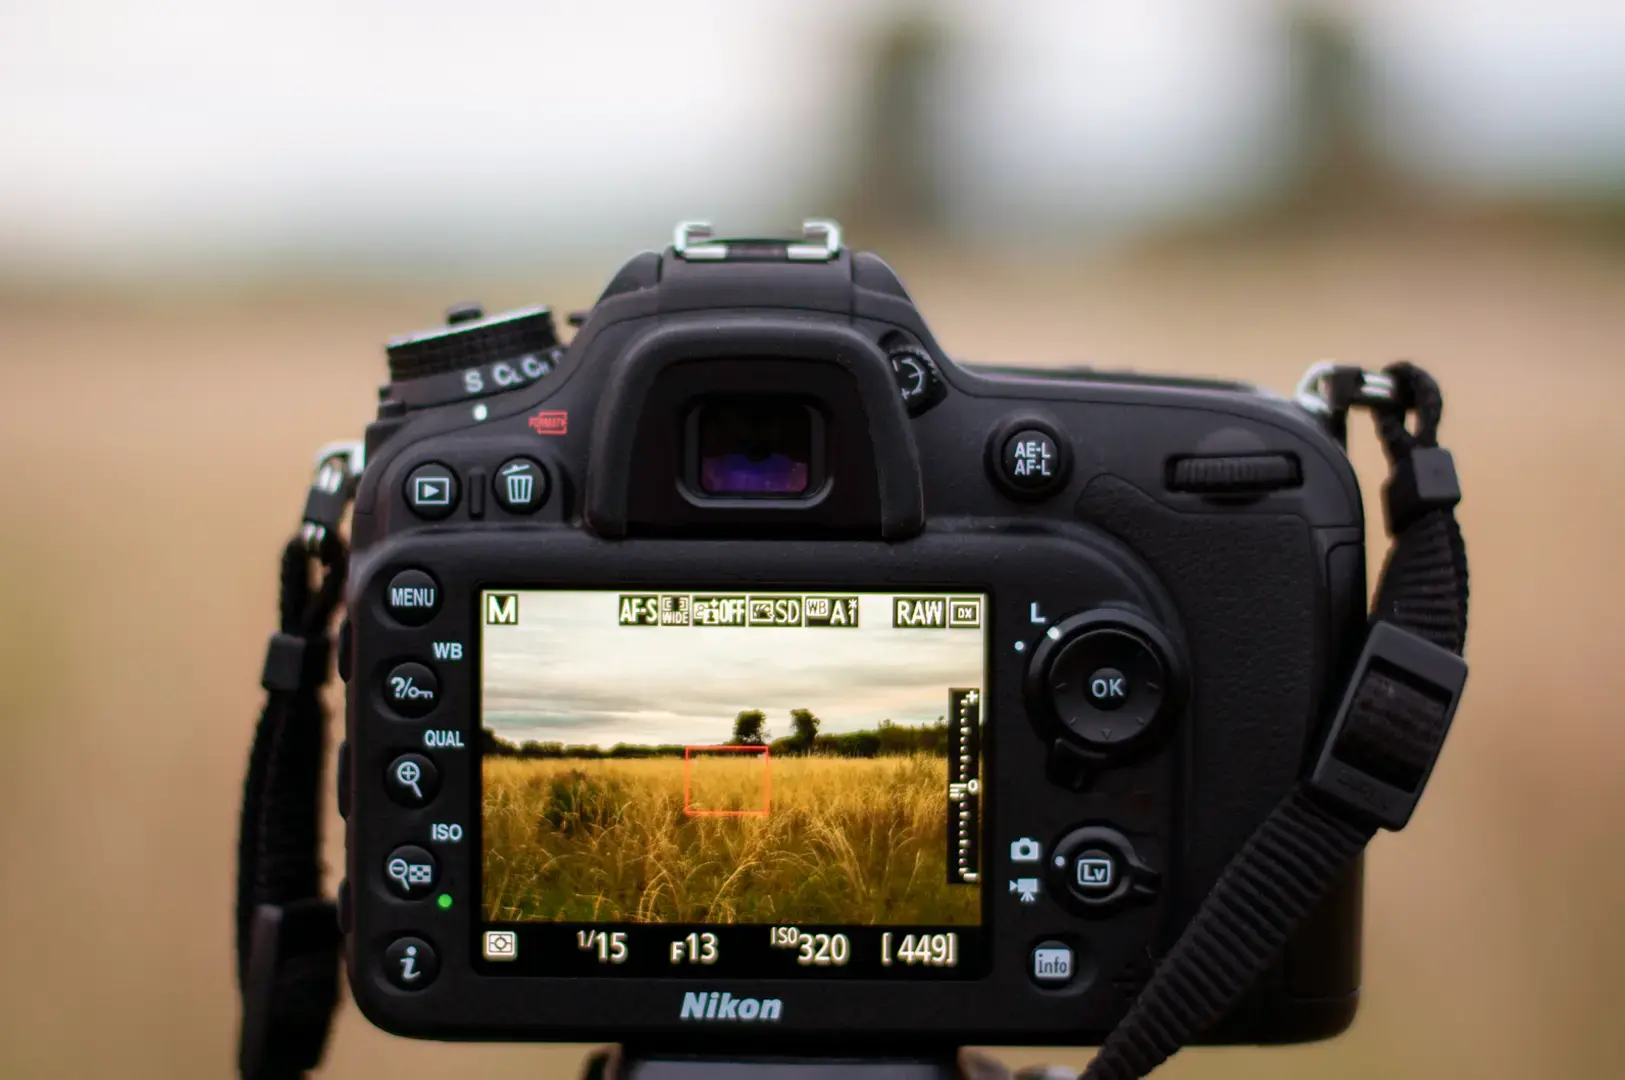
Hindhede Quarry pairs cliffs with calm water, and it’s open 7am to 7pm. Sungei Buloh‘s 18-metre Aerie Tower looks out over the wetland, though drones are prohibited in the reserve. Labrador offers an easy 2.1 km coastal walk past sea views and forest. Marina Barrage‘s public areas and Green Roof are open 24 hours, which suits sunrise and blue hour. The coastal parks are made for sunsets. If a trail board carries a QR code, scan it or save the park page before you lose signal. Rules across these locations vary, so check them for your exact place and date of visit.
Once layering and light feel familiar, Singapore’s hidden photography spots become less about collecting places and more about practising how to see.
Where to Begin
Choose one place and give it more time than you think it needs. Arrive before sunrise. Watch the light find its way across the land, then stay long enough to see the scene become something different. You do not need to make a photograph every time the light changes. Sometimes it is better simply to watch.
The settings will become familiar with practice. What matters more is learning to notice.