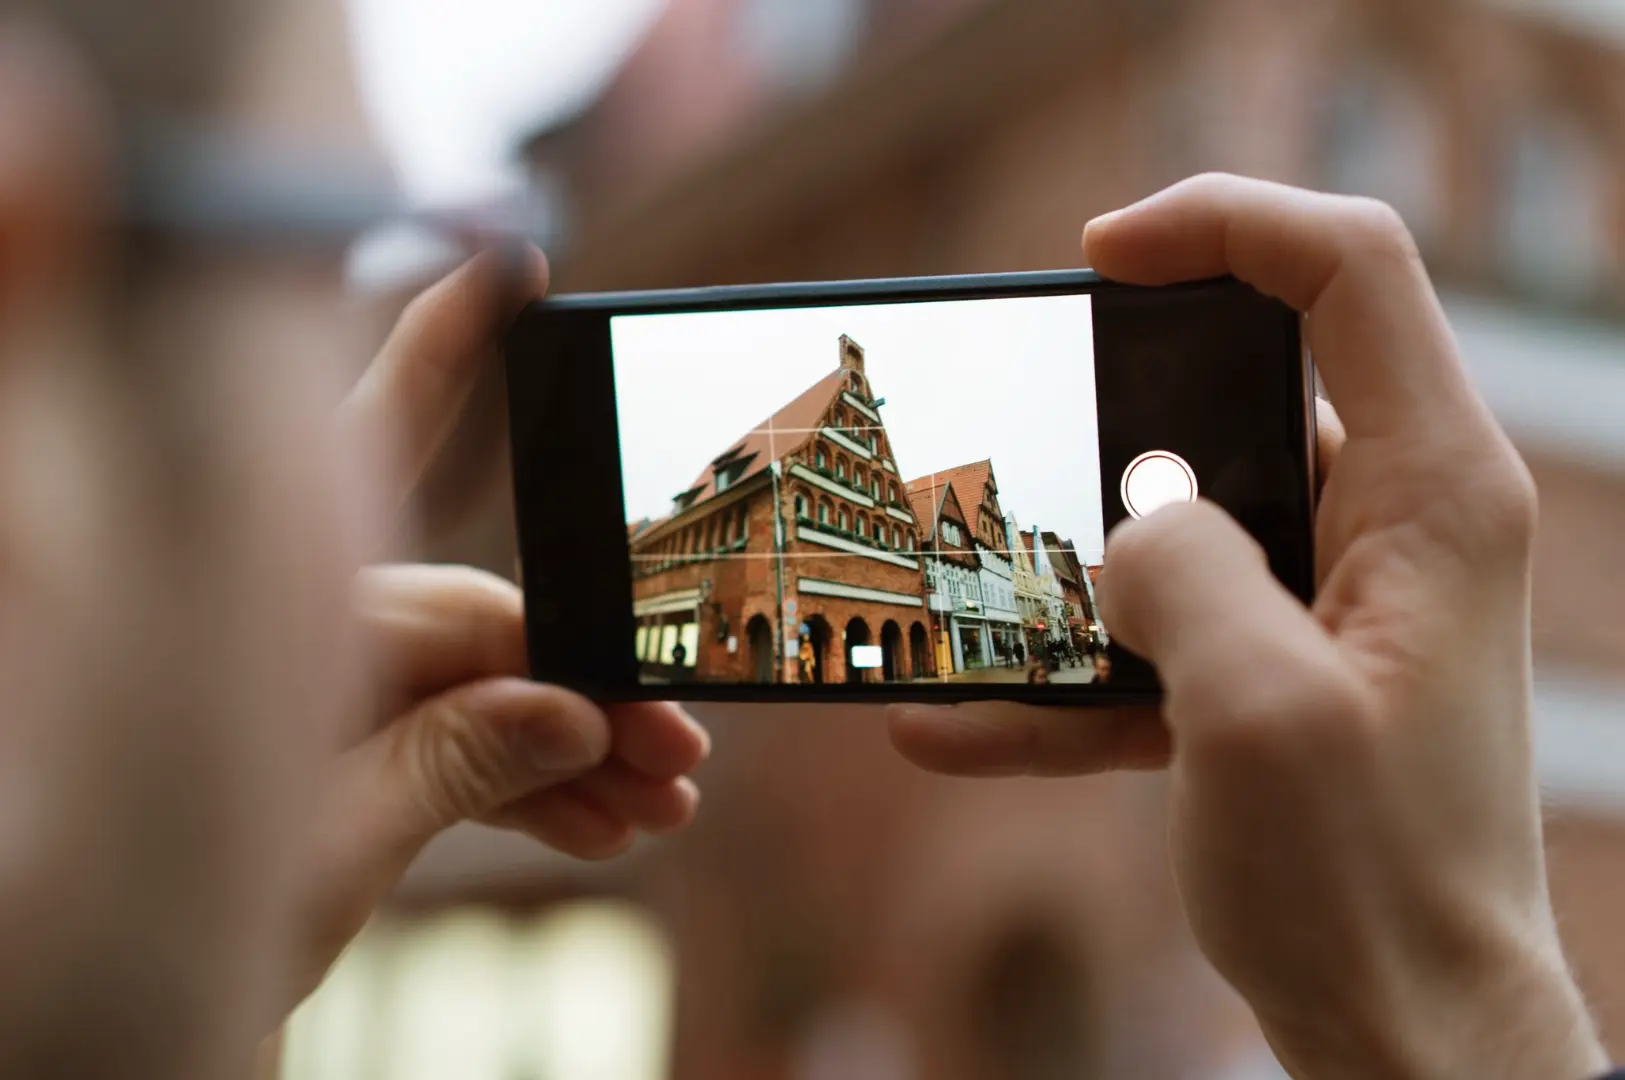
The best photo I took last year came from my smartphone cameras, not a professional camera.
It was a wet Tuesday in Chinatown. I’d left my proper gear at home, and I almost didn’t bother stopping. But the rain had just eased, the red lanterns were glowing against the dark pavement, and something told me to wait. I pulled out my phone, took one frame, then spent maybe four minutes editing it on a bench outside a kopitiam using one of the best free photo editing apps to edit images.
That photo still means more to me than half the “serious” work I shot that month.
For the past few years, I resisted mobile photography apps. I assumed my mobile device’s camera was already doing everything, and that any extra app was just clutter. I was half right. Modern phones handle exposure, HDR, color grading, and noise reduction beautifully on their own. But I’ve since learned that the right editing apps don’t replace your phone — they give you control over one specific part of the process you actually care about.
So this isn’t a list of ten apps you’ll never open. It’s a small handful of my favorite photo editing apps, that is essential for my photography techniques, that I genuinely use, and a way of thinking that helps you choose between them.
Favorite Photo Editing Apps: The Four Apps I Actually Reach For
Let me walk you through the great tools that have earned a place on my phone.
Free Photo Editing Apps: Snapseed — where I’d tell any beginner to start
If you tell me you don’t want another subscription, this is my answer. Snapseed is free photo editing at its best. No ads, no watermarks, no monthly fee quietly draining your account.
It gives you more than 30 editing options, RAW support, selective adjustments, and non-destructive editing. That last part matters more than it sounds — you can always go back and change your mind.
I still use it for quick work because of it’s user friendly user interface and features. That Chinatown lantern photo? Edited entirely in Snapseed. I lowered the highlights, lifted the shadows a touch, straightened the buildings, and brightened just the lanterns. Four minutes, no cost.
Pro tip
Learn Snapseed’s Selective tool before anything else. It lets you brighten one small area of a raw image — like a single red lantern or a bowl of noodles — without touching the rest of the frame. Master this one tool and your photos immediately look more intentional.
Adobe Lightroom: Editing Apps for When One Photo Becomes Fifty
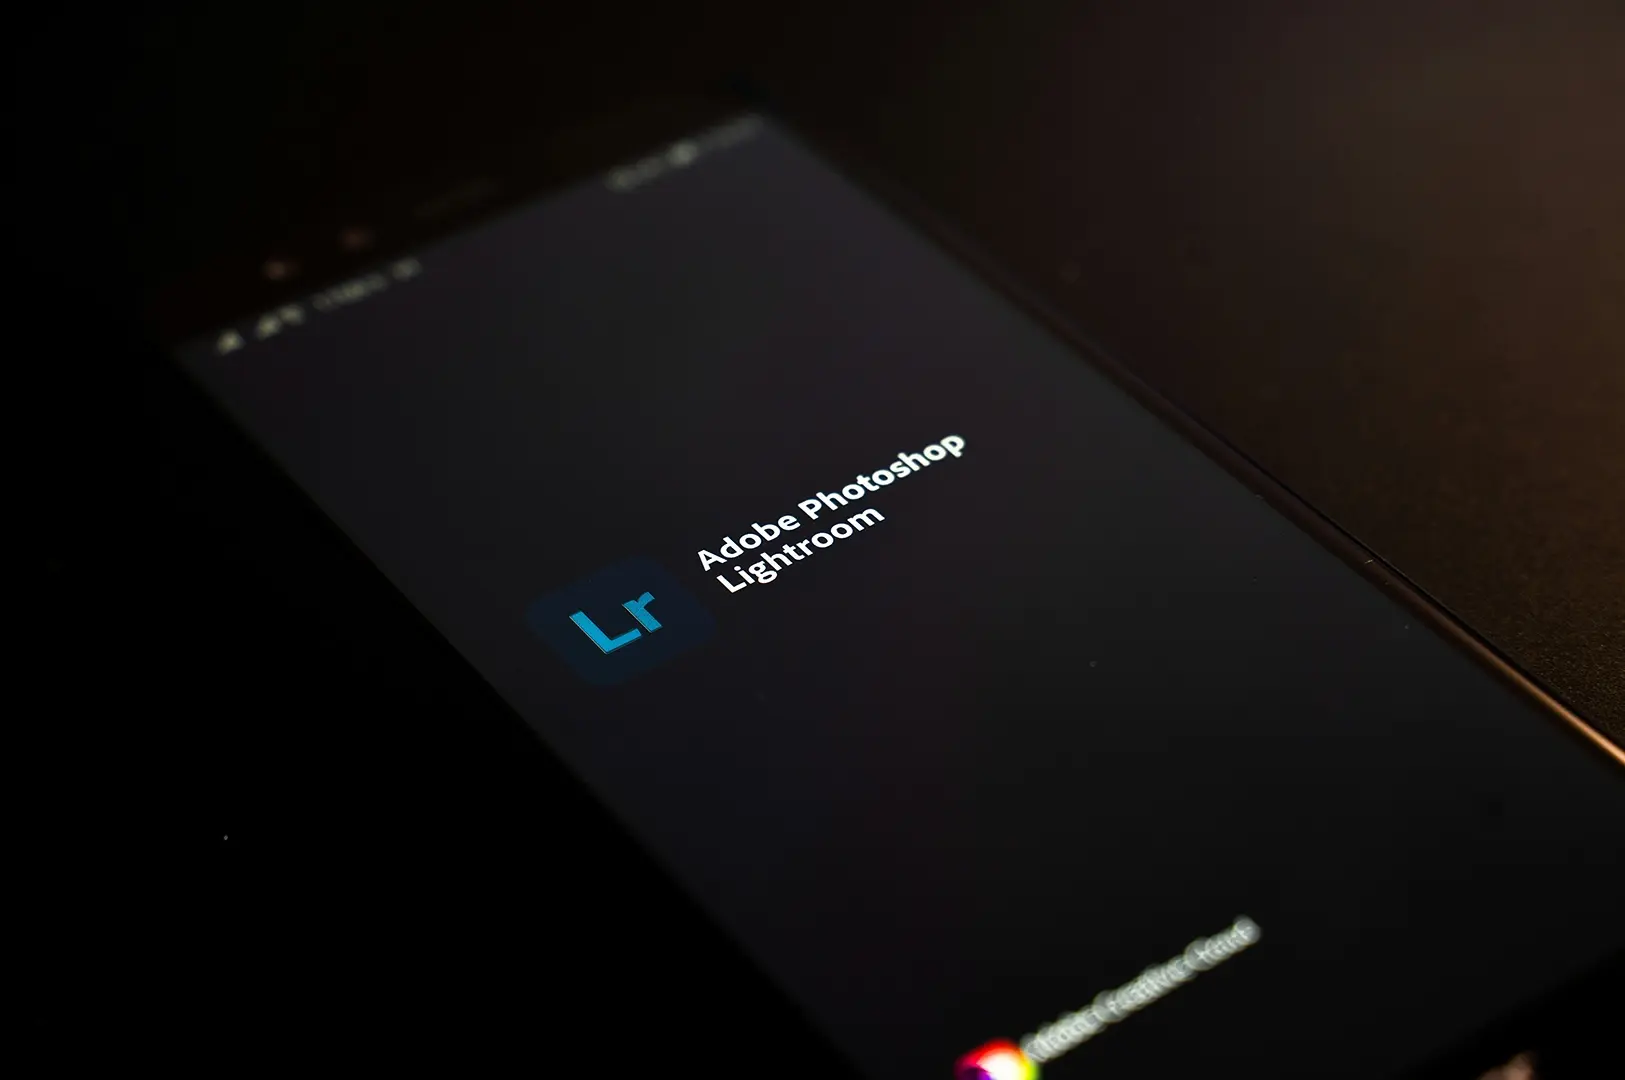
When I come home from a full day of walking and shooting, I want all my photos to feel like they belong together. That’s where Adobe Lightroom mobile and desktop app earns its place. Contrary to its adobe trademark, it’s actually user friendly.
It’s stronger than Snapseed for image adjustments, tonal control, colour work, masking, and – most importantly – consistency across a whole series. You edit one photo, then copy that treatment across the rest. That’s the real lightroom classic ability. Nowadays, it also comes with ai tools, auto mode and more. Lightroom is also a perfect tool for low-light photography.
The app is free to download with in-app purchases. In Singapore, Premium features start around S$6.98/month, a Lightroom 1TB plan is listed around S$13.48/month, and Adobe’s full Photography plan sits at S$26.79/month including GST on an annual-billed-monthly plan. Prices shift with promotions, so check before you commit.
I’d say this: don’t pay for Lightroom until you feel Snapseed genuinely holding you back. That moment comes later than most people expect.
Editing Tools: VSCO — for a Specific Look You Already Have in Mind
VSCO isn’t for fixing photos. It’s for giving them a mood.
If you love the faded, analogue feel of film like kodak portra — grain, gentle colour shifts, that slightly muted quality — VSCO does it better than anyone. I reach for it when I’m shooting old shophouses and quiet neighbourhood streets and I want them to feel a little nostalgic, not hyper-clean.
The Singapore App Store lists it as free with in-app purchases, with VSCO Plus around S$11.48/month and Yearly Plus around S$40.98/year.
In my experience, VSCO only makes sense once you have a visual direction. If you’re still learning what you like, its presets can lead you somewhere generic. Come back to it when your taste is clearer.
Editing Options: Halide Mark III — for iPhone Shooters Who Want Control at Capture
Halide is a different kind of tool. It’s not an editor — it’s a camera app that gives you real manual control before you press the shutter. It is a good tool to improve your photography and post-prod learning curve.
Its Process Zero mode is the interesting part. It produces a more natural-looking image with minimal computational processing, which I find lovely for architecture and difficult street light. Less phone “guessing,” more of what your eye actually saw.
It’s iPhone-only. The Singapore App Store lists options for it’s premium plan at S$14.98, S$29.98, and a S$99.98 one-time purchase.
One honest caveat: RAW and “natural processing” aren’t automatically better. In tricky low light, your phone’s normal computational photography often wins. Halide is a deliberate choice, not an upgrade.
Free Photo Editing: Five Questions That Actually Decide It

Forget “which app is best.” I’ve found these five questions get you to the right editing tools far faster.
1. Am I capturing or editing?
If you want control before the shutter, that’s Halide. If your phone camera is fine and you want to improve the shot afterward, that’s Snapseed, Adobe Lightroom, or VSCO.
2. Do I actually need RAW?
RAW gives you far more to work with when it comes to image quality, but the files are large and demand more effort. For food, friends, family, and MRT snapshots, your native camera’s JPEG or HEIF is plenty. RAW earns its place when you want to seriously recover highlights or reshape colour.
3. Do I want control or speed?
Control means Adobe Lightroom. Speed means Snapseed. Style means VSCO. Capture control means Halide. That’s a more useful map than “best.”
4. One photo, or a hundred?
Editing a single hero shot or same photo for Instagram? Almost any editor works. Editing a whole series so it feels unified? That’s exactly what Adobe Lightroom is built for.
5. iPhone or Android?
This one’s simple. Halide is iPhone-only. Snapseed and Adobe Lightroom work broadly across both. VSCO runs on iPhone and iPad, with its current listing needing iOS 15 or later. Mobile photo editing apps varies, so it really just depends on what you prefer.
Cloud Storage and Better Photos: My Five-Step Workflow

Here’s the routine I come back to, adapted for shooting in this city using mobile photography.
1.Clean the Lens First
I know it sounds too simple. But in Singapore, your phone moves constantly between air-conditioned malls, humid streets, and covered walkways. Condensation and fingerprint grease turn bright lights into hazy blobs.
Insider knowledge
A small microfiber cloth is more useful than any editing app you’ll ever download. I keep one in my pocket at all times. Wipe your lens before every shot, especially the moment you step from air-con into the heat — that’s when it fogs.
2. Shoot for the Light
Singapore hands you completely different conditions in a single day.
Shooting photos during the morning give you soft light and quieter streets. Midday is harsh — strong highlights, hard shadows, lots of contrast. Late afternoon softens again. Blue hour, just after sunset, is my favourite for city scenes, when Marina Bay’s lights balance beautifully against the last of the sky.
And after rain — go out, don’t go home. Wet pavement becomes a mirror, umbrellas add colour, and ordinary streets suddenly have depth. Depends on what you want to achieve, Singapore will give you great photos. Remember as well that more photos, more options.
3. Edit One Adjustment at a Time
This is the habit that changed how I use photo editing tools. Don’t start with a preset and then fight everything it breaks. Work in order: crop, straighten, exposure, highlights, shadows, white balance, contrast, colour, local adjustments, then sharpening.
One move at a time. You’ll understand what each slider actually does, and your photos will look edited by a person, not a filter.
4. Compare Before and After Using Editing Tools
Mobile editing apps like Snapseed and Adobe Lightroom both let you toggle back to the original. Use it constantly.
Here’s my rule: if I can’t immediately tell whether an edit improved the photo, I pull the adjustment back. When in doubt, less. Remember that basic editing tools will help you in the simplest ways, no need to dwell on advanced tools. Utilize free versions, basic adjustments and tools that helps you with quick edits.
5. Export Correctly with Editing Apps
This trips up nearly everyone. “Save” and “Export” are not the same thing. In Snapseed, saving keeps an editable stack; exporting creates a flattened JPEG that will actually look right in other apps.
For social media, export a properly sized image — not the enormous original. Your photo should look the way you intended once it leaves the app.
Google Photos and Apple Photos: Free Photo Editors for Quick Fixes
You can also use free photo editing apps like Google Photos and Apple Photos for quick fixes and cloud storage integration, all of which are totally free, but for better photos and more control, these dedicated editing apps are the way to go.
As a professional photographer, I’d say go out. A hawker centre at lunch, a wet Chinatown street, an HDB corridor in the quiet afternoon, Marina Bay at blue hour. The same phone carries you through all of it.
Wipe the lens. Watch the light. Take one honest frame with a background you can work on. Your best camera can be your phone.
That’s really all it takes to begin.