
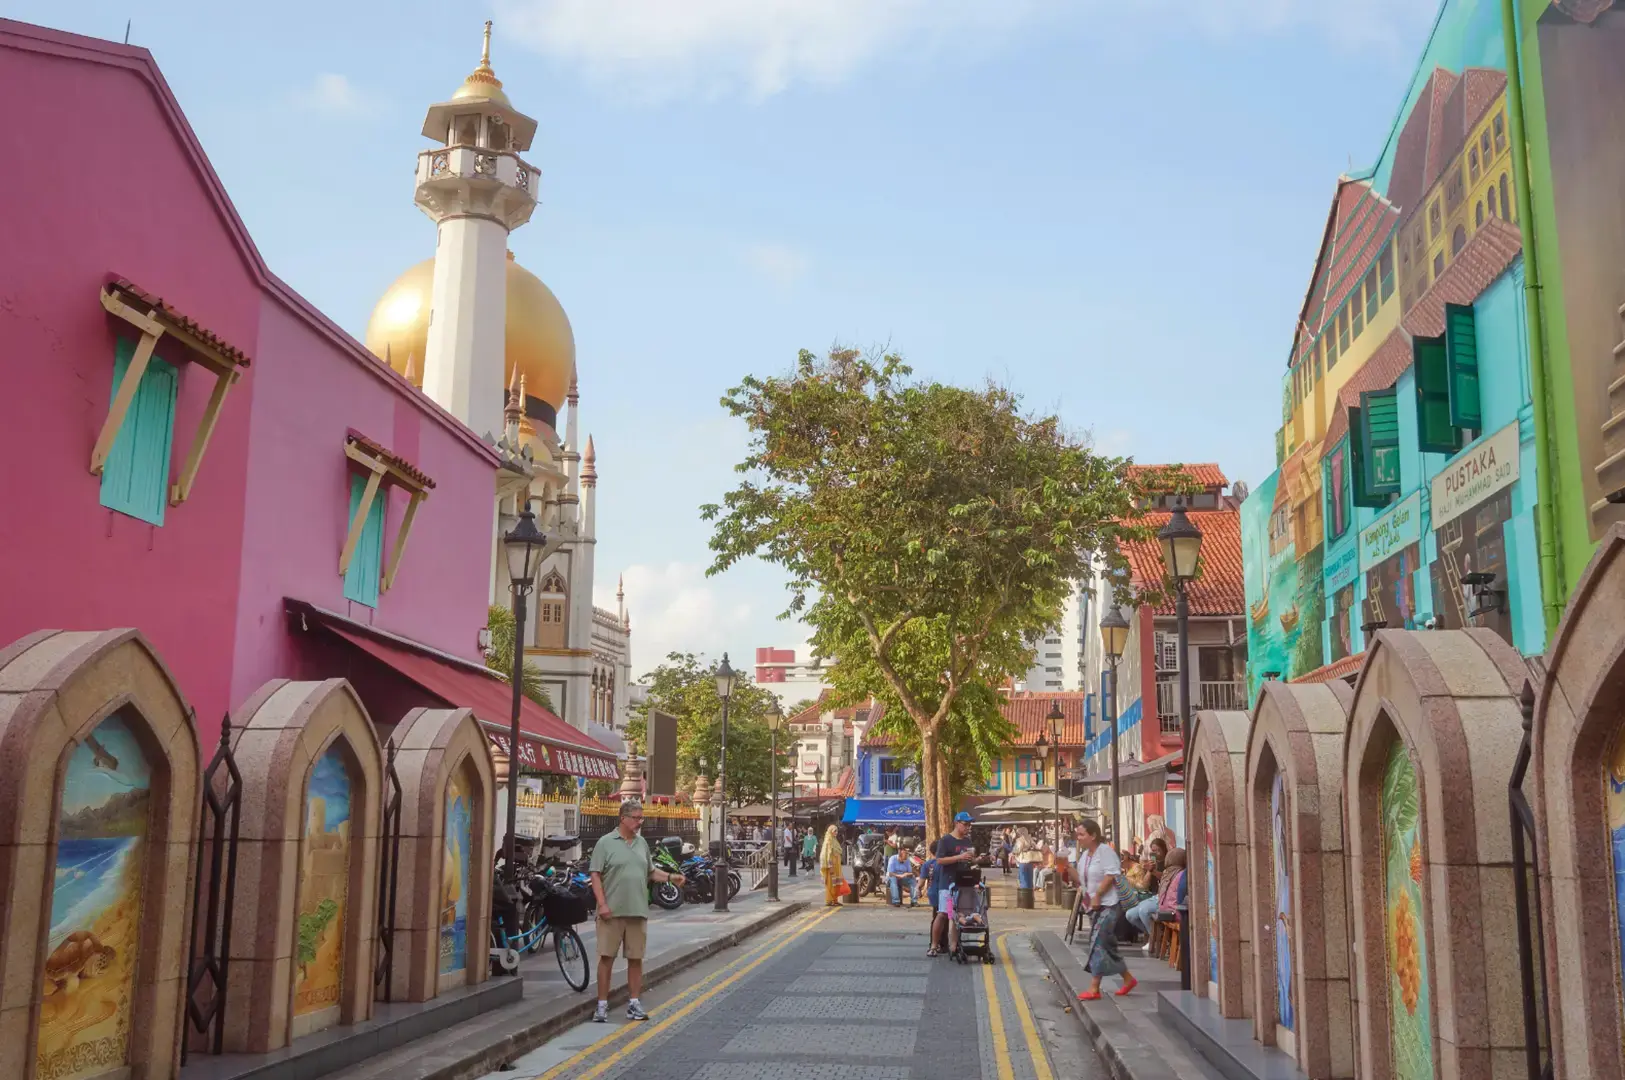
Singapore is a small country with rich buildings and pretty streets.
It was a wet morning on Koon Seng Road in Joo Chiat, one of the favourite photo spots in Singapore for capturing pastel Peranakan houses. I’d woken up early, hauled my camera down there, and then the sky opened up.
My first instinct was to give up and go home. But I ducked under a five-foot way, waited out the worst of it, and when the rain eased, the whole street had transformed. The pastel Peranakan facades glowed. The wet road became a mirror. I crouched low, framed the buildings and their reflection together, and pressed the shutter.
I have realised that shophouse photography isn’t about finding a colourful building and pointing your camera at it. It’s about light, patience, and knowing how to see a street. After years of singapore photography — most of it spent making mistakes I’ll happily warn you about — let me walk you through how I do it now.
Choosing the Right Neighbourhood: Arab Street, People’s Park Complex, Pagoda Street
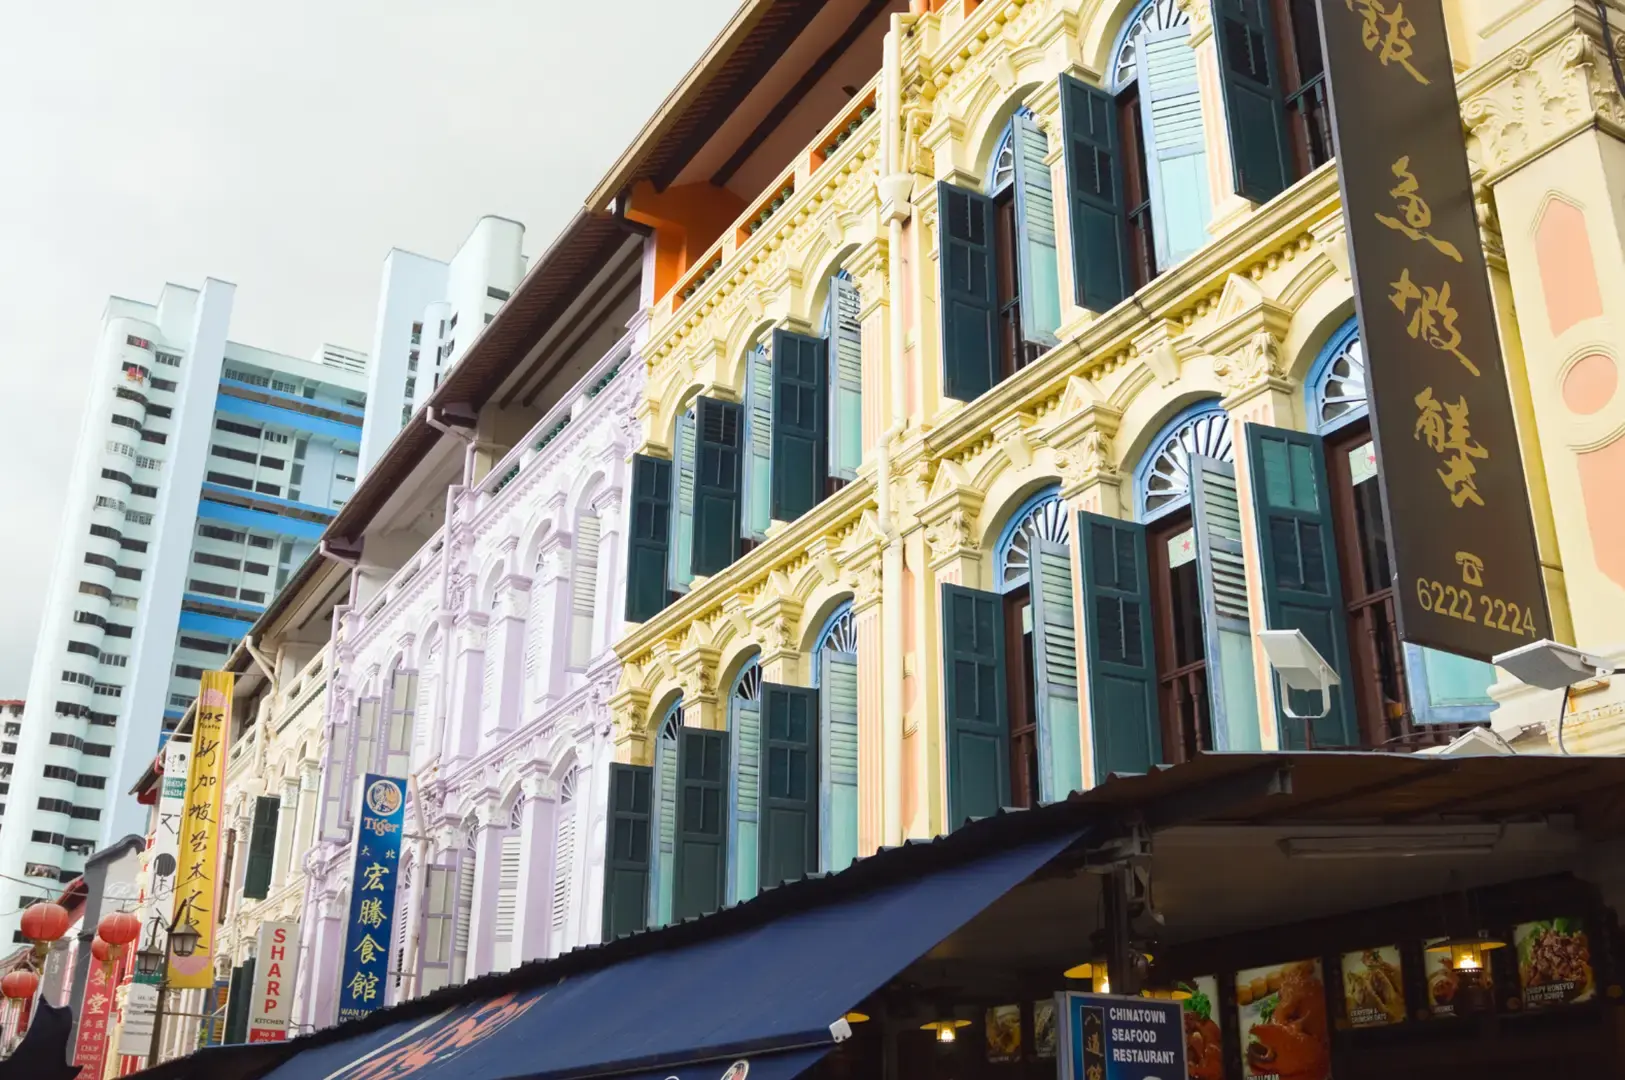
Chinatown is my go-to for bold colour and energy. Pagoda Street draws crowds, so I usually walk one street behind it for cleaner frames. Nearby, the Sri Mariamman Temple and the Buddha Tooth Relic Temple, designed in the Tang dynasty style, give you entirely different textures — ornate, layered, and worth a few frames on their own. These are some of the best photo spots in Singapore for cultural and architectural photography.
Joo Chiat and Katong is where the pastel magic lives. Koon Seng Road is the postcard spot, all decorative tiles and intricate windows, perfect for great photos.
Tanjong Pagar is my pick when I want contrast — traditional shophouses with glass skyscrapers looming behind them. That juxtaposition tells a distinctly Singapore story, blending heritage with the big city’s modernity.
Emerald Hill is one of the quieter hidden gems. It’s a residential street, elegant and preserved, and far less crowded than the famous photo spots.
Kampong Glam brings a creative edge. Arab Street and Haji Lane are packed with street art and colourful storefronts. Just up the way, the Old Hill Street Police Station is one of the most photographed facades in the whole country, and for good reason.
Don’t overlook People’s Park Complex either. It’s brutalist rather than heritage, but that raw concrete energy makes for striking urban frames and is a must-visit area for photographers.
Timing Is Everything
I learned this one the hard way, standing in Chinatown at noon wondering why my photos looked flat and harsh. A few hours is all it takes, but you have to be on time.
Here’s my timing table:
Time | What you get |
|---|---|
7:00–8:30 AM | Soft light, empty streets, perfect for golden hour photos |
8:30–10:00 AM | Bright facades, manageable shadows |
Golden hour | Warm glow on colour, ideal for capturing the best moments |
After rain | Reflections and saturated colour, great photo opportunities |
Making Hidden Gems Louder: My Composition Techniques
This is where most beginners plateau, so let me be specific.
Shoot straight-on for symmetry. Colourful rows, repeating windows, balanced facades — these reward a clean, centred frame. Singapore shophouses are famous for their rhythm, so lean into it. Identical shutters, repeating columns, decorative arches — pattern creates visual strength.
Use the five-foot way. These covered walkways are one of the best composition tools we have. They give you leading lines, natural framing, and depth all at once. Position yourself at the mouth of one and let the columns march your eye into the distance. I think the five-foot way is as important as the facade itself.
Look up. So much detail hides above eye level — ornate plasterwork, decorative vents, colourful shutters. Most people never tilt their camera upward, and they miss half the building.
Get close to the details. Don’t only shoot whole buildings. Peranakan ceramic tiles, floral motifs, carved wooden doors — these close-ups communicate craftsmanship in a way a wide shot can’t.
Use reflections after rain. Crouch low. A wet road doubles your facade and instantly makes an ordinary frame extraordinary.
Beyond Shophouses: Singapore Flyer, Helix Bridge, Gardens by The Bay
Some of the best photography locations in Singapore aren’t heritage buildings at all.
- The Helix Bridge, with its DNA-inspired design, is stunning at blue hour, its lattice glowing over the water.
- Gardens by the Bay at Marina Bay Sands and Marina Bay Sands Hotel rewards you with those otherworldly Supertree Grove structures, especially during the nightly light and music show.
- The Singapore Flyer offers incredible views from 165 meters high, perfect for cityscape shots.
To More Posts: Camera Settings Made Simple

On a smartphone: stick to the 1x lens, enable HDR, and tap to expose for the brighter facade rather than the shadows. Avoid digital zoom — it just softens everything. For post-prod, read our best photo editing apps recommendations.
On a mirrorles, DSLR for a more professional shoot in Singapore, here’s where I start:
Situation | Settings |
|---|---|
Sunny | f/8, ISO 100 |
Cloudy | f/5.6–8 |
Blue hour | Tripod + low ISO |
Detail shots | f/4 |
On lenses, I’d steer you toward a 24–35mm full-frame equivalent. It’s tempting to grab an ultra-wide for narrow streets, but resist. Anything wider distorts your buildings and makes them lean dramatically. A moderate wide lens keeps everything looking natural. |
How Do I Capture the Best Photo Spots?
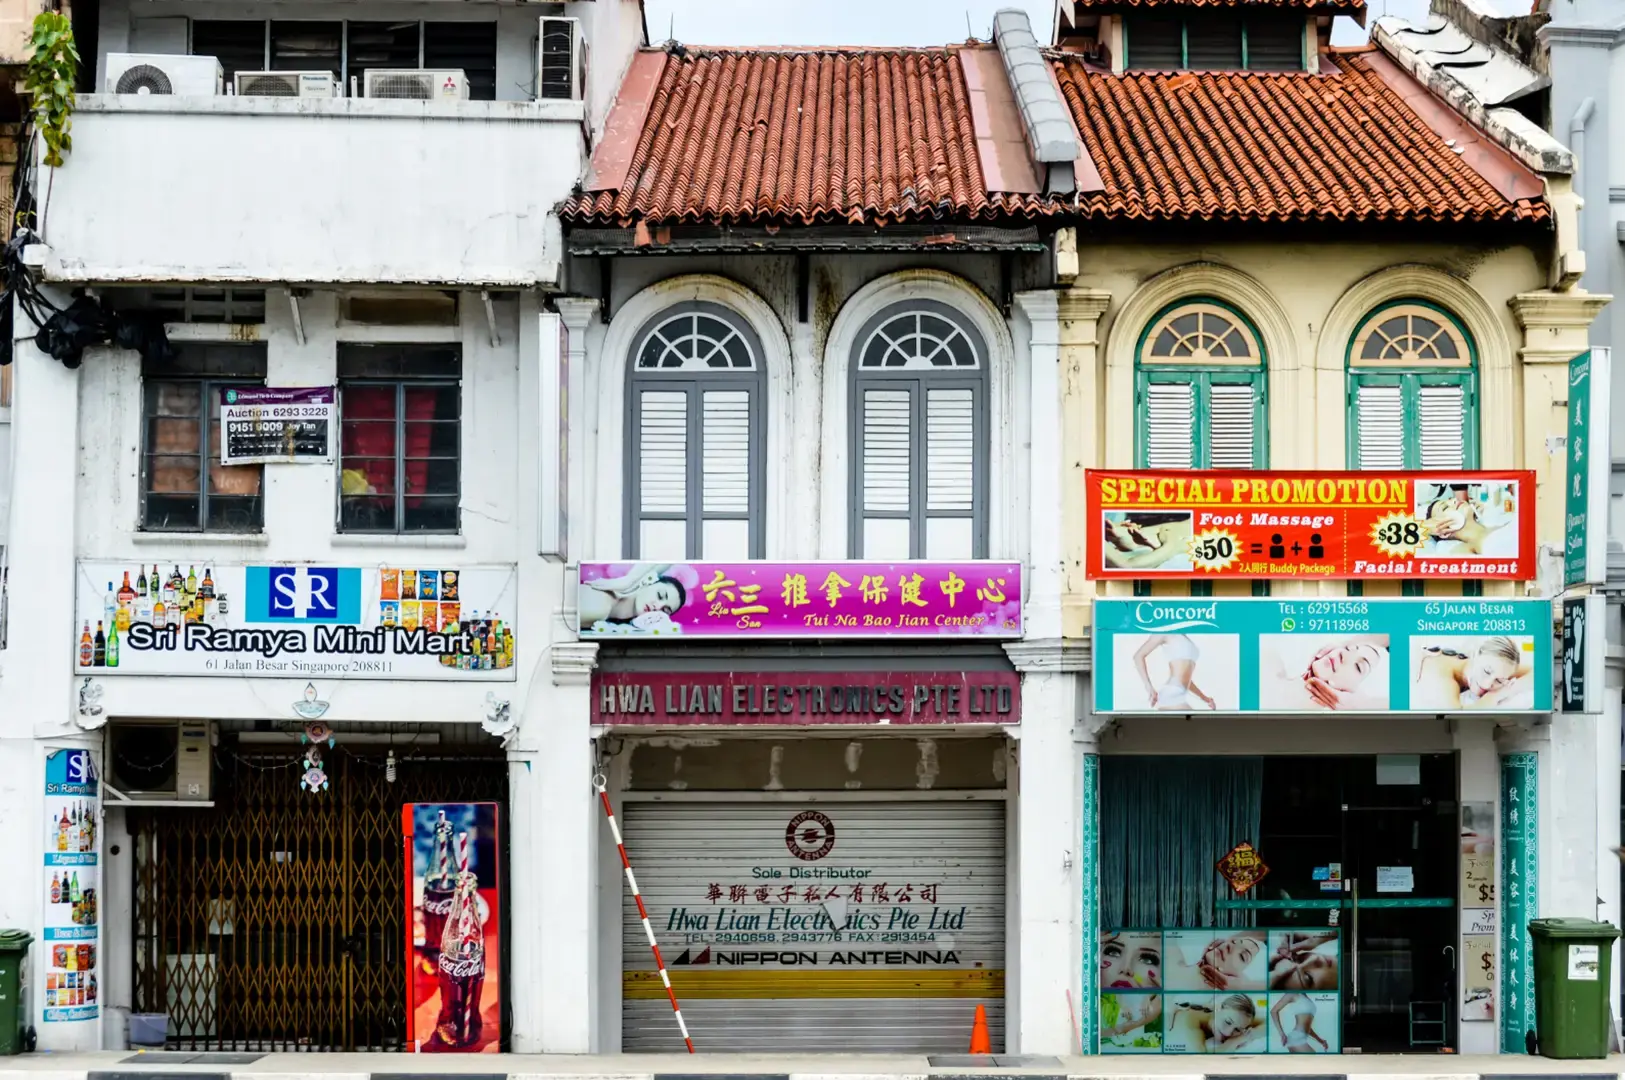
- Pick one neighbourhood. Don’t try to cover multiple locations in a morning. Give one area 90 minutes to two hours.
- Arrive early. Before 8 AM for soft light and empty streets.
- Walk it once without shooting. Notice where the light falls and which rows have the cleanest facades before you raise the camera.
- Start straight-on, then move to five-foot ways, then details.
- Keep your camera level to hold vertical lines straight. This alone separates amateur frames from clean ones.
- Wait for one person. A lone cyclist or someone with groceries gives scale without cluttering the shot.
- Review and reposition. Sometimes moving just a few metres transforms a frame.
Don’t Do This, Okay?
Standing too close. My earliest shophouse photos all had buildings leaning backward like they were about to fall over. The fix is simple: step back, keep the camera level, and crop or correct perspective later.
Chasing colour over composition. I used to think any bright facade made a good photo. It doesn’t. Uneven framing, a stray rubbish bin, or a parked scooter dominating the foreground will ruin an otherwise gorgeous wall.
Clipping the tops of buildings. In a rush, I’d cut off the ornate roofline that made the shophouse special. Slow down and check your edges.
Etiquette That Matters
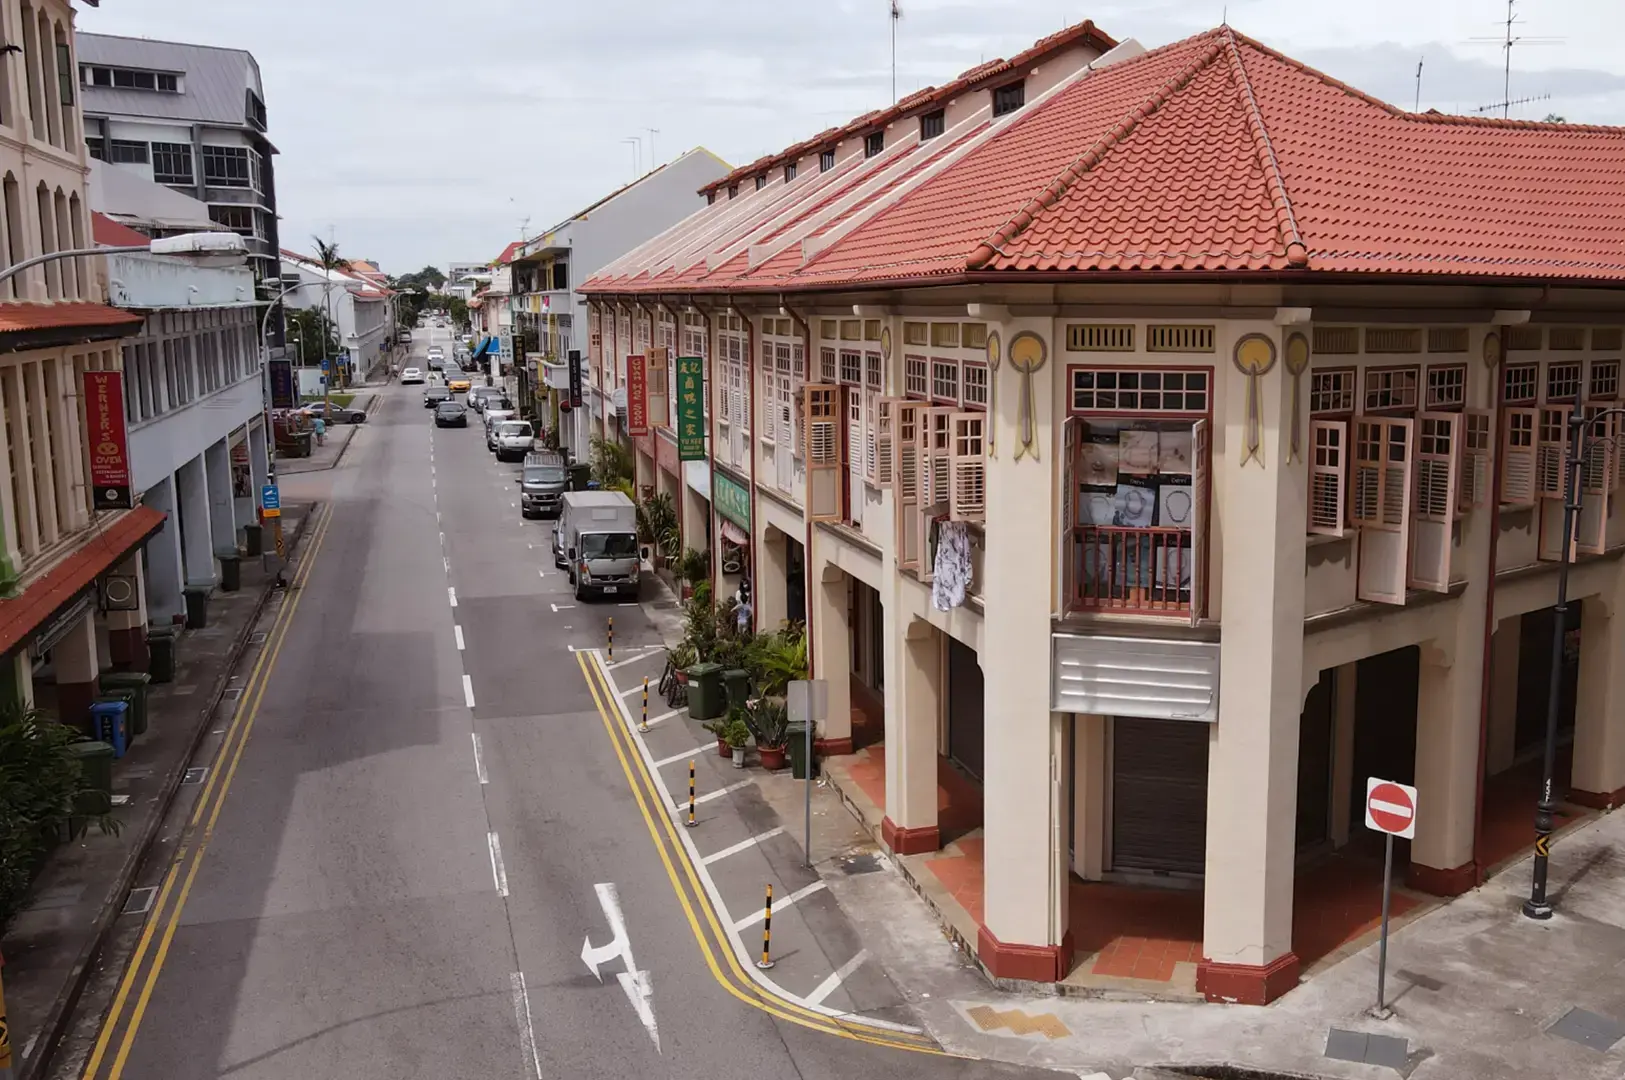
This is important, and it’s easy to forget in the excitement.
Many shophouses are still lived-in homes and working businesses. Respect means staying on public walkways, not blocking entrances, and never peering through windows. The five-foot way is public in many areas, but the shop behind it still deserves courtesy. If you want to photograph staff or a resident closely, ask first.
FAQ
How do I stop buildings from leaning backward?
Step farther back and keep your camera level rather than tilting it up. Fix any remaining distortion with perspective correction in editing. This single habit is the biggest difference between beginner and experienced architectural work.
How do I deal with crowds in Chinatown or Katong?
Go early — before 8 AM is transformative. Walk one street behind the famous spots like Pagoda Street. And instead of fighting the crowd, wait for a single figure to give your frame scale.
Do I have to pay for some attractions before I can take a picture?
Well, be aware of entrance fees if you’re aiming to photograph some establishments like the artscience museum, but if you aim for Singapore’s Little India or a preserved mosque, or a back street, you don’t have to.
Go Shoot Your Street
When you visit Singapore, you will see a lot of loud streets and architectures making a statement for themselves. You can find it in Orchard Road, Lion City, Canopy Park, Fort Canning Park, or hotels like Raffles Hotel, Sentosa Island, or architectures like the Merlion Park, or those you saw at Crazy Rich Asians that made the movie more Best Picture-awardee worthy.
And when you see those photography spots, you will probably curate your instagram feed in your head, and take photos. That’s what I do before.
And… after all these years after that rainy morning on Koon Seng Road.
I know now that great photo spots standing in plain sight — you just have to show up early, watch the light, and be patient enough to wait for the frame. Start with one neighbourhood. Bring whatever camera you own. Arrive before the shops open, walk the street once before you shoot, and keep your camera level.
You’ll get things wrong at first. I certainly did. But every leaning building and blown-out facade teaches you something. Soon you’ll be reading a street the way you read a face.
Your wall photo is out there somewhere, glowing on a wet pavement, waiting for you to crouch down and see it.