The first time I tried to photograph a candlelit dinner at Clark Quay Central, I committed a small crime against the entire restaurant. I was at a romantic little Italian place off Keong Saik Road, the kind with one flickering candle per table and the lights dimmed to a soft amber glow. My pasta, the main dish, arrived looking gorgeous. So I lifted my phone and fired the flash.
In one harsh burst, I flattened the mood, blinded my dinner companion, and earned a glare from the couple at the next table. The food photo looked like a crime scene. The warm, intimate atmosphere I wanted to capture had vanished the moment the flash hit it. This experience taught me a crucial lesson in photography for food: the goal is to preserve the feeling, not just document the plate.
Why Flash Ruins Food Photography: A Photographer’s Take
Let me answer the question I hear most: “Should I just use flash?” In my experience, no. Experienced photographers avoid flash in restaurants for very practical reasons. It destroys the ambience instantly. It creates harsh, ugly shadows behind plates. It bounces off wine glasses, polished cutlery, and glossy table surfaces in distracting white spots. And it disturbs everyone around you.
Many upscale restaurants in Singapore quietly discourage flash precisely because it wrecks the dining experience for nearby guests. So if you want food photos that feel like the evening actually felt, you have to learn to work with the light that is already there.
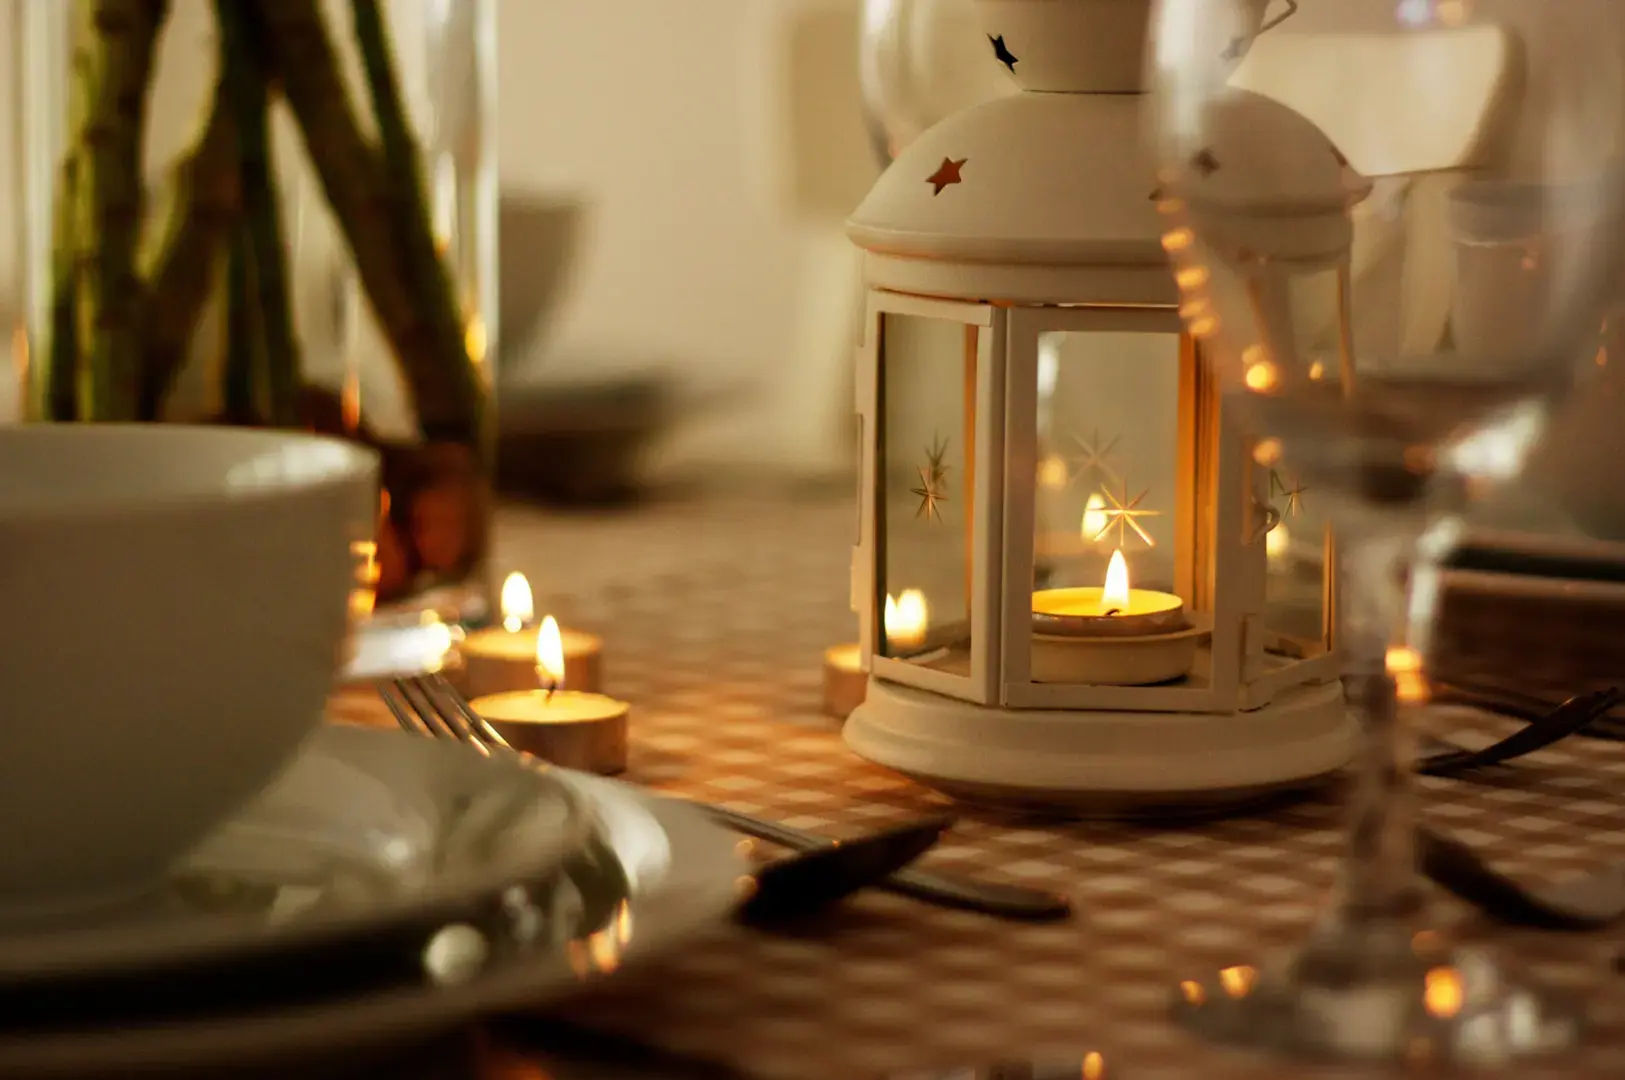
Field note: A slightly darker, moodier image almost always feels more honest than a brightly lit one. I’d suggest you stop fighting the darkness and start using it in your food photography.
Three Food Photography Ideas Worth Unlearning
- More light is not always better. Beginners try to brighten every image until the shadows disappear. But candlelit photography lives in those shadows and the effective use of negative space. The mystery is the mood. Kill the shadows and you kill the feeling that mouth watering food images give.
- You do not need professional equipment. Some of the best candlelit food photos I see today are taken on smartphones. What matters more is stable hands, an understanding of available light, good composition, and knowing the right moment to shoot. Your creativity is your best tool.
- Overhead flat-lays are not always best. Flat-lay shots work beautifully for bright brunch cafés. But in candlelit restaurants, shooting from directly above often misses the glow entirely. A 45-degree camera angle, side lighting, or an eye-level perspective captures the warmth of the flame far better.
My Process for Photography for Food
Find the Light Source
Before I touch my camera, I look around. Is there a pendant light overhead, a sliver of window light, or some accent lighting on the wall? The goal is to use existing light, not battle it. This is the first step for any food photographer.
Reposition for Simple Food Styling
Small adjustments make a huge difference. I might rotate the plate a few degrees, slide it twenty centimetres closer to the candle, or shift my own seat angle. Even that tiny move can transform how the light falls across the food. A little food styling on the fly can elevate your pictures.
Stabilize Your Camera
Blur is your biggest enemy in low light because the shutter stays open longer to gather light. For a phone, hold it with both hands, keep your elbows tucked against your body, and lean against the table edge or your chair. For a camera, switch on image stabilization and shoot in burst mode.
Focus on the Highlights
I focus on the brightest section like a glistening garnish, a curl of steam, or a reflection in a wine glass. These bright points anchor the image and draw the eye. Using a shallow depth of field can make these details pop.
The Best Camera Settings and Camera Angle for Food Photos
- On a smartphone: Use Night Mode, or Pro Mode if your phone has it. The single most useful trick is dialing exposure compensation down to around -0.3 to -1 stop. Lowering the exposure preserves the mood and stops the phone from blowing everything out into a flat, bright mess. This is a great idea for your social media content.
- On a mirrorless or DSLR: A solid starting point is an aperture between f/1.4 and f/2.8, a shutter speed of 1/80 to 1/200 second, and ISO somewhere between 800 and 3200. This setting allows you to capture the scene without much blur. If your subject is still, you can drop the shutter speed. If people are moving or reaching for food, keep it faster to freeze them.
Pro tip: Do not panic about high ISO. Yes, grain elements appears when you push ISO too far, but modern cameras and phones handle it far better than most beginners expect. A little grain with great mood beats a clean, lifeless photo every time. A good food photographer knows that mood trumps technical perfection.
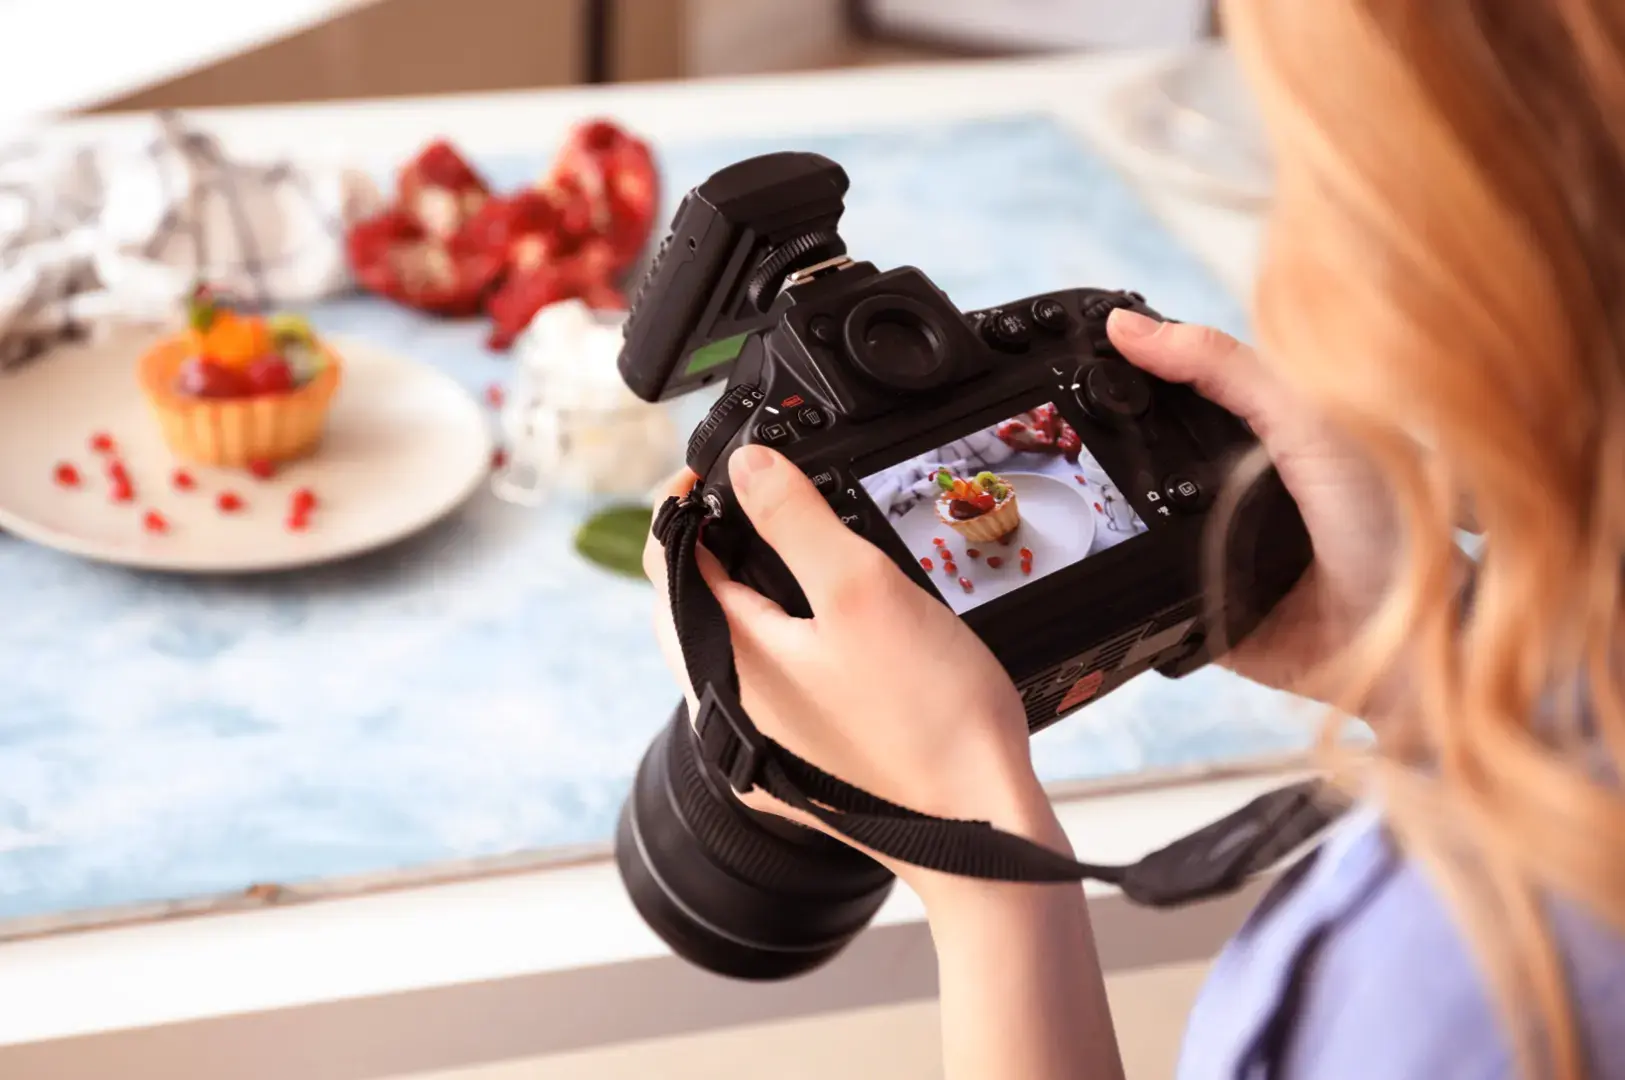
What It Costs: From Free to Hiring a Professional Food Stylist
Let me be honest about money, because you need less than you think.
Smartphone photography is essentially free if you already own a decent phone. Many flagship phones today produce quality candlelit images straight out of the box, perfect for your house life and capturing daily cuisine.
If you want to step up, a fast 50mm lens costs around SGD 150 to 400 and is the single best upgrade for low light. A higher-end prime lens runs SGD 500 to 1,500. A compact LED light, only if the venue permits it, costs SGD 30 to 200. And if you ever hire a professional for a restaurant shoot in Singapore, expect anywhere from SGD 300 to several thousand depending on deliverables, styling, and commercial usage rights.
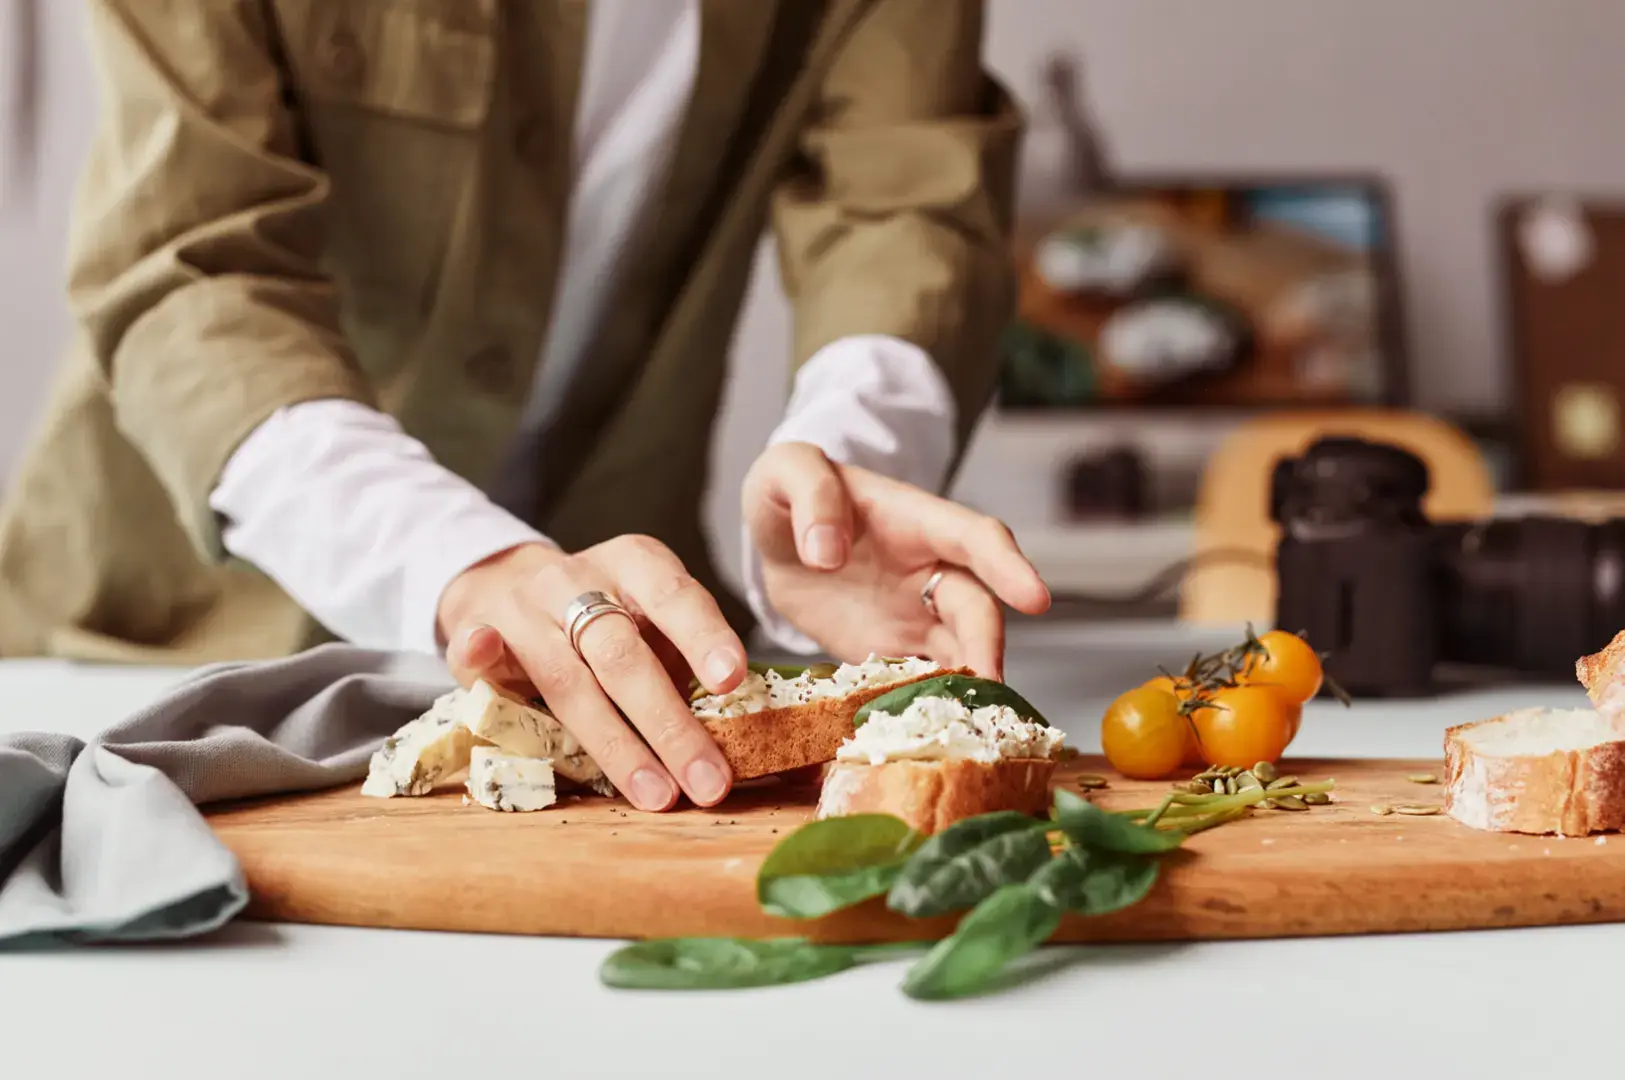
What a Food Photographer Brings to the Table
- Carry only essentials: clean lens cloth, fully charged battery, and extra memory card.
- Optional gear: small tabletop tripod, compact reflector card, lightweight prime lens.
- Wear dark, neutral clothing to avoid color casts on food and reflections in glasses or on the table.
- Avoid bright brand shirts, especially red, as they can create unwanted color glows affecting how photo’s mood and background complement.
Photograph the Atmosphere, Not Just the Food Photos
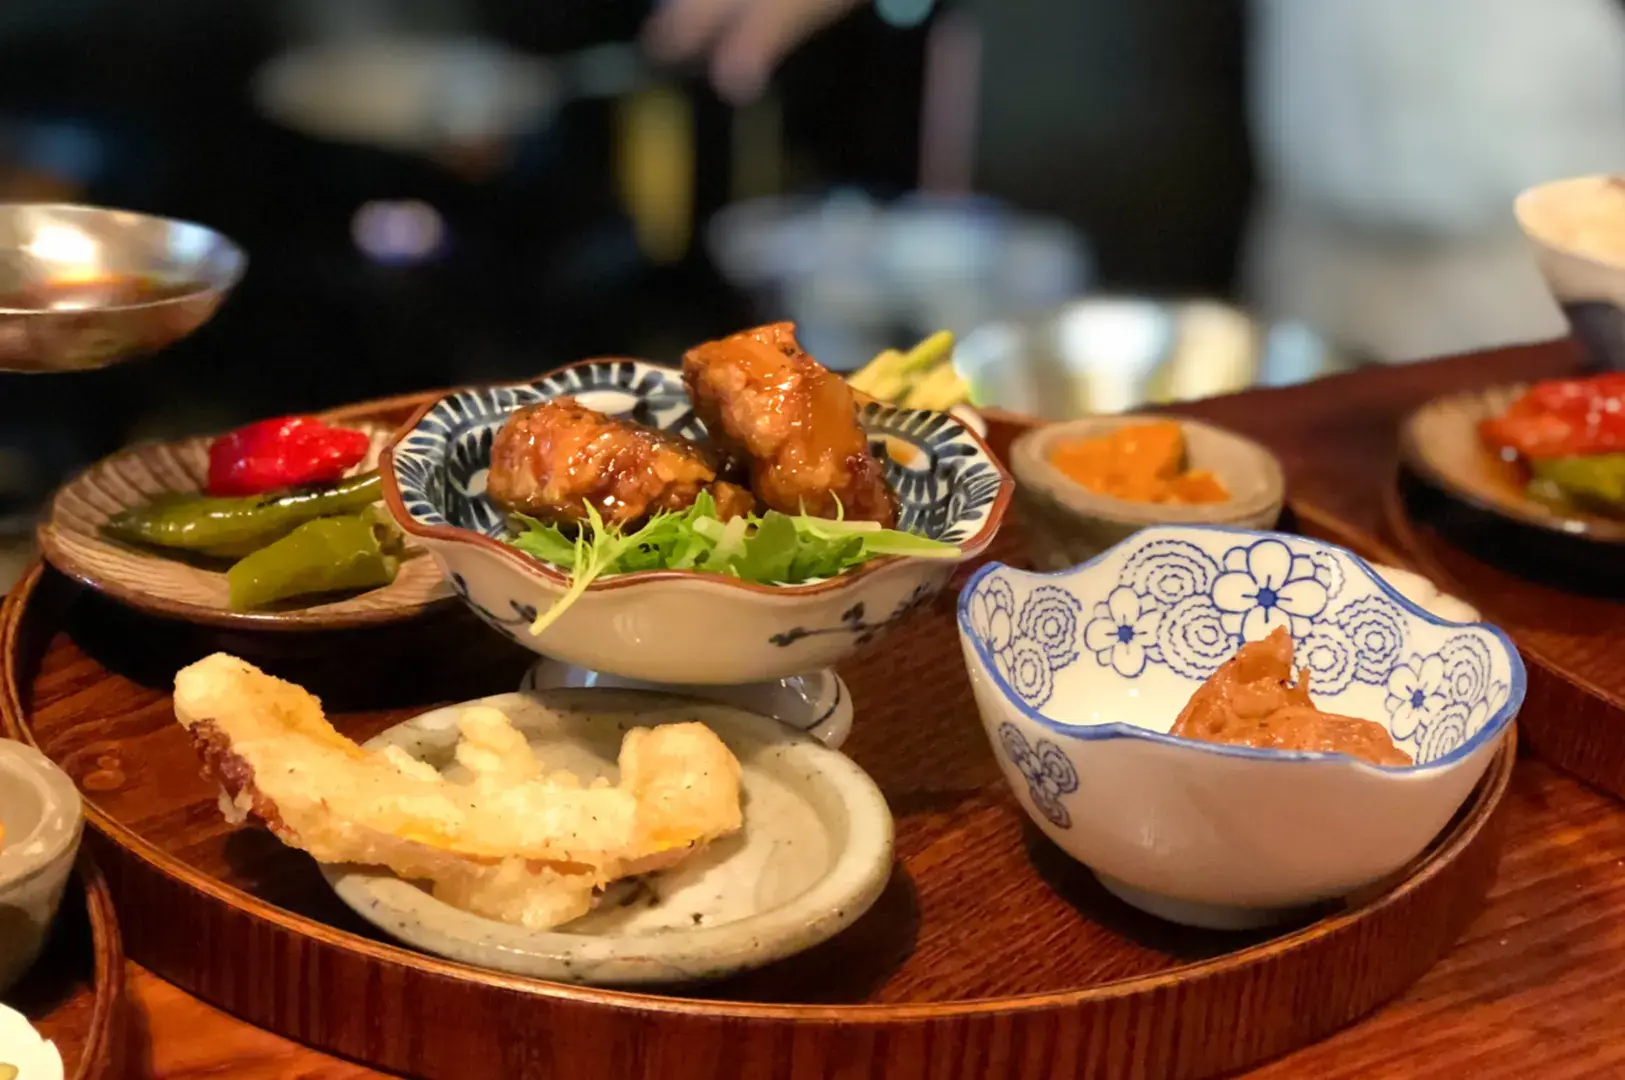
I photograph the candle itself, the half-full wine glasses, the table setting, a hand reaching across for the bread, the warm blur of a Suntec Food Plaza restaurant interior behind it all. Let the shadows exist. Not every detail needs to be visible. Treat it like a secret recipe. The mystery is part of what makes the image feel intimate and showcase a sense of place.
And here is my golden rule of etiquette: shoot before the first bite. Food arrives, I compose quickly, take two or three frames, then put the camera down and enjoy the meal. This respects both the food and the person I am with.
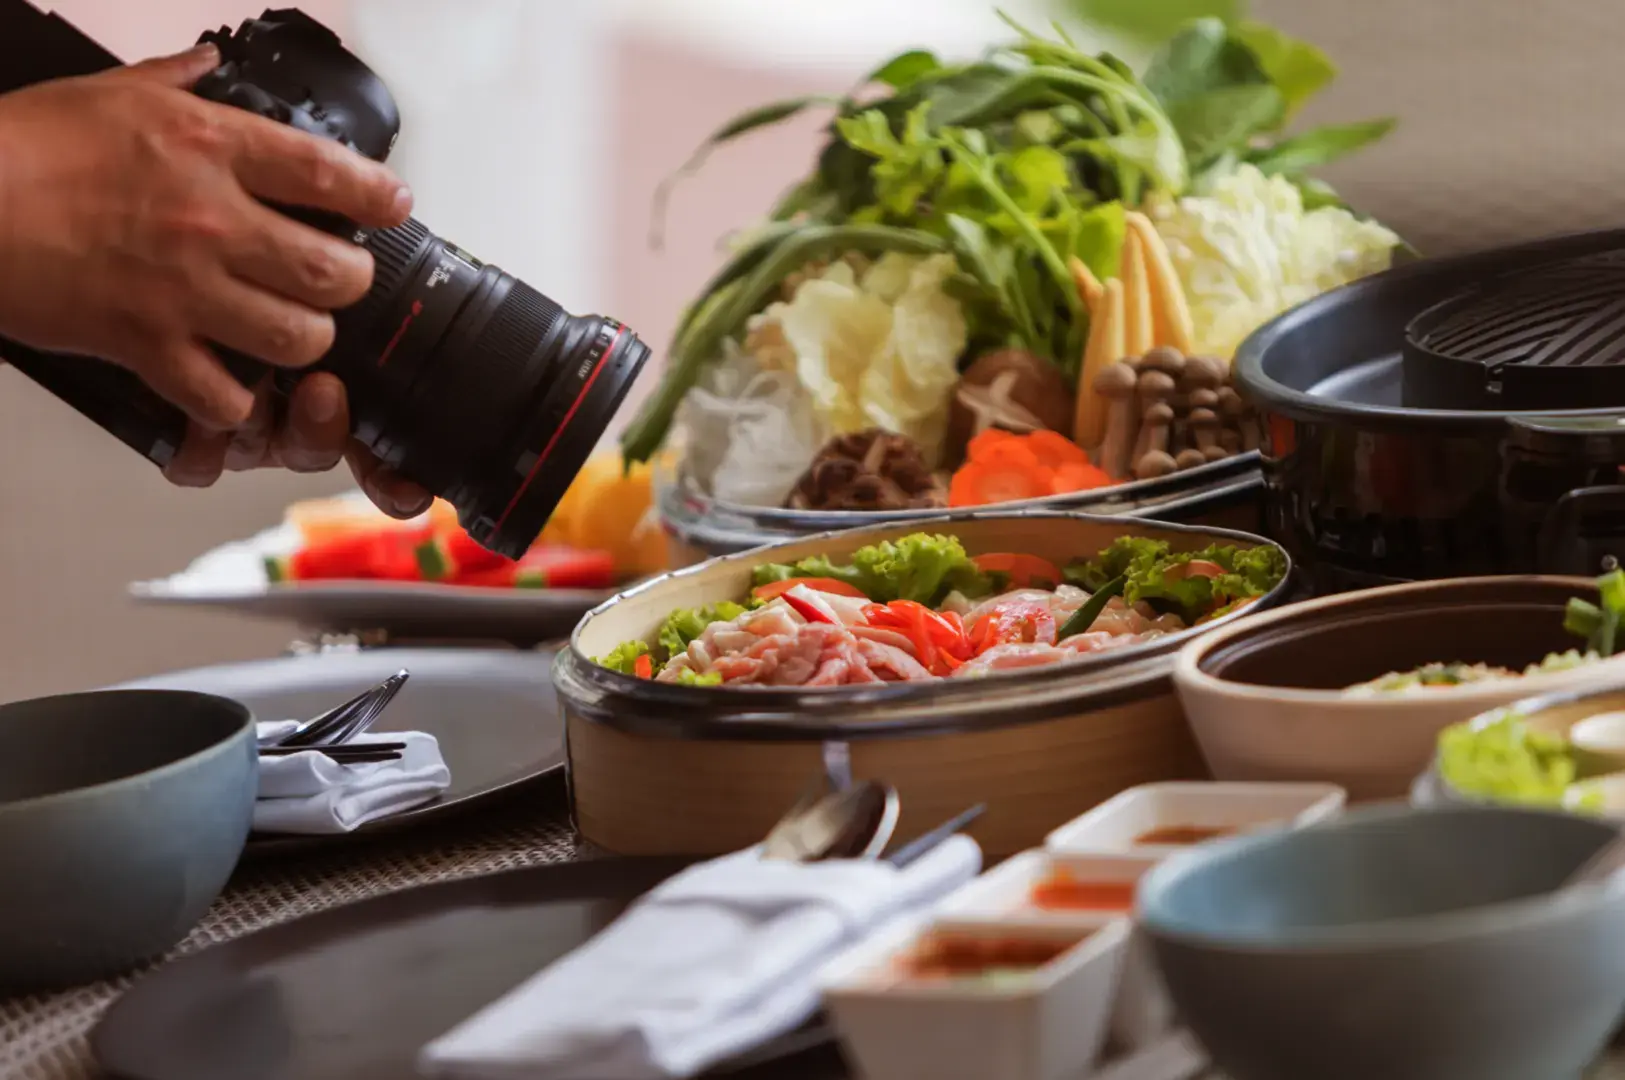
Real-World Food Photography Scenarios
The Japanese omakase counter. These spaces are extremely dim and the counter space is tiny. I use my fastest lens, photograph the moment a dish lands, and focus on the chef’s hands. Storytelling here matters as much as the food itself. Your food photos must capture the craft and menu.
The romantic Italian restaurant with one candle. Here, that single flame is everything. I slide the dish closer to the candle, use it as a side light, and look for warm reflections in the wine. The result is dramatic and intimate, exactly what the room feels like. The focus is on the interplay of light and shadow.
The dark cocktail bar. Some of these speakeasies are nearly pitch black. Instead of fighting it, I photograph drinks against the illuminated back bar and include the bartender mid-pour. Often the atmosphere becomes the real subject, not the drink.
Common Mistakes to Avoid in Your Food Photography
- Using flash, obviously. We covered that. Never again. It’s the number one mistake in food photography.
- Overbrightening in editing. I used to crank up the exposure slider until the photo looked flat and fake. Now I let it stay moody. Warm tones and visible shadows are the goal.
- Overediting. Watch out for orange skin tones or excessive sharpening. Keep your edits light and let the candlelight feel believable. The best cooking should taste natural, and your food photos should look it, too.
- Ignoring mixed colour temperatures. A room can have candlelight and LED accent lights, which creates strange colour casts. I’d suggest adjusting your white balance carefully.
- Taking too long. Now I keep it to thirty seconds. Nobody enjoys dining with a photographer who treats every dish like a studio session.
A Word on Singapore’s Dining Spaces for Food Photos
Singapore is a dream city for this kind of work because the variety is enormous. You have polished fine dining, rooftop venues around Marina Bay, hidden speakeasies, and characterful shophouse restaurants in Tanjong Pagar and Joo Chiat. Each one presents a different challenge and different food photography ideas.
One last note on etiquette. Singapore’s dining culture values efficiency and consideration for others. In fine dining and omakase settings especially, quiet and discreet photography is appreciated far more than an elaborate setup.
Frequently Asked Questions About Photography for Food
- Why are my candlelit photos always blurry? Almost always slow shutter speed. In low light, the camera keeps the shutter open longer, so any movement causes blur. Stabilize your camera against something solid.
- Why do my photos look so grainy? Your ISO is pushed too high. Try lowering it and opening your aperture wider instead. A little grain is fine; it’s better than a soulless photo.
- Is it rude to photograph food in a fine-dining restaurant? Not if you are quick and discreet. Shoot two or three frames before the first bite, no flash, then put the camera away.
- Can my phone really handle this? Yes. Use Night Mode or Pro Mode and dial your exposure down slightly. Stable hands matter more than the device.
- What if the room is just too dark? Then make the darkness part of the story. Shoot toward the brightest light source, like a candle, and let the rest fall into shadow. Sometimes the mood is the photo.
Final Thoughts on Becoming a Better Food Photographer
If you remember one thing from this guide, let it be this: low-light restaurant photography is not about brightening a dark room. It is about protecting the warmth, the shadows, and the quiet intimacy that drew your eye in the first place.
Start simple. Put the flash away, find the candle, steady your hands, and take a few frames before your food gets cold. Let the shadows breathe. Some nights you will come home with only one or two images you truly love, and that is completely normal. Those honest, glowing frames will mean far more than any over-lit snapshot. They will be a testament to your passion and skill as a food photographer. Pick a warm little shophouse restaurant, plan something beautiful, and let the candlelight do the work.