You see it coming. A woman steps off a sunlit pavement in Chinatown and into the shade of a five-foot way. The light drops. Your camera meter jumps. She keeps walking.
You have perhaps a second to decide what matters.
That is where the exposure triangle earns its place. It is less a brightness formula and more a way of deciding, under pressure, which compromise you can live with.
The Exposure Triangle Definition: Aperture, Shutter Speed, and ISO
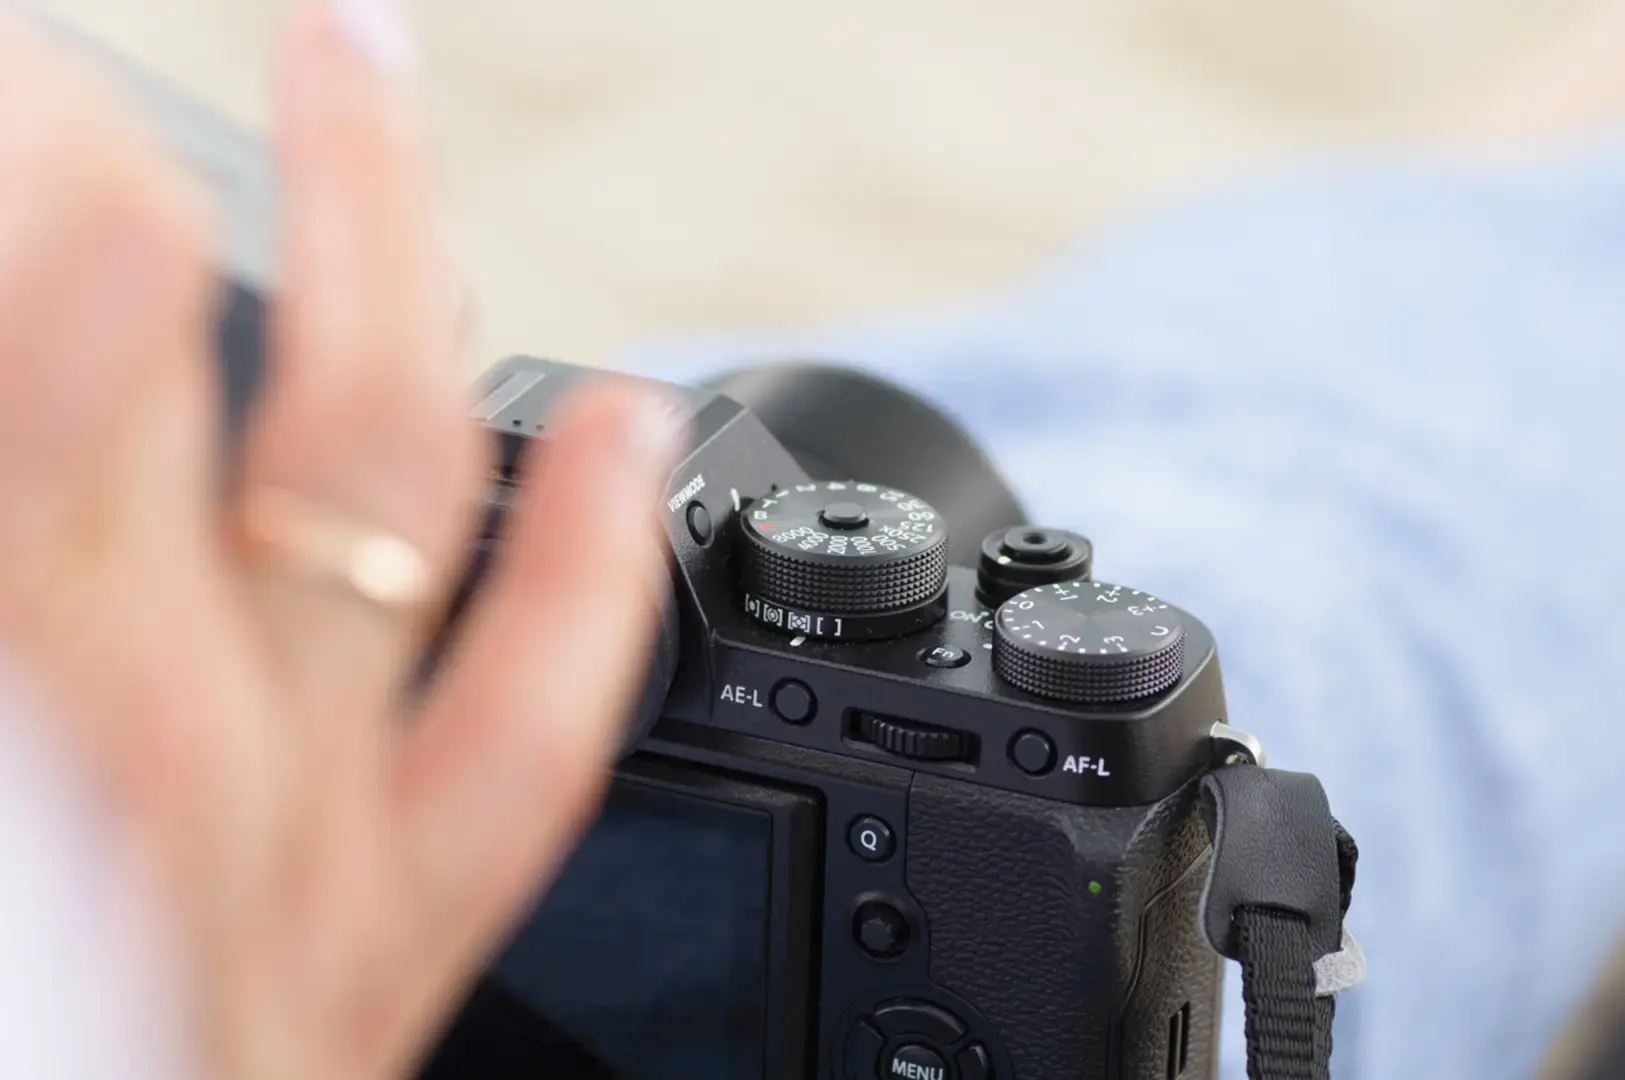
The photography exposure triangle describes how three settings work together, illustrated in the exposure triangle diagram above. It is one of those photography basics worth understanding early, because learning to control exposure gives you more say in how a moment is recorded.
Three elements worth knowing: Aperture is the size of the lens opening. It controls how much light passes through the lens and also shapes depth of field. Shutter speed is the exposure time, how long the camera sensor receives light. It also decides how motion is rendered. ISO is the odd one out. Aperture and shutter speed control the amount of light hitting the sensor. ISO does not.
Raising the ISO setting brightens the final image by changing how the camera processes the captured signal, but it adds no extra light. You may have learned ISO as the “camera’s sensitivity” to light. It’s a familiar shorthand, and an imprecise one. I’d suggest dropping it early, because it hides the real trade-off: higher ISO settings brighten the picture without collecting more light.
A friendly tip: Understanding how ISO works means recognising that higher ISO values can affect noise and highlight dynamic range, even when the scene itself hasn’t changed.
Exposure Triangle Guide: How Does the Exposure Triangle Really Work?
Everything moves in stops. One stop doubles or halves exposure, or brightness in the case of ISO. An aperture stop changes the size of the opening, while shutter speed changes how long light reaches the sensor.
Control | One stop brighter | One stop darker |
|---|---|---|
Aperture (f stops) | f/5.6 → f/4 | f/5.6 → f/8 |
Shutter speed | 1/250s → 1/125s | 1/250s → 1/500s |
ISO | ISO 200 → 400 | ISO 200 → 100 |
Change one setting by a stop and you can balance it by moving another a stop in the opposite direction. On a static scene at ISO 100, f/4 at 1/500s, f/5.6 at 1/250s and f/8 at 1/125s deliver roughly the same amount of light. Same exposure value. Not the same photograph. The depth of field shifts, and anything moving renders differently.
That’s the principle behind the exposure triangle chart, and what makes the photography triangle useful rather than just another diagram to memorise.
How to Use the Exposure Triangle in the Field
I’ve found the most useful habit is working backwards from what the photograph needs. When I’m explaining exposure to someone new to photography, this is where I prefer to begin: with the picture they want, rather than the numbers on the camera.
Start by asking whether your subject is moving, whether the background should melt away or stay readable, and whether you’re shooting handheld or on a tripod.
- Choose the setting you refuse to compromise. A moving pedestrian puts shutter speed first. A portrait with a blurred background puts aperture first.
- Set the second control around that priority.
- Use ISO to reach a suitable brightness once the first two are decided. It is better to raise ISO than to lose the shutter speed needed to freeze a subject.
- Check the meter and the histogram. Whatever metering mode you use, a zero reading only means the camera’s estimate is satisfied. The histogram shows whether highlights or shadows are clipping.
- Apply exposure compensation in aperture priority or shutter priority when the meter reads a bright white wall too dark, or a backlit scene too bright.
- Review and change one thing at a time.
A friendly tip: In manual mode, aperture priority or shutter priority, it helps to know whether Auto ISO is active. Exposure compensation shifts the camera’s target, and which setting actually changes depends on your mode and camera.
Camera Settings for Singapore’s: Playing with Available Light, Depth of Field, and Long Exposure
Singapore is a good teacher because its light rarely holds still.
At midday, strong equatorial sun creates harsh contrast between pavement and shade. Step beneath a five-foot way and there’s suddenly less light coming through the lens, even though the street outside is still bright. If you want a shallow depth of field portrait at f/1.8 and ISO 100, there may be too much light. Your fastest shutter might not be quick enough, and you get an overexposed image. Moving into shade, using a neutral-density filter, a supported electronic shutter, or accepting a narrow aperture all solve it. Each changes the picture differently.
That choice of wider aperture also shapes how you work on the street, where focal length and maximum aperture decide both framing and how much light you have to spare. It’s part of why camera lens choice matters so much for street photography in Singapore. An f/1.8 lens lets in roughly four times as much light as an f/3.5 lens.
Inside a hawker centre, the light dims and hands move fast. Freezing a chef tossing a wok might need a very fast shutter speed, around 1/1000s or faster depending on the movement. A slower shutter speed, perhaps around 1/30s, lets the motion blur into a story of heat and rhythm. Neither is wrong.
Restaurants push the trade-off further. A dish at f/2.8, 1/125s and ISO 1600 might leave the edges of the plate soft. Stopping down to f/5.6 deepens focus but loses two stops, so holding the shutter could mean ISO 6400 or added light. That tension is at the heart of shooting food by a candlelight dinner in Singapore without reaching for flash.
After sunset at Marina Bay, a tripod changes everything. A long exposure at f/8, two seconds and ISO 100 keeps the camera still, though boats and people may blur, and bright building lights can still clip.
And when afternoon thunderstorms roll in, which MSS links to strong surface heating, the light can fall by several stops quickly. Open up, slow down, raise ISO, or spread the change across all three. If lightning threatens, go indoors. No frame is worth it.
Exposure Triangle Chart: A Field Guide
These are starting points, not measurements. Adjust for your camera, lens and the light in front of you.
Scenario | Aperture | Shutter speed | ISO |
|---|---|---|---|
Bright daylight, static scene | f/8 | 1/250s | 100 |
Pedestrian crossing a street | f/5.6 | 1/500s | Auto |
Dim restaurant, no flash | f/2.8 | 1/125s | 1600 |
Marina Bay at night, tripod | f/8 | 2s | 100 |
Hawker wok, freeze action | Varies | 1/1000s+ | As needed |
A friendly tip: Think of this as a starting point for finding proper exposure, not a promise of perfect results. The camera’s auto mode may choose different combinations, but understanding why those settings change is what gives you control.
Common Mistakes and How to Fix Them
- Holding ISO 100 at all costs. If low ISO forces a slow shutter and you get camera shake, the image quality isn’t necessarily better. Use the lowest practical ISO.
- Treating the meter as the judge. A silhouette or dark, moody frame can be properly exposed for your artistic vision even if the meter disagrees. Correct exposure serves intention, not a needle.
- Confusing three kinds of blur. Camera shake comes from you moving. Motion blur comes from the subject moving. Missed focus is a different problem altogether. A fast shutter speed helps the first two. Stabilisation helps only the first.
- Assuming f/22 means sharpest. Very small apertures can soften fine detail through diffraction.
Before You Raise the Camera
The exposure triangle won’t tell you what deserves to be photographed. It only lets you photograph it the way you meant to.
So this week, pick one scene you pass every day. Shoot it three ways, changing only one setting each time. Then look at what changed besides the brightness.
Your Exposure Triangle Cheat Sheet
Does a higher ISO let more light reach the sensor?
No. It brightens the processed image but captures no extra light.
Is there one perfect exposure?
Not universally. A high-key image isn’t automatically overexposed. A dark one isn’t automatically underexposed.
Does focal length affect exposure?
Not directly at the same f-number and shutter speed. Longer focal lengths do make handheld shake more visible.
Do I need a permit to practise?
Practising camera settings doesn’t, but check venue rules for tripods, lighting or commercial shoots.
How does aperture affect depth of field?
A wider aperture generally creates a shallower depth of field, helping separate a subject from its background. A narrower aperture generally creates a deep depth of field, keeping more of the scene acceptably sharp. The result also depends on focal length, focus distance and sensor format.