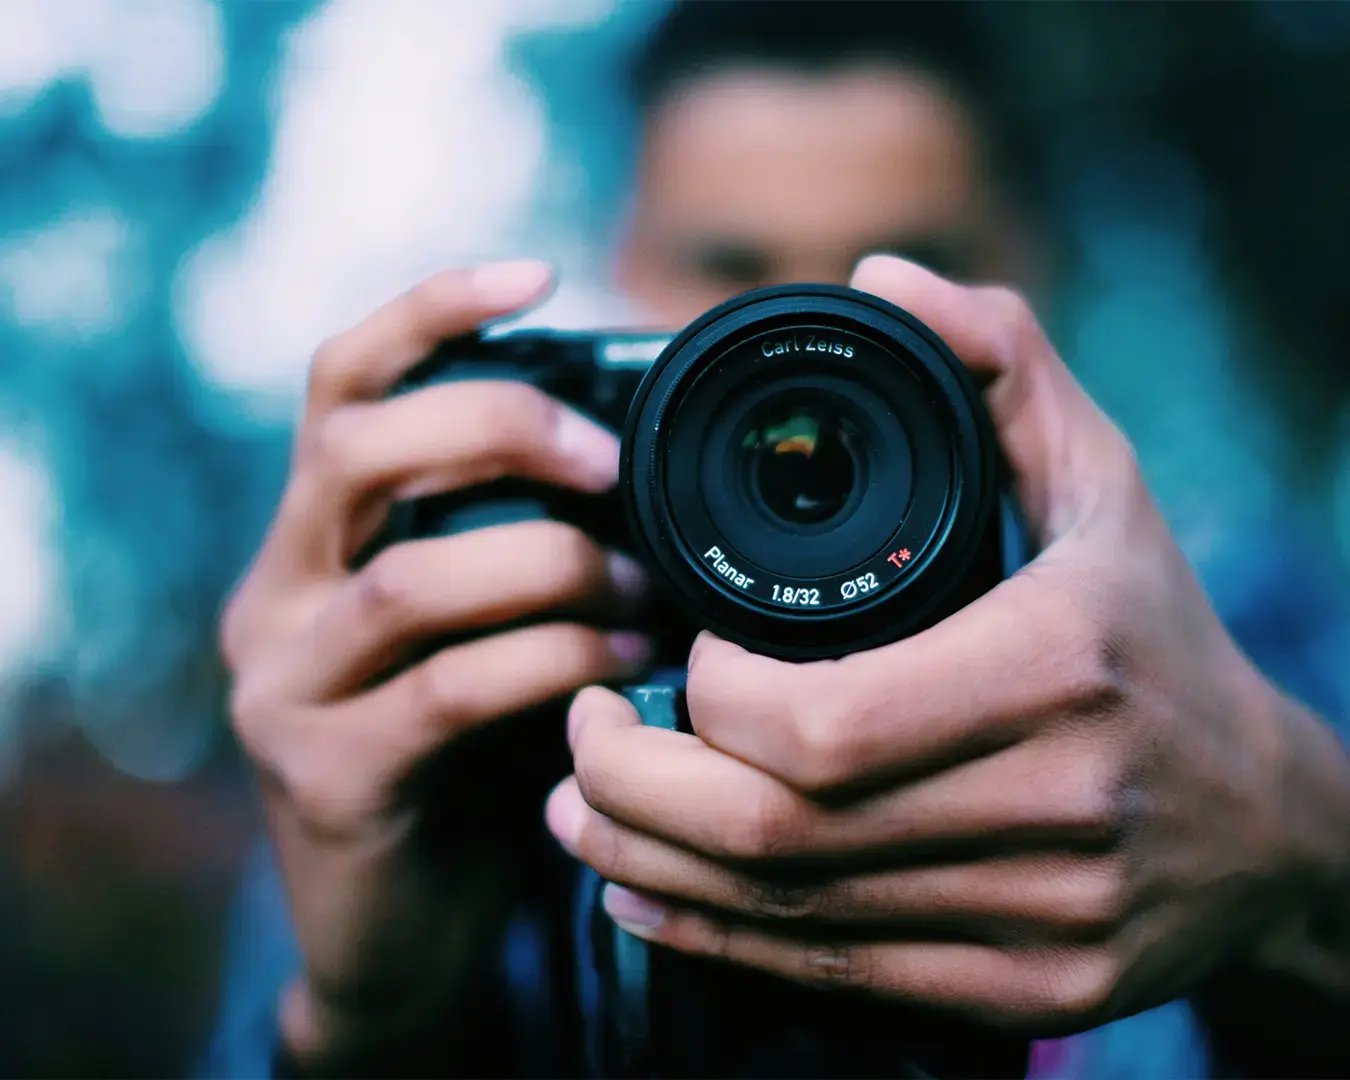
I remember sitting at a corner table in a Tiong Bahru cafe, wiping condensation off my camera lens with a slightly damp microfiber cloth. I had just tried to shoot a personal branding session for a friend at noon. We were both sweating through our shirts, the midday sun was casting harsh shadows under our eyes, and every photo looked stiff and uncomfortable. That afternoon taught me a hard lesson. A successful professional photoshoot Singapore is rarely about having the most expensive camera. It is entirely about preparation, understanding the environment, and knowing what story you want to tell.
Many beginners worry that they need top-tier gear before they can take good photos. I understand that feeling completely. But in my experience, learning how to plan for lighting, weather, and human comfort matters far more than buying another lens.
Whether you are a freelancer needing a website portrait, a digital nomad documenting your journey, or an aspiring Singapore photographer wanting to deliver better client work, this guide is for you. Let us walk through the reality of planning a professional photography session in our beautiful, humid, and unpredictable city.
What Makes a Professional Photography Session “Professional”?
There is a common misconception that “professional” means stiff, heavily posed, and blasted with artificial studio lighting. In reality, the best professional photoshoots feel natural. The difference between a casual snapshot and a professional image is intention.
A story-ready image answers a question. It tells the viewer who this person is and what world they belong to. Before you even touch your camera, you need to ask yourself what the image is meant to communicate. Does it need to look corporate and reliable for company websites and marketing materials? Or should it feel warm, artistic, and approachable for a creative portfolio or social media platforms? When you start with the story, the poses and locations will naturally follow.
Studio, Outdoor, or Hybrid: Choosing Your Canvas for Corporate Photography and More
In Singapore, the anxiety around photoshoots is often practical rather than creative. People worry about sweating through their outfits or getting caught in a sudden monsoon downpour. Choosing the right environment is your first major decision.
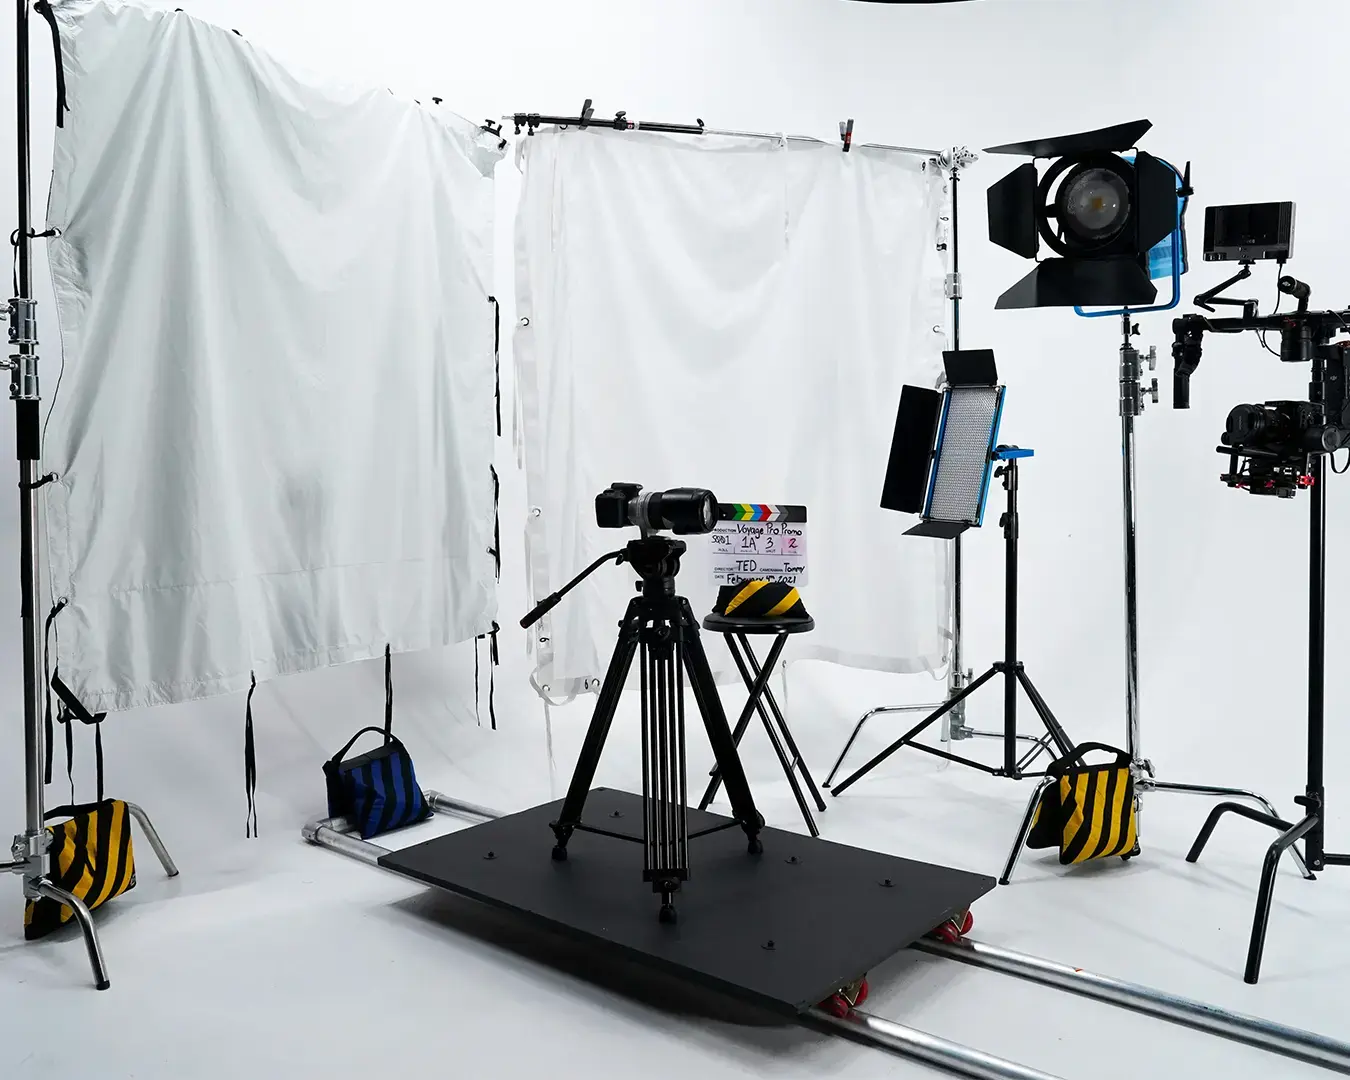
The Studio Photoshoot in Singapore:
This is your safest option. A dedicated photo studio gives you complete control over the lighting, pacing, and temperature. I would recommend this for corporate headshots, clean personal branding, and anyone who feels incredibly nervous about having their picture taken in public. The privacy of a studio in Singapore allows subjects to relax their shoulders and breathe, creating a comfortable environment that enhances confidence.
The Outdoor Photoshoot:
Our city is visually rich. Shooting outdoors gives you dynamic layers, from the heritage shophouses of Joo Chiat to the sleek steel of the Central Business District. Outdoor shoots are best for travel creators, lifestyle branding, and capturing candid moments. However, you trade control for atmosphere. You have to battle the heat, manage the crowds, and adapt to shifting natural light.
The Hybrid Approach:
This is my personal favorite. A hybrid shoot starts indoors (perhaps in a rented studio space or a quiet cafe where you have sought permission), allowing you to get the safe, clean shots first. Once you have those secured, you step outside into the surrounding streets to capture more relaxed, environmental portraits that showcase unique personalities. If your shoot is happening around the Marina Centre area, it also helps to plan where you will eat afterward; I put together a guide to Suntec food spots that work well after a photo studio day out.
Step-by-Step: Planning a Professional Photography Session That Creates Timeless Memories
If you want a shoot to run smoothly, you have to do the work before you arrive. Here is how I structure my sessions.
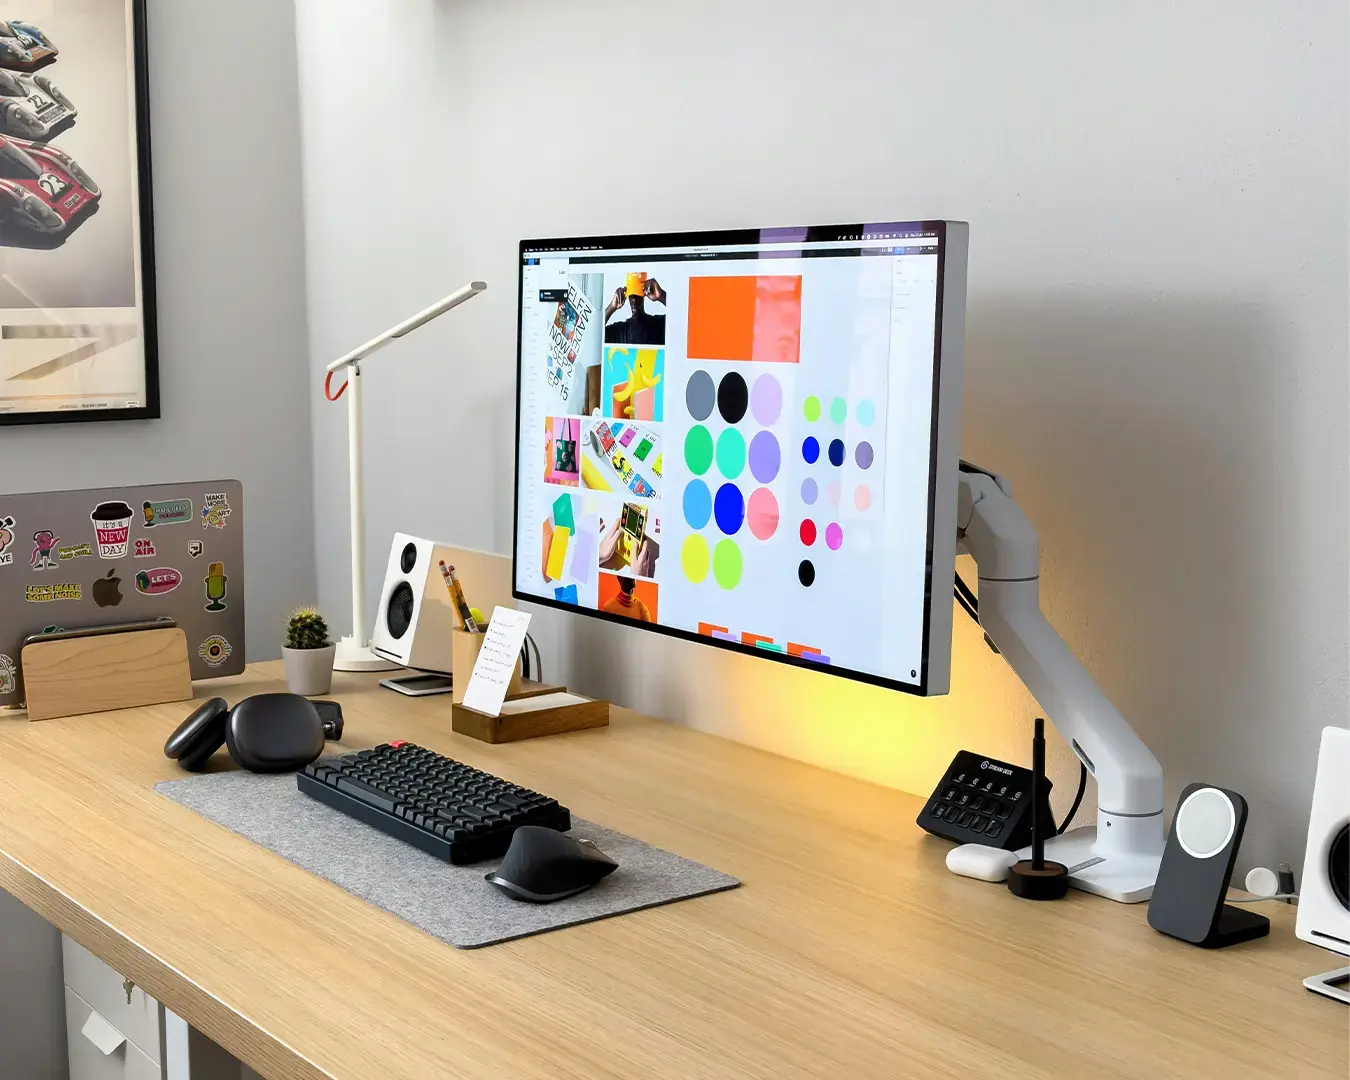
Step 1: Build a Visual Brief for Your Photoshoot
Never show up to a shoot without a plan. Create a simple mood board with your subject or clients. Discuss the desired mood, the platform where the images will be used, and specific outfits. If the images are for company websites or marketing materials, remind yourself to shoot horizontally with plenty of negative space for text.
Step 2: Prepare the Wardrobe to Highlight Your Brand and Confidence
Outfits should support the story, not distract from it. For corporate portraits, clean lines usually work best. For lifestyle shoots, texture is your best friend. Think linen shirts, denim jackets, or soft cotton layers.
Pro tip: Always bring at least one backup outfit. Singapore’s heat is unforgiving. If you are shooting outdoors for more than an hour, having a fresh shirt to change into can completely revive the energy of the shoot. Bring a small towel, blotting paper, and a water bottle to maintain a relaxed atmosphere.
Step 3: Plan Lighting and Timing to Enhance Your Photos
I cannot stress this enough. Avoid shooting outdoors between 12:00 pm and 3:00 pm unless you are intentionally hunting for harsh, dramatic shadows.
In Singapore, I usually aim for 7:30 am to 9:00 am. The morning natural light is softer, the air is cooler, and the streets are quieter. Late afternoon, around 5:30 pm to 6:45 pm, offers a beautiful, warm atmosphere that is perfect for lifestyle images and corporate photos alike.
Step 4: Map a Simple Route to Maximize Your Photography Session
Do not plan five locations in one afternoon. You will spend all your time walking and no time connecting with your subject or team. Choose one anchor location, like the shaded corridors of the National Gallery, and explore the immediate 100-meter radius. Look for a clean wall, a textured doorway, and a quiet walkway to create wonderful pictures that tell your story.
Common Mistakes I’ve Made (And How to Avoid Them) in Professional Corporate Photoshoots
Improvement comes from trying and failing. Here are a few traps I fell into early in my career.
Mistake I made: Packing too much gear. I once brought three heavy lenses for a two-hour walk around Chinatown. I was exhausted within thirty minutes and ended up using only my 50mm lens anyway. For a standard corporate photography session, one camera body, a versatile lens (like a 35mm or 50mm), and a spare battery are usually enough.
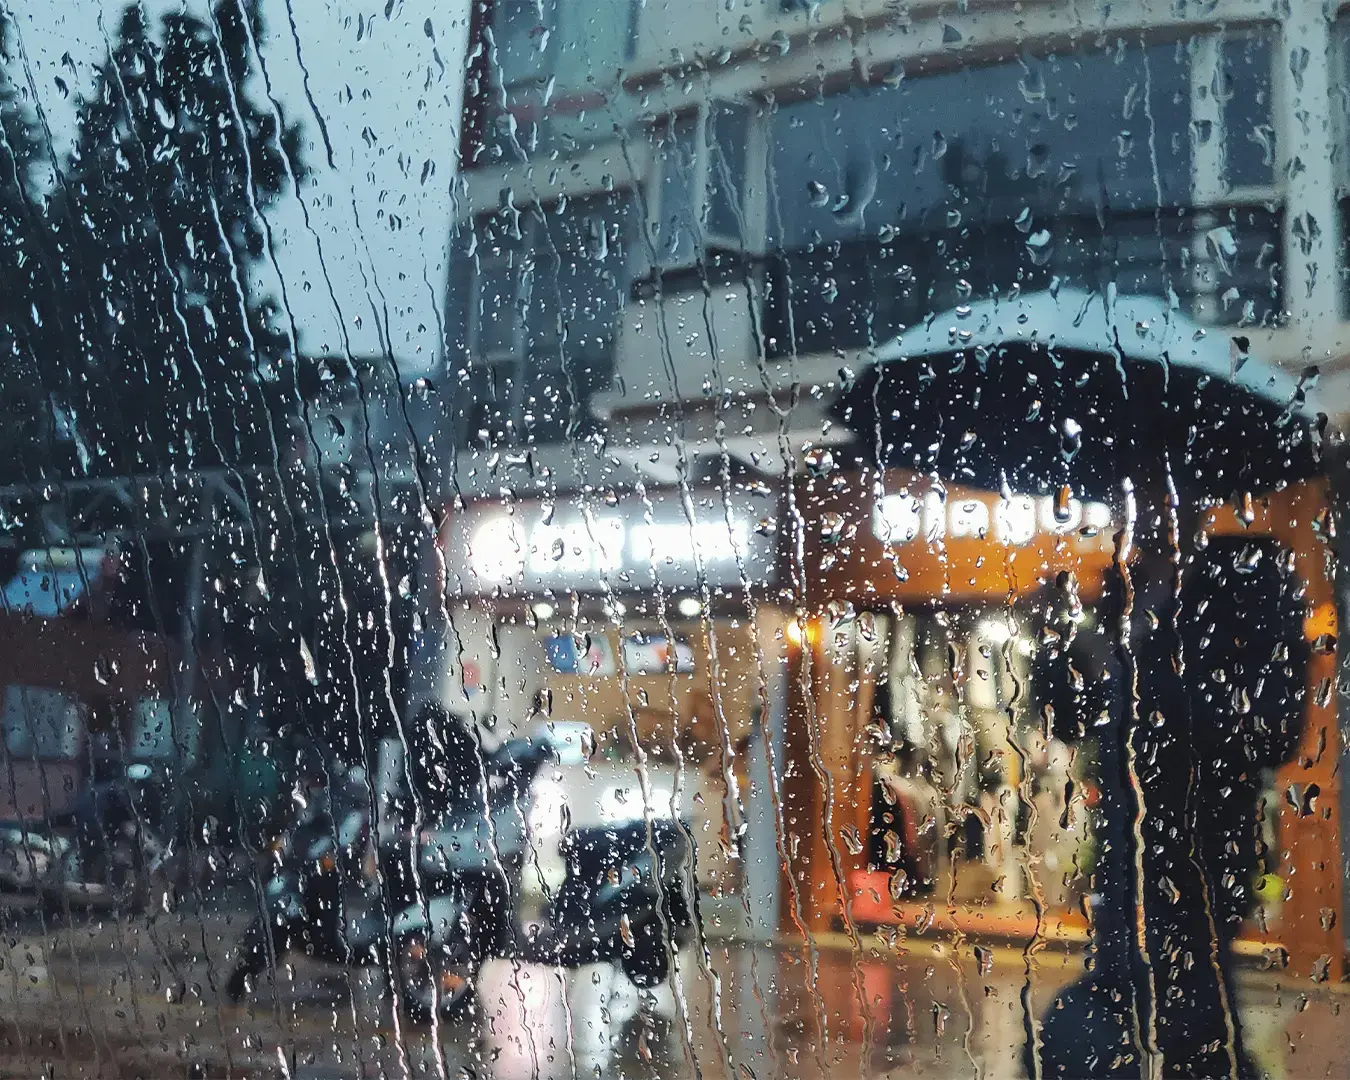
Ignoring the weather: I once underestimated how quickly a dark cloud over Marina Bay could turn into a torrential downpour. Always have a sheltered backup plan. MRT exits, covered linkways, and hotel lobbies (if you are discreet) can save a shoot. If it rains, do not stop immediately. Rain creates beautiful reflections on the pavements and gives the city a moody, cinematic feel.
Forgetting about permits: It is easy to assume that all public spaces in Singapore are free for photography. For casual, handheld photography, they usually are. But if you bring studio lighting, tripods, or a large crew for commercial work, you often need permission. Places like Gardens by the Bay and various NParks locations have specific guidelines and potential fees for commercial shoots. Always check beforehand.
Practical Singapore Survival Guide for Photographers and Corporate Clients
Photography in Singapore comes with unique local challenges. Here is how to handle them.
Managing Humidity and Gear During Your Photography Session
Singapore’s humidity can be rough on your equipment. Moving straight from an air-conditioned MRT train into the humid morning air will instantly fog up your lens.
Field note: Keep your camera in your closed bag for about ten to fifteen minutes after you step outside. Let it acclimate to the temperature slowly before taking the lens cap off. At home, keeping your gear in a dry cabinet or a simple dry box will prevent fungus from ruining your lenses.
Etiquette in Public Spaces When Capturing Corporate Photos and More
When we shoot in heritage districts or hawker centres, we are guests in someone else’s daily routine. If you want to include a local stall owner in the background of your lifestyle shoot or corporate photoshoot, ask for permission first. A simple smile and a nod to your camera usually work. If they say no, respect it immediately and move on. Never block pathways in busy areas like Bugis or Little India with your equipment.
Frequently Asked Questions About Professional Photography Services in Singapore
How do I pose without looking awkward during a corporate photoshoot?
If you feel awkward taking photos, you are definitely not alone. The secret is to stop “posing” and start moving. I never tell a subject to just stand and smile. Instead, I give them an action. I ask them to walk slowly toward me, adjust their watch, look over their shoulder at the traffic, or take a deep breath and let it out slowly. Small actions relax the body and create natural expressions that enhance unique personalities.
How much does a professional photoshoot in Singapore cost?
Rates vary wildly depending on the photographer’s experience, the location, and usage rights. For a basic studio corporate headshot, you might find entry-level rates around $50 to $150. For a comprehensive lifestyle or personal branding session that spans a few hours, expect to invest anywhere from $300 to over $1,000. Always clarify what is included before booking. Ask about the number of edited images, location fees, and commercial usage rights.
Can I use the photos anywhere I want after the photography session?
Not always. Many first-timers assume that paying for a photoshoot means unlimited commercial use forever. In professional photography, usage rights matter. If you are using the images for a personal LinkedIn profile or a company website, it is usually fine. If you plan to use the images for a nationwide billboard campaign, the licensing fees will be different. Have an honest conversation with your photographer about where the photos will live.
Let the Story Lead the Way in Your Photography Services
A professional photoshoot becomes truly successful when you stop worrying about perfection and start focusing on the process. Whether you are battling the afternoon heat near the Merlion or adjusting studio lighting in a quiet photo studio, every session is a collaboration between the photographer and the subject.
What this journey has taught me personally is that the quietest, most honest photographs often come from the moments between the planned shots. They happen when someone finally drops their shoulders, laughs at a mistake, or leans naturally against a wall while waiting for the light to change.
Do not be afraid to make mistakes, to ask questions, or to slow down. Preparation gives you a safety net, but presence is what captures the magic. Grab your camera, plan your route, pack a bottle of water, and go explore. The city is waiting for your story—one that will create timeless memories for you, your family, your team, or your corporate clients.