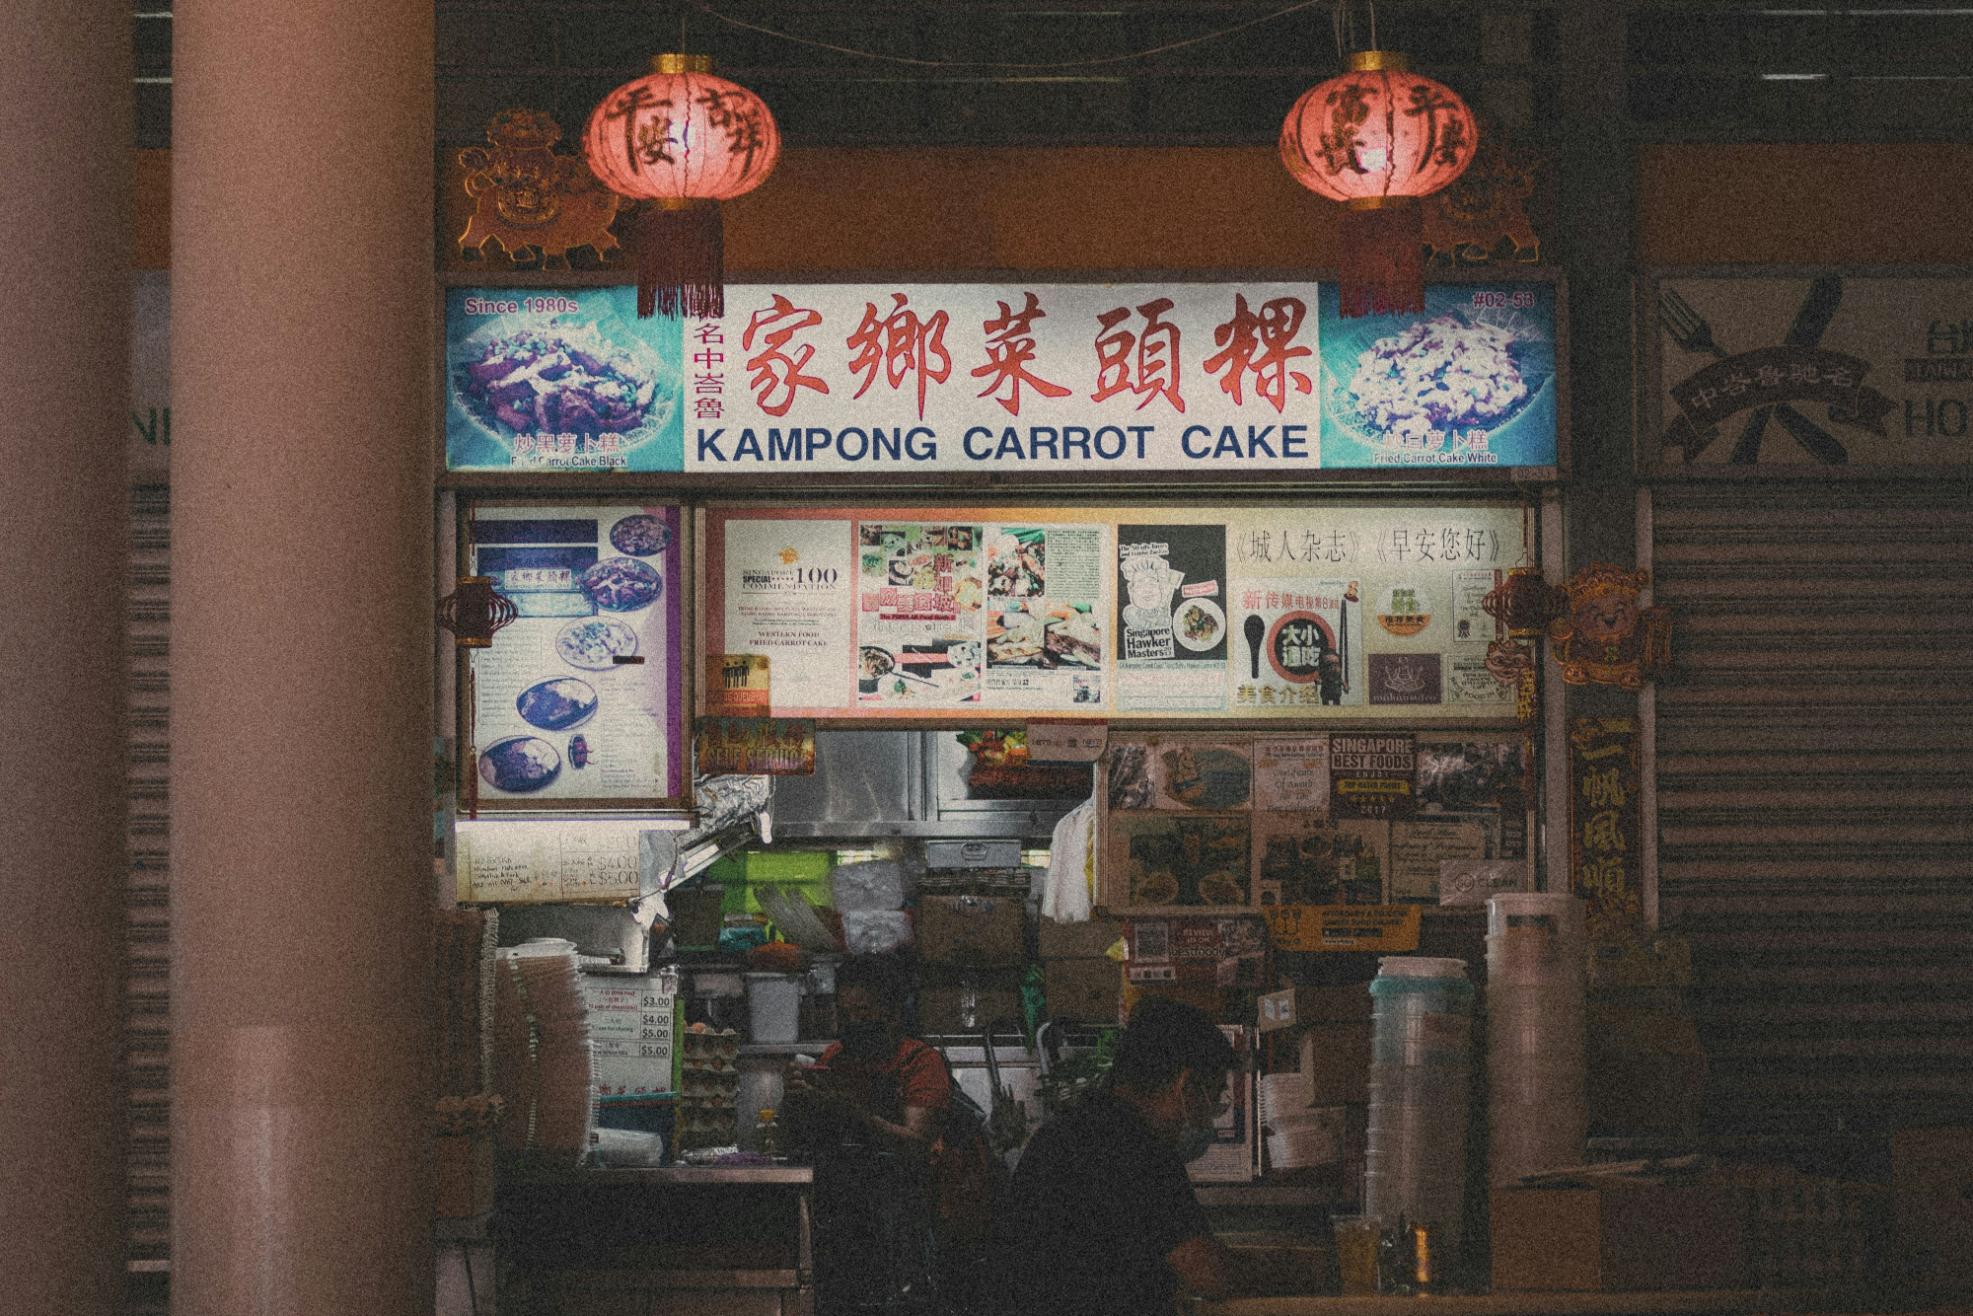
There’s nothing quite like the buzz of a Singaporean hawker center. From the rhythmic chopping coming from a stall to the vibrant display of signature dishes, these spaces are a feast for the senses—and an irresistible draw for any food photographer. Capturing mouth-watering food images in these bustling environments isn’t easy, though. The mixed lighting, constant rush of people, and layers of restaurant props and background elements make it a different approach from shooting in a studio or even a typical restaurant.
As a photographer or a business looking to elevate your menu or brand, having quality food photos is essential. This article is your comprehensive guide, packed with photography tips, food photography techniques, and real-world examples straight from locations like Maxwell Food Centre and Tiong Bahru Market. After reading, you’ll have everything you need to create images that capture the rich taste and artistry of Singapore’s diverse hawker offerings.
Understanding the Hawker Center Environment
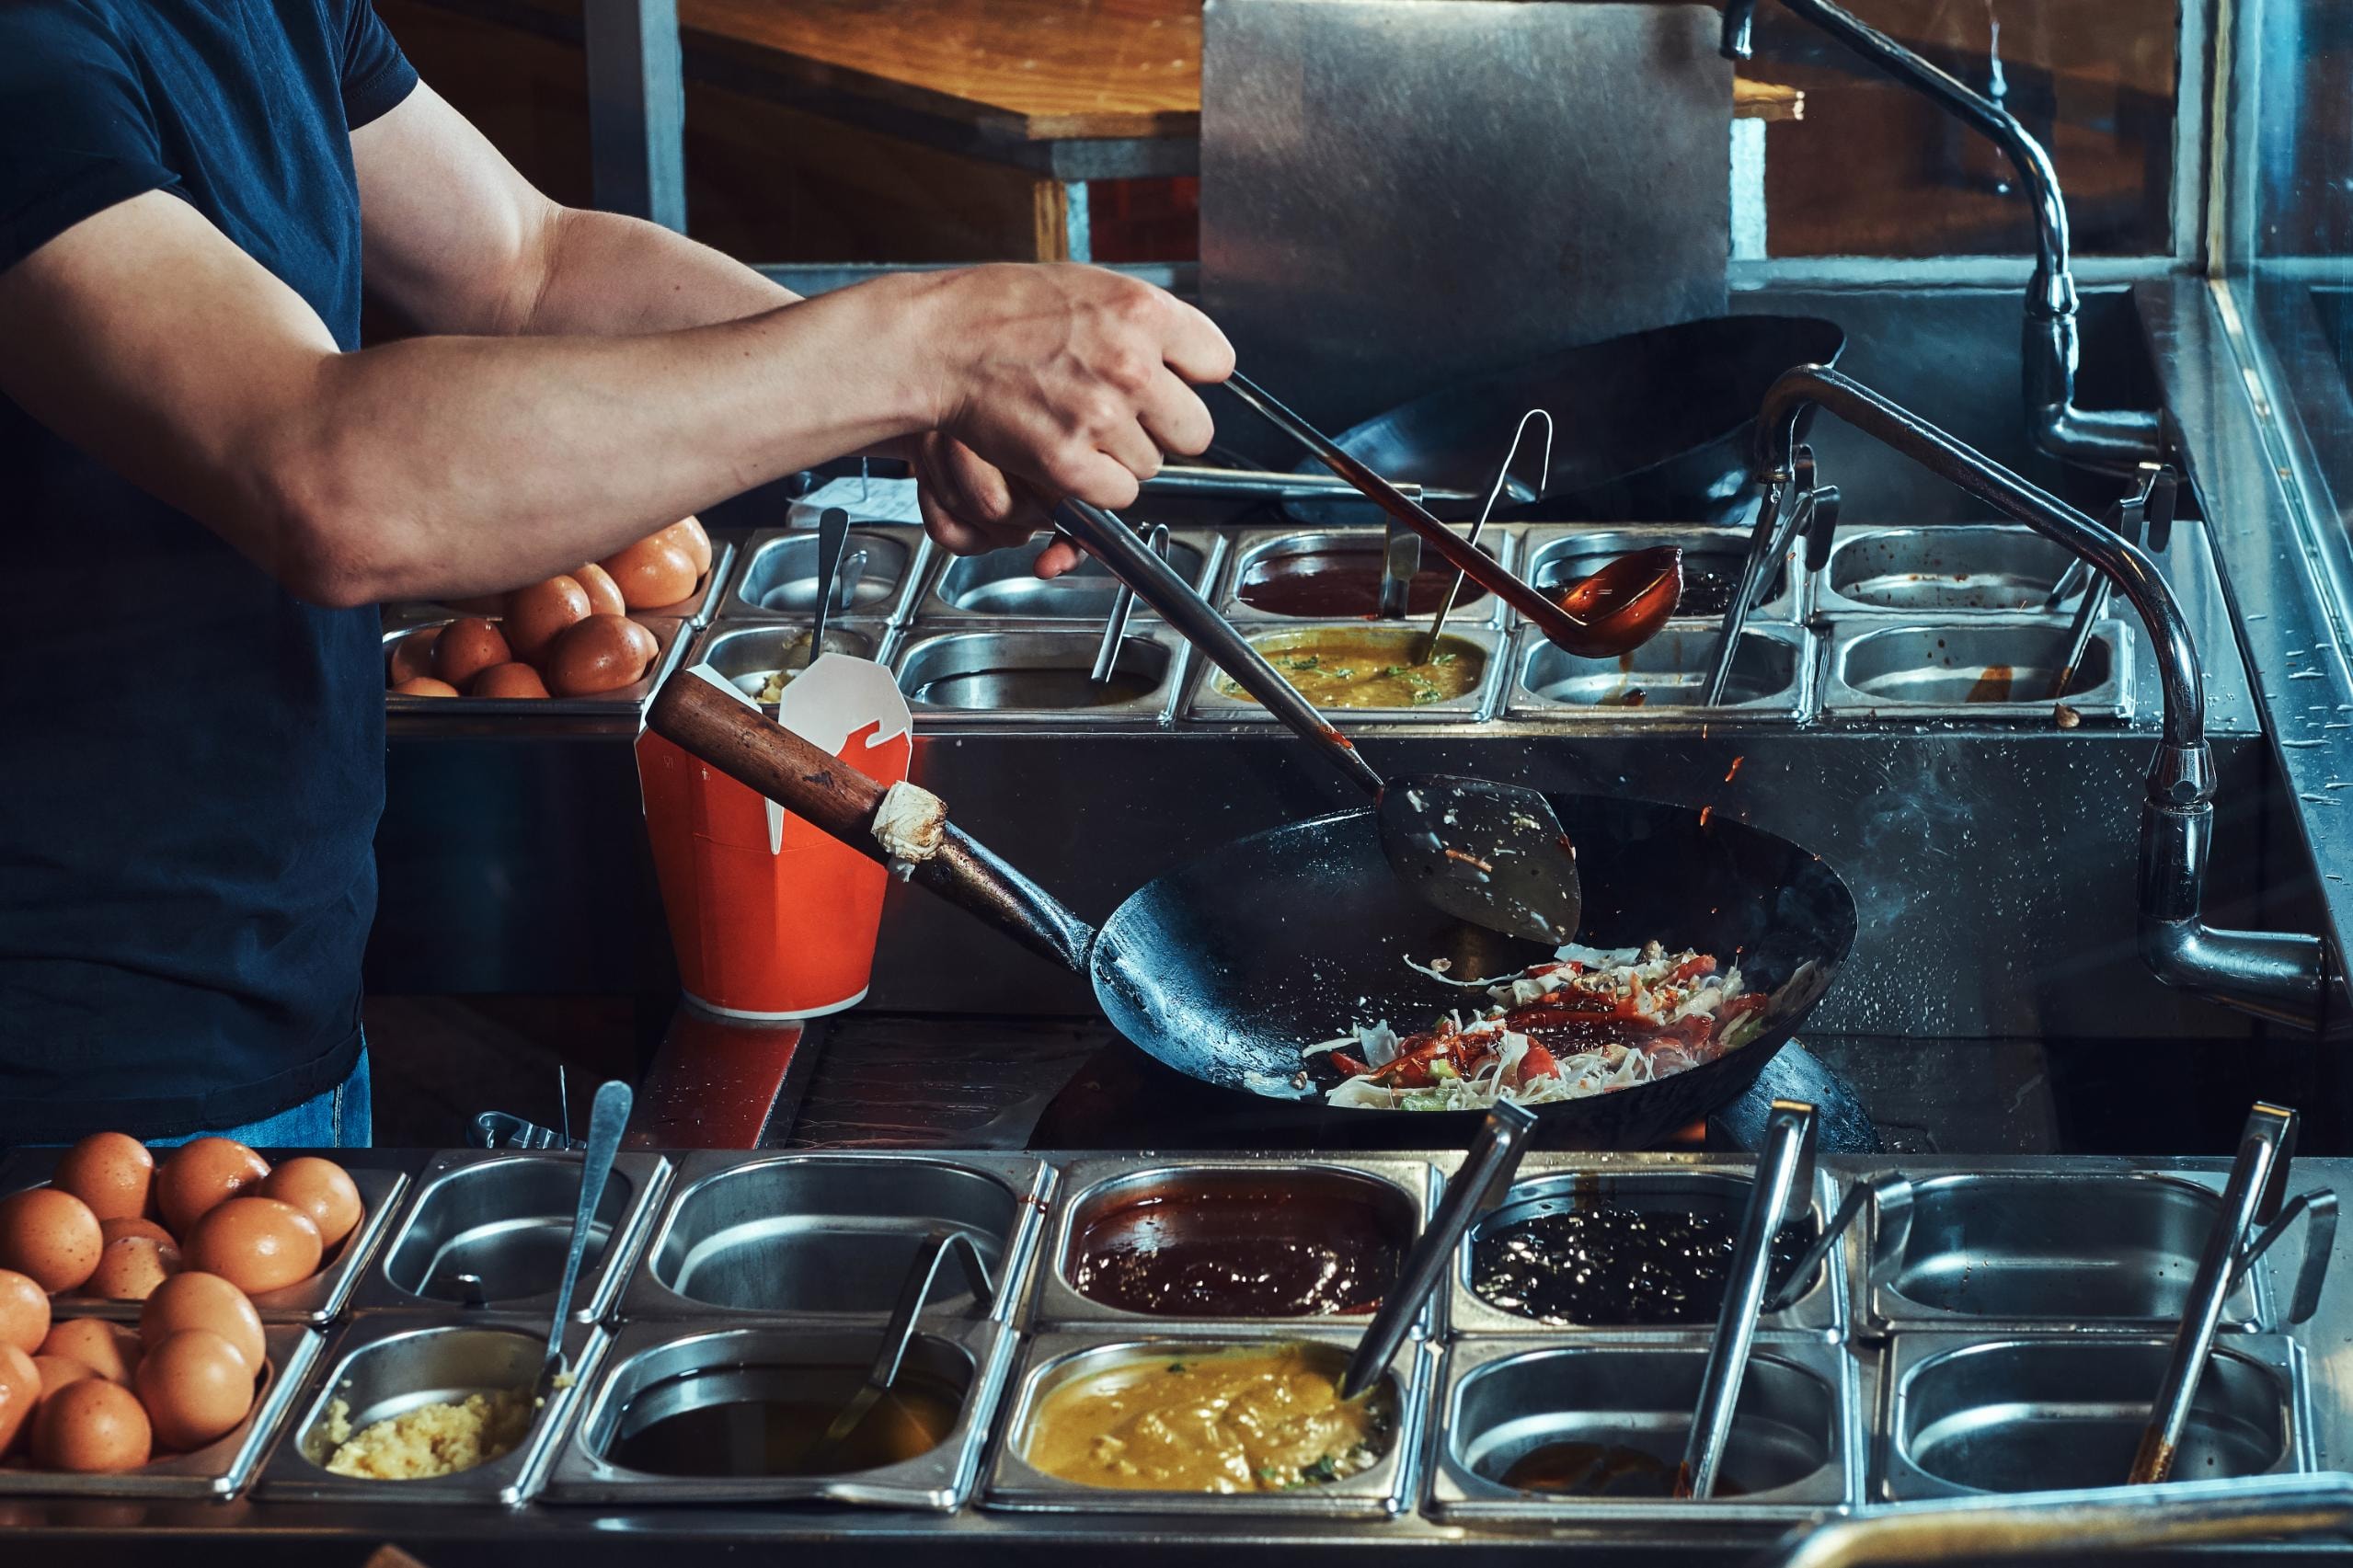
If you’ve visited a hawker center for an on-location shoot, you know the lighting can be a real obstacle. Harsh fluorescent tubes cast a greenish tint over the scene, while bulbs at individual stalls or windows offer uneven and sometimes clashing illumination. Add steam, reflective surfaces, and crowds snaking around the tables, and you’re up against a unique set of challenges.
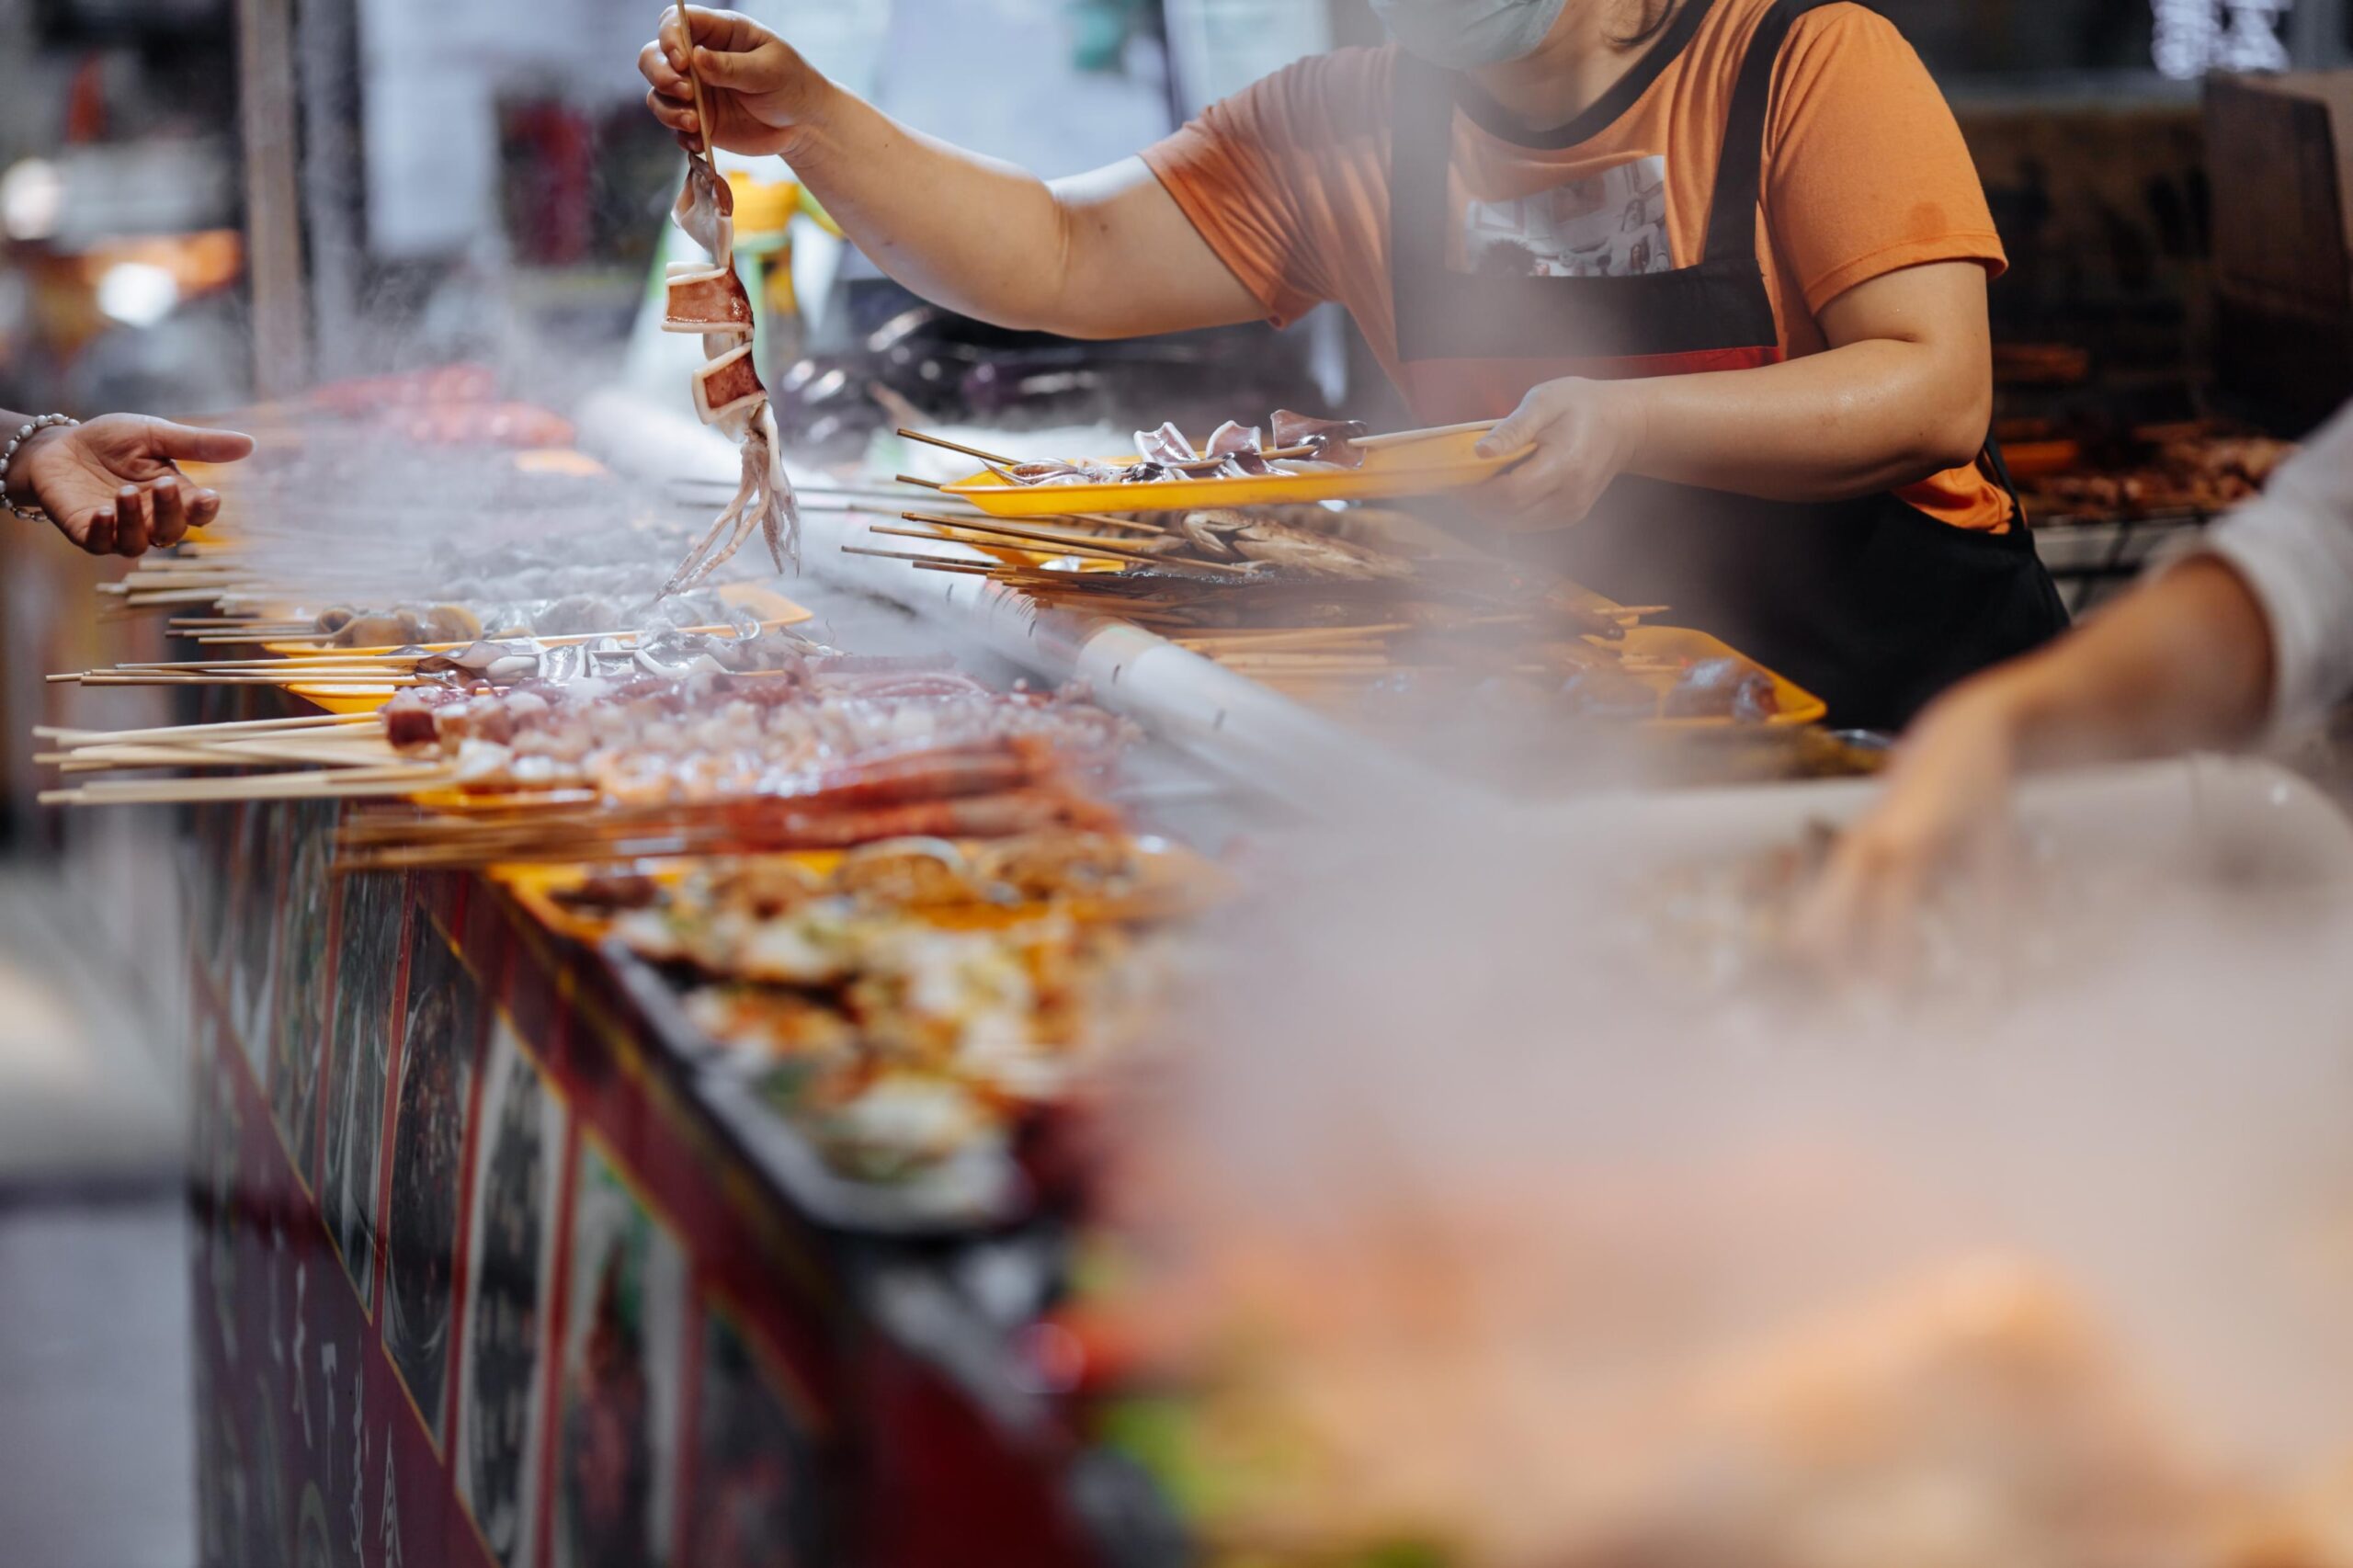
The movement is perpetual: diners weave between tables, chefs work over smoky woks, and space is at a premium. Unlike a formal food photography studio, you’ll have to get creative with your camera angle and lens selection to avoid distracting props or cutlery in the foreground and background. Careful composition, and a willingness to break from traditional setup shots, is essential to truly capture the life of these spaces.
Essential Camera Settings: The Exposure Triangle
One of the biggest mistakes people make in food photography is relying on auto mode—especially in tough low-light scenes like hawker centers. Your camera’s meter will almost always be fooled by the variable background and lighting. Instead, mastering the exposure triangle—aperture, shutter speed, and ISO—will bring professional food photography results and let you capture both the energy of the scene and the details that make each dish stand out.
ISO Settings for Hawker Center Photography
ISO is one of the most important camera settings for food photos in hawker centers. In low-light photography, ISO controls your camera’s sensitivity to light. A recommended starting point is ISO 1600 to 3200, which helps balance the need for a faster shutter speed and a large aperture. In even darker corners, don’t be afraid to go up to ISO 6400—just be ready to manage noise carefully in post-processing.
Professional photographers swear by shooting in RAW format so they can clean up any graininess that comes from higher ISO settings. Remember: It’s better to have a sharp image with a little noise than a blurry picture of a plate you want to display on your website or portfolio.
Tip: Don’t let concerns about noise hold you back. Focus on nailing the shot’s composition and storytelling instead.
Large Aperture: Creating Focus and Atmosphere
Aperture (the size of the lens opening) is one of the most powerful tools a food photographer can use. A large aperture, such as f/1.8 or f/2.8, is ideal for hawker center conditions. It lets you style images with a shallow depth of field, blurring out background distractions while pulling attention right to the dish.
Using a prime lens with a wide aperture helps achieve that creamy background blur, or bokeh, that makes food pop. Whether you’re highlighting the artistry of a chef’s signature dish or capturing the steaming essence of a piping-hot plate of noodles, aperture control will enhance the mouth-watering appeal.
Tip: Experiment by positioning props or cutlery in the foreground, using creative depth to add interest and context to your food photo.
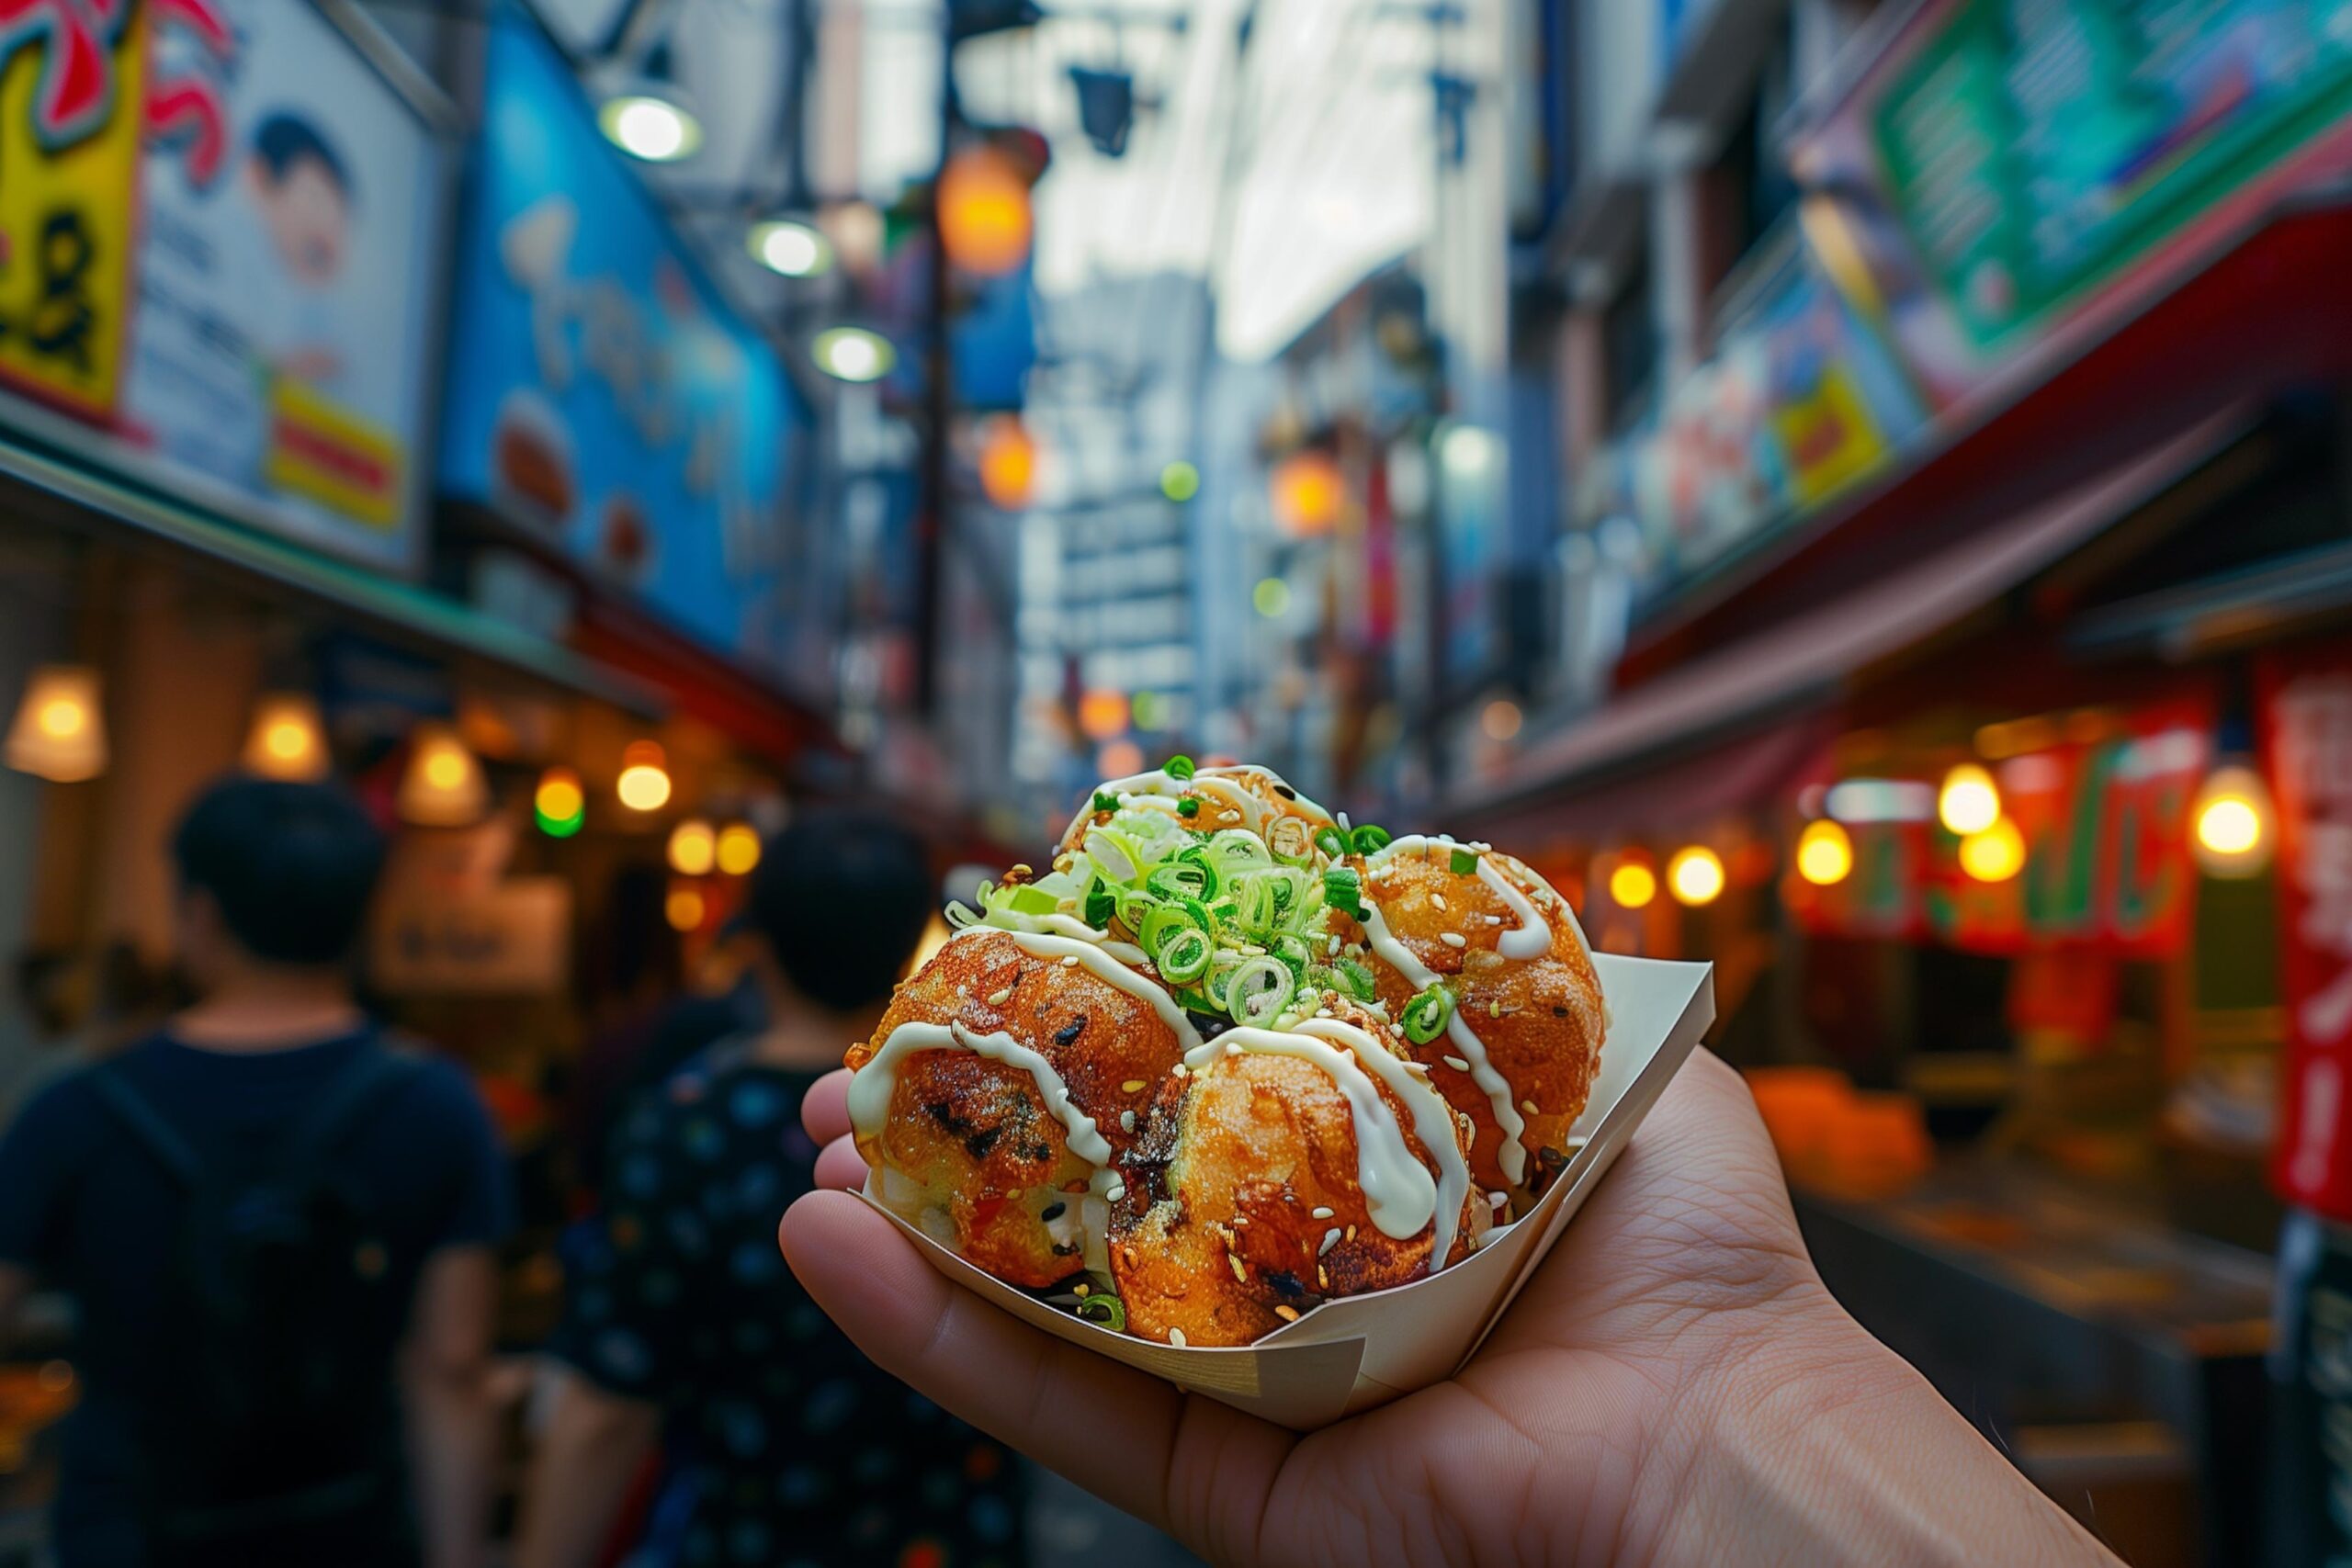
Mouth-Watering Food Images
Creating mouth-watering food images is all about capturing the essence and appeal of each dish. Use lighting, composition, and focus to highlight textures, colors, and freshness that make viewers crave a bite. Paying attention to small details like steam, glistening sauces, or vibrant garnishes can transform ordinary photos into irresistible culinary stories.
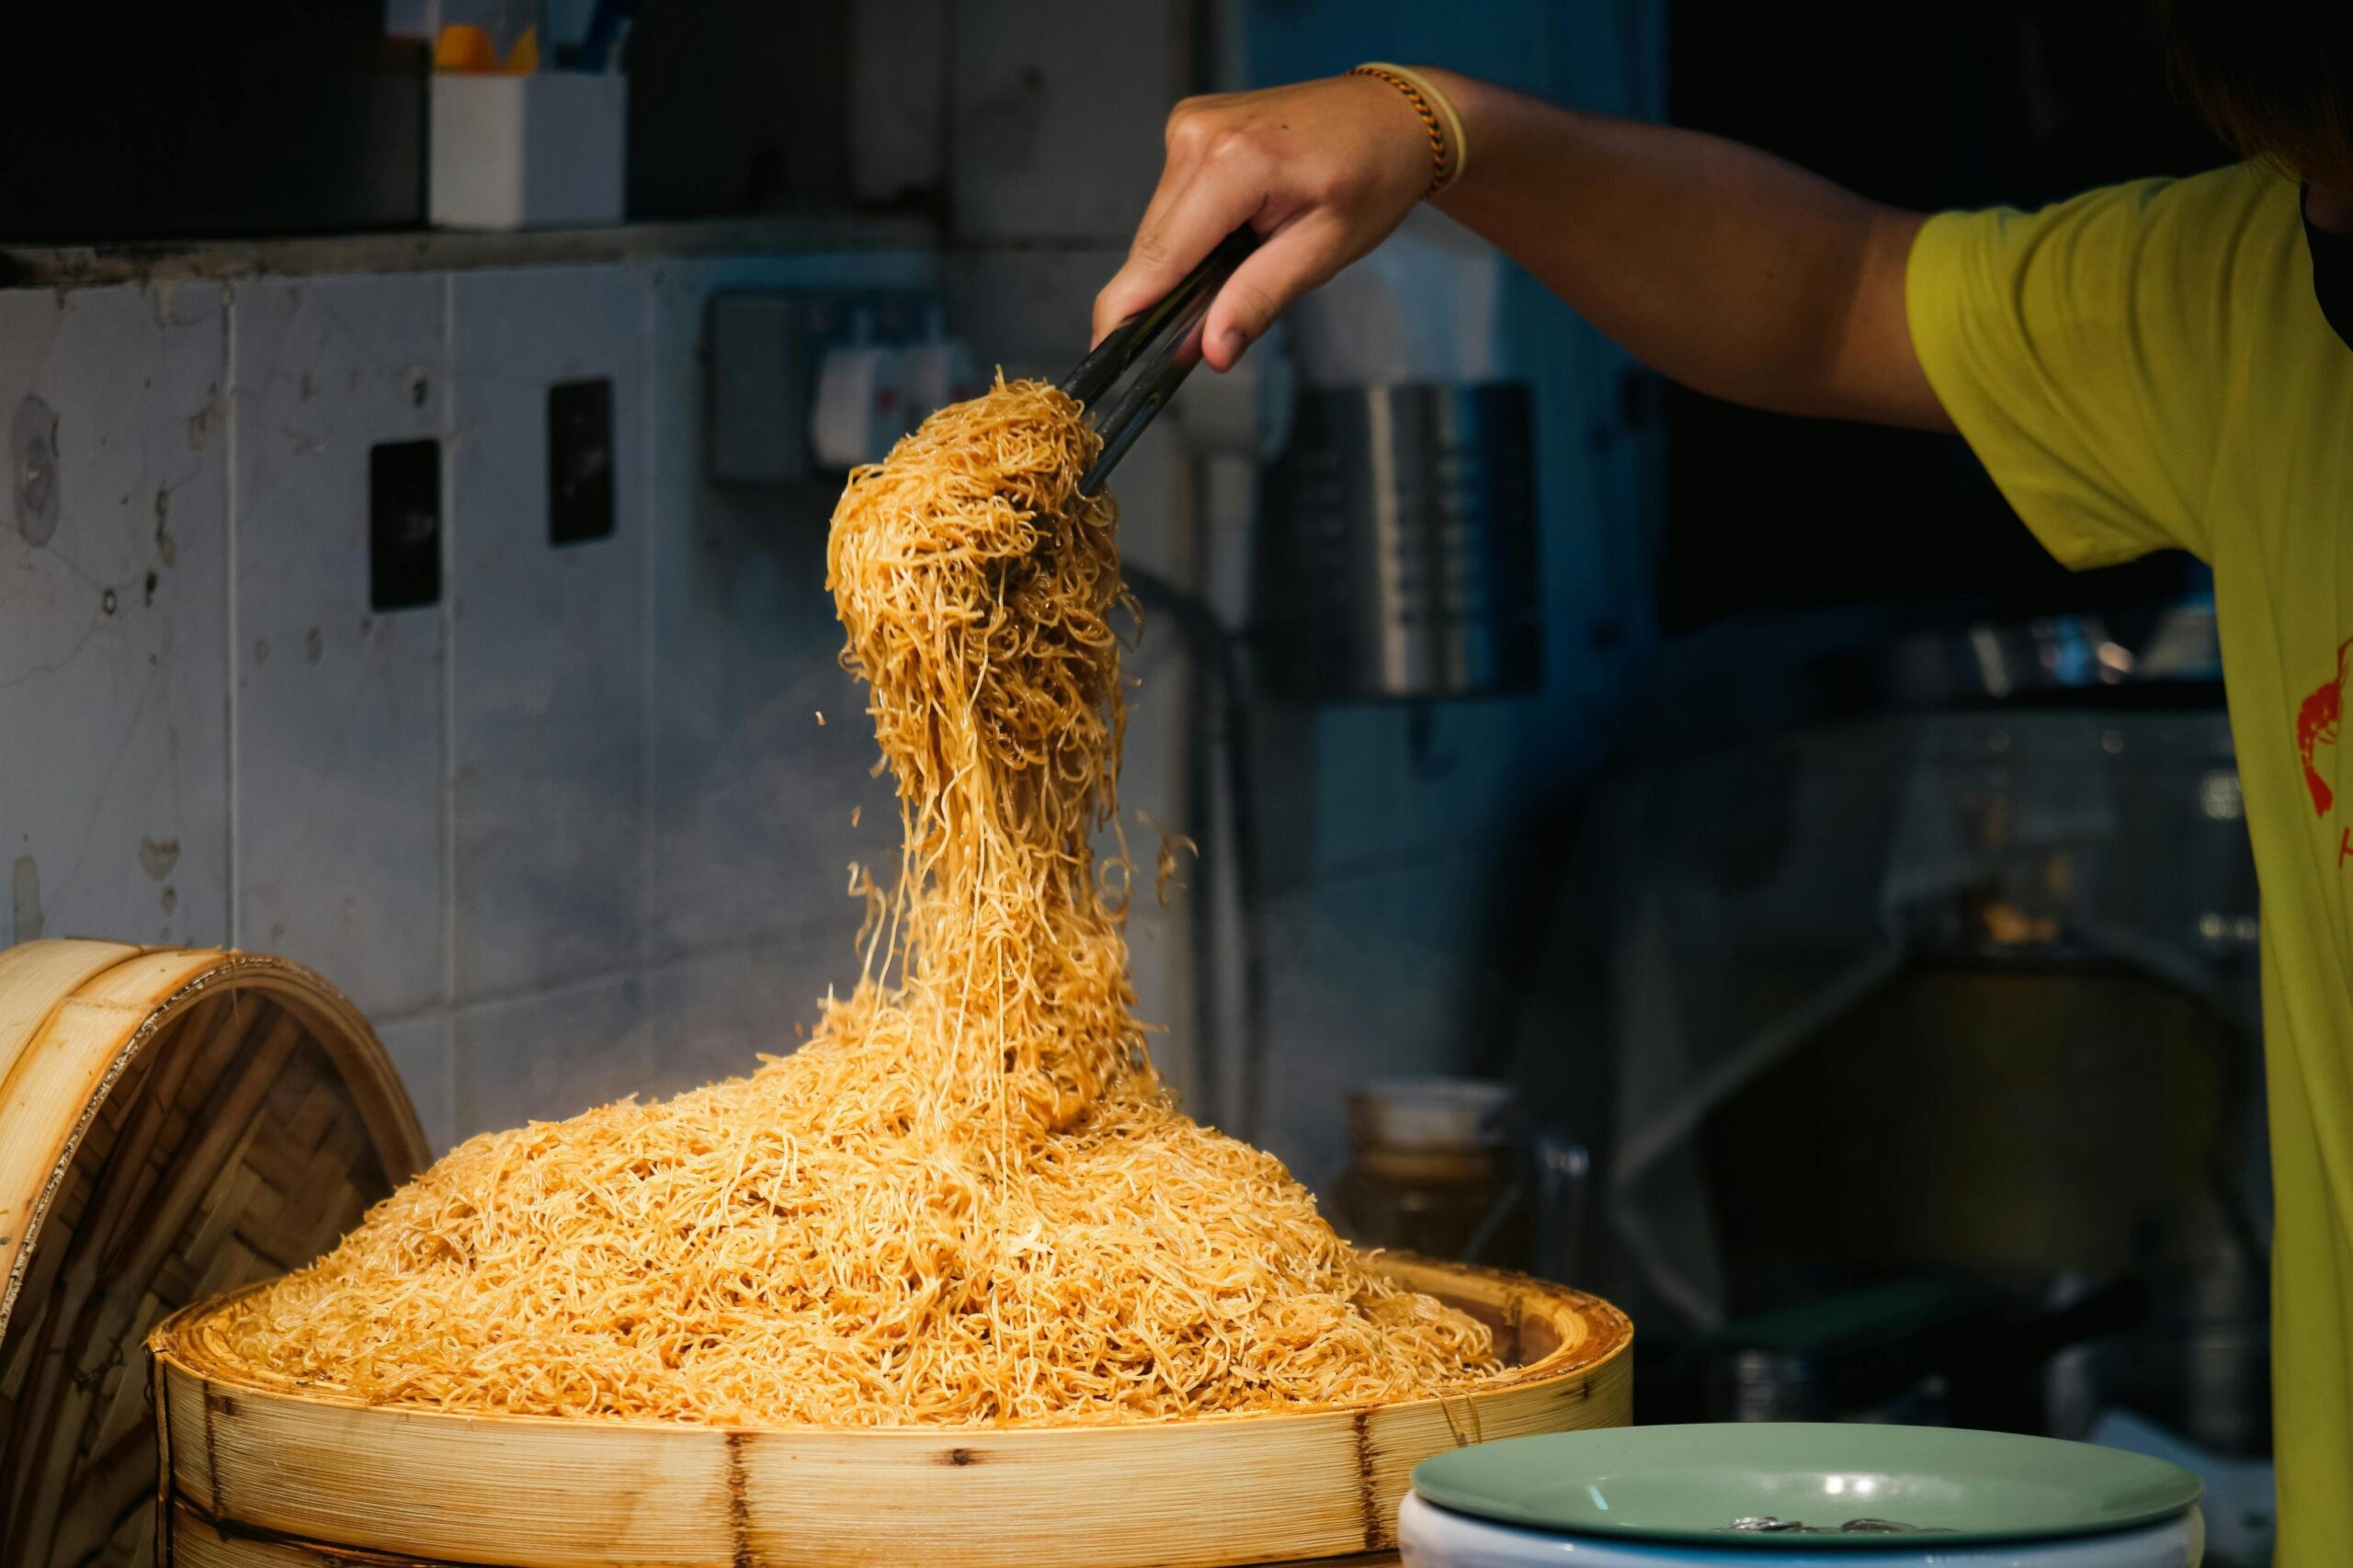
Shutter Speed: Freezing Movement
In vibrant scenes like food stalls mid-lunch rush, even the best food photography techniques can fall flat if your shutter speed is too slow. For handheld shots, keep your shutter speed at a minimum of 1/125s to avoid motion blur. If you’re aiming to freeze a chef’s swift gestures or the sizzle of a dish cooked to order, try pushing to 1/250s or faster. On the other hand, a slower shutter creates intentional blur that can showcase energy and movement—perfect for storytelling food photography.
Tip: When working in aperture priority mode, keep an eye on your shutter speed and raise your ISO if it drops too low. This will preserve image quality and ensure crisp, inviting photographs.
White Balance: Correcting Unnatural Colors
Hawker centers are notorious for giving dishes an unnatural green or orange cast thanks to clashing fluorescent or tungsten lighting. To ensure food photos look natural and appetizing, set a custom white balance whenever possible. Hold up a white menu or serviette and calibrate directly in-camera if your device allows. Better yet, shoot in RAW so you can fine-tune white balance during editing without losing image data.
Tip: Think of white balance as another ingredient. Adjust as needed to showcase the true taste and character of the dish—warm adjustments bring life to golden hour photos; cooler tones can add freshness to a salad.
Focus Modes for Sharp Food Photography
Using single-point autofocus (AF-S) ensures your intended subject—be it glistening laksa or perfectly sliced potatoes—is tack-sharp. Focus directly on the food’s most appealing element, like glistening meat or artful garnish. Switch to continuous autofocus (AF-C) when capturing chefs in action for behind-the-scenes images. Advanced users might set up back-button focus, giving more flexibility and control over what stays sharp in fast-changing scenes.
Tip: Always check focus before pressing the shutter. An out-of-focus picture—even with perfect styling—can lose the appetite appeal you want to convey.
Metering Modes and Exposure Compensation
Spot metering is a favorite among food photographers when the scene features high contrast—such as a vibrant dish on a dark tabletop. For larger, atmospheric shots that include the crowd or kitchen, use evaluative metering. If you notice your photos are too dark or washed out, use exposure compensation to dial the image up or down.
Tip: Make it a habit to scan the background and check your metering mode before framing your next shot.
Shooting Modes: Manual vs. Aperture Priority
Aperture priority mode allows you to control depth of field creatively and is a go-to for most food photographer professionals. Manual mode becomes essential if your lighting or subject keeps changing—like moving between indoor and outdoor seating, or shooting from sunset through dinner service.
Tip: If you’re new to manual mode, practice on a full day out at a hawker center and compare the results with different settings.
Managing Camera Shake in Low Light
Steady hands are essential in low-light food photography. Activate your lens or camera’s image stabilization feature and use sturdy surfaces to brace yourself when possible. Sometimes the simple act of resting your elbows on the table or holding your breath will make the difference between a sharp masterpiece and a blurred miss.
Tip: Pack a small bag with a portable tripod or beanbag. These inexpensive props can quickly elevate your shots, even in the tightest spots.
Composition Tips for Hawker Center Photography
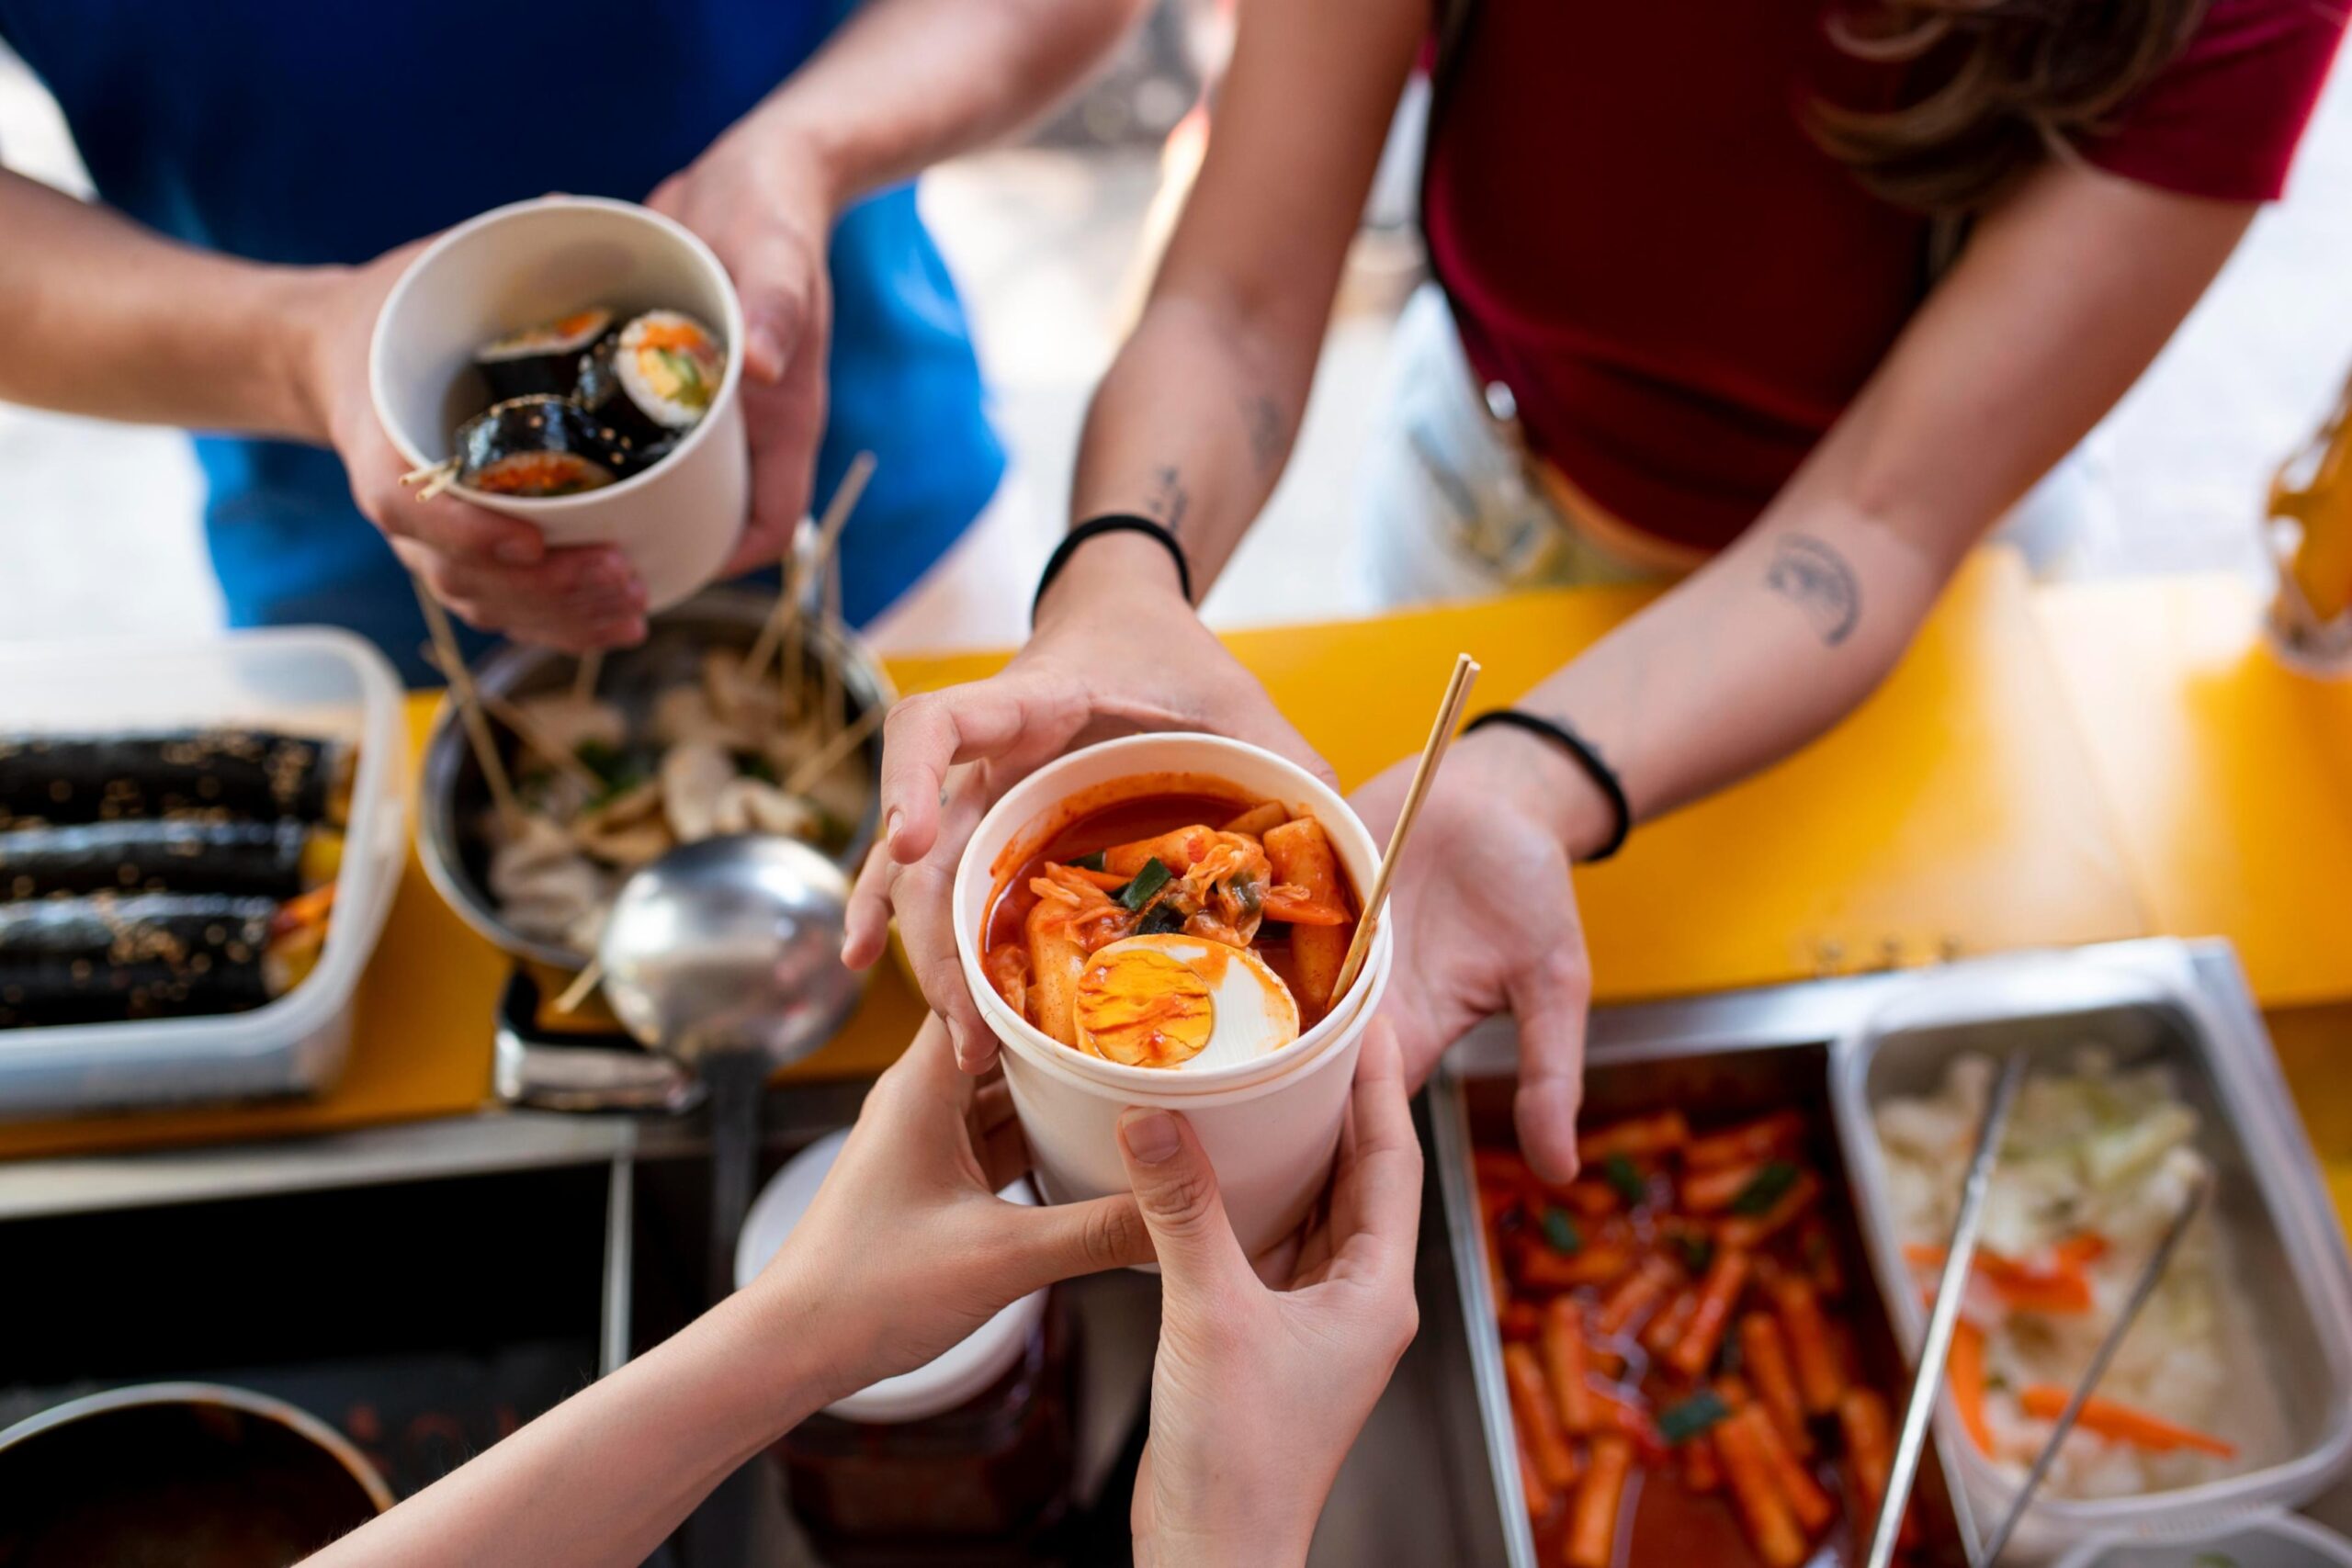
To truly enhance your food photographs, play with creative composition. Use leading lines from trays or chopsticks to draw the viewer’s eyes toward the star of the photo. Try portrait orientation to fit a tall bowl of noodles, or use negative space to let a simple plate shine. Including the chef in the background or the hands of a person breaking bread can add a sense of story and artistry.
Tip: Review your shots on location and don’t be afraid to break conventions—every establishment has its own personality and a different story to tell.
Working with Available Light
The best food photos often use natural light, but that’s not always possible in a hawker center. Position your dish so side lighting highlights textures, or use props like cutlery or napkins to bounce light where you want it. Avoid direct flash, as it destroys the mouth-watering appeal of most food.
Tip: Plan your shoot during golden hour or just before the lunch crowd for softer natural light and easier table access.
Conclusion: Mastering Hawker Center Shots with a Food Photographer’s Eye
Hawker center photography brings together art, technique, and a passion for Singapore’s culinary heritage. With thoughtful camera settings, creative styling, and a readiness to learn from each shoot, your photographs will not only capture the essence of our local food scene—they’ll elevate your craft and inspire other photographers to try a different approach.
Have tips or photos from your own hawker center experience? Share them and join our community of passionate photographers and food lovers!