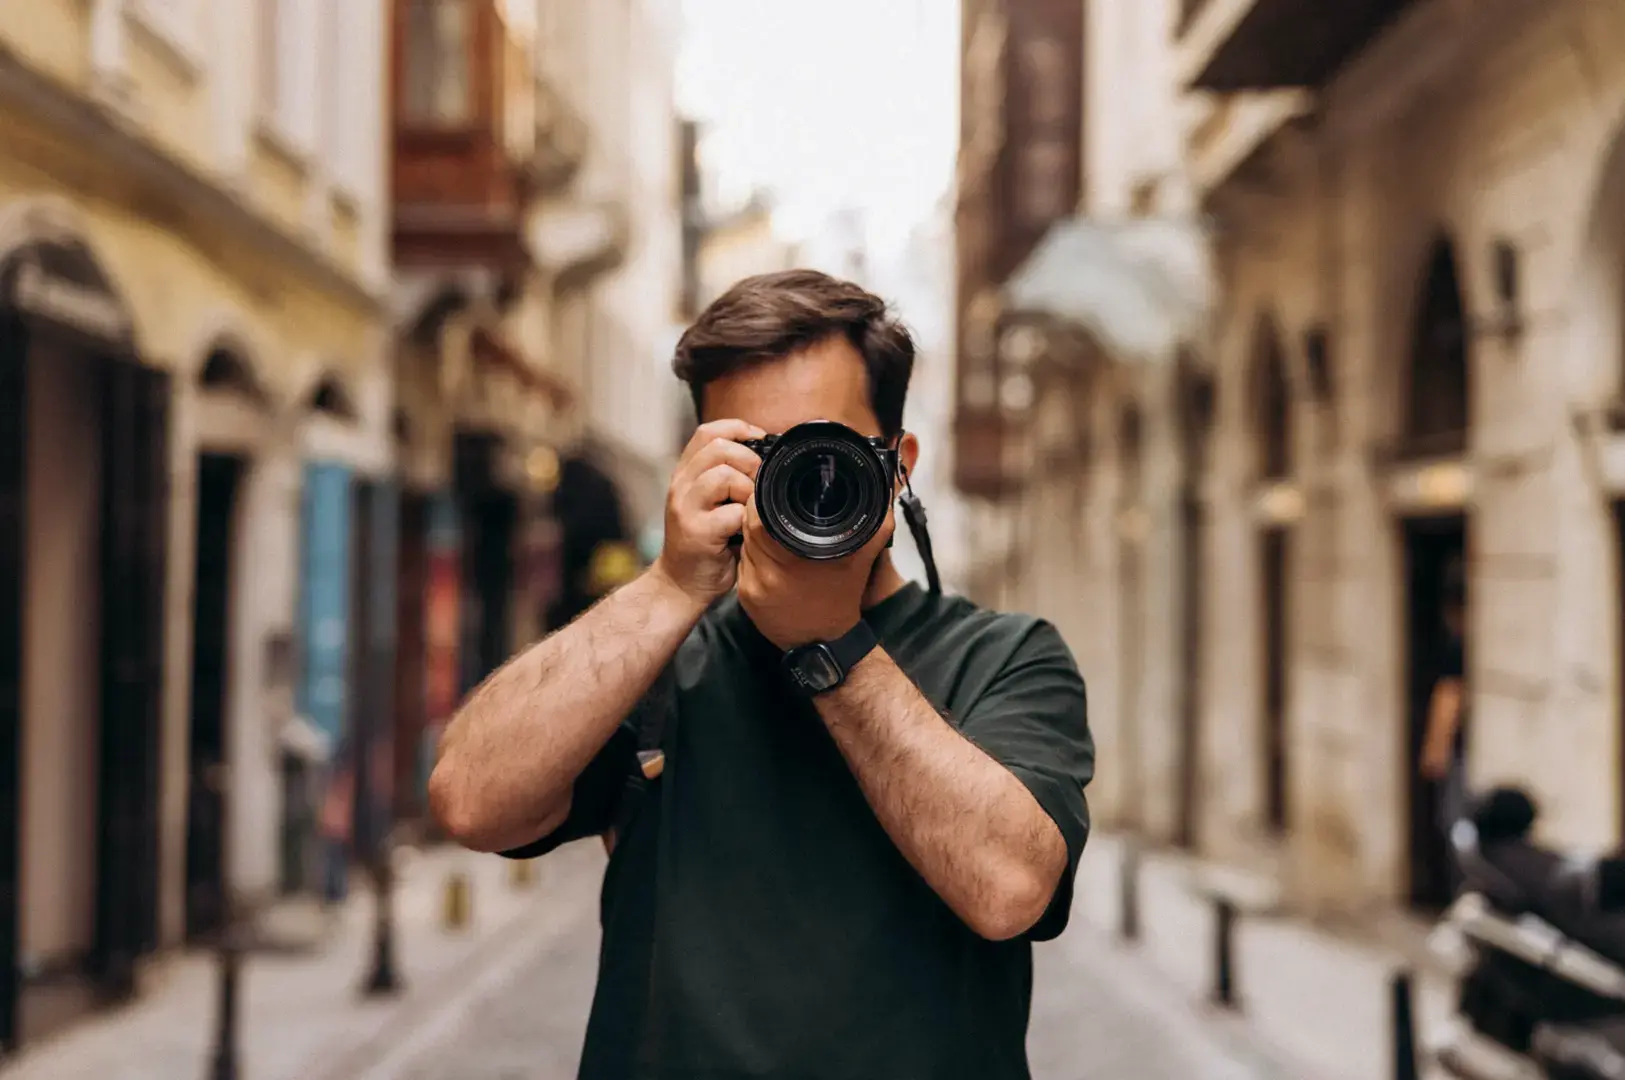
I learned my first serious lesson about Camera Gear in Singapore weather on a humid evening outside Chinatown MRT. I had just stepped out from the cold underground station, camera ready, excited to photograph the lantern glow along Pagoda Street. The moment I lifted my camera, the lens fogged up completely. Not a gentle haze. A full, milky blur. I wiped it, panicked, wiped it again, and watched the fog return like it had a personal grudge against me.
For ten minutes, I missed every frame I wanted.
That small disaster taught me something I still repeat to beginners: Outdoor photography in Singapore is not only about choosing the right camera. It is about surviving the climate. Heat, humidity, sudden rain, air-conditioning, crowded walkways, sweaty hands, and long MRT-connected walks all shape the way you shoot street photography in this impressive city.
Why Singapore Is Tough on Camera Gear
On paper, Singapore seems easy on photographers. No snow, dust, or freezing temperatures. However, its tropical climate causes a unique type of damage.
The real issue isn’t a single rainstorm but the constant, year-round humidity. As your camera moves between air-conditioned malls and hot, humid streets, moisture accumulates. This can lead to fungus growth inside lenses, weakened rubber grips, and internal damage if gear is stored carelessly. This is especially true when shooting in popular locations like Marina Bay, Arab Street, Boat Quay, Little India, Chinatown, or the Botanic Gardens, where you’re constantly moving between different temperatures and environments.
Weather-Sealed Cameras: Helpful, Not Magical
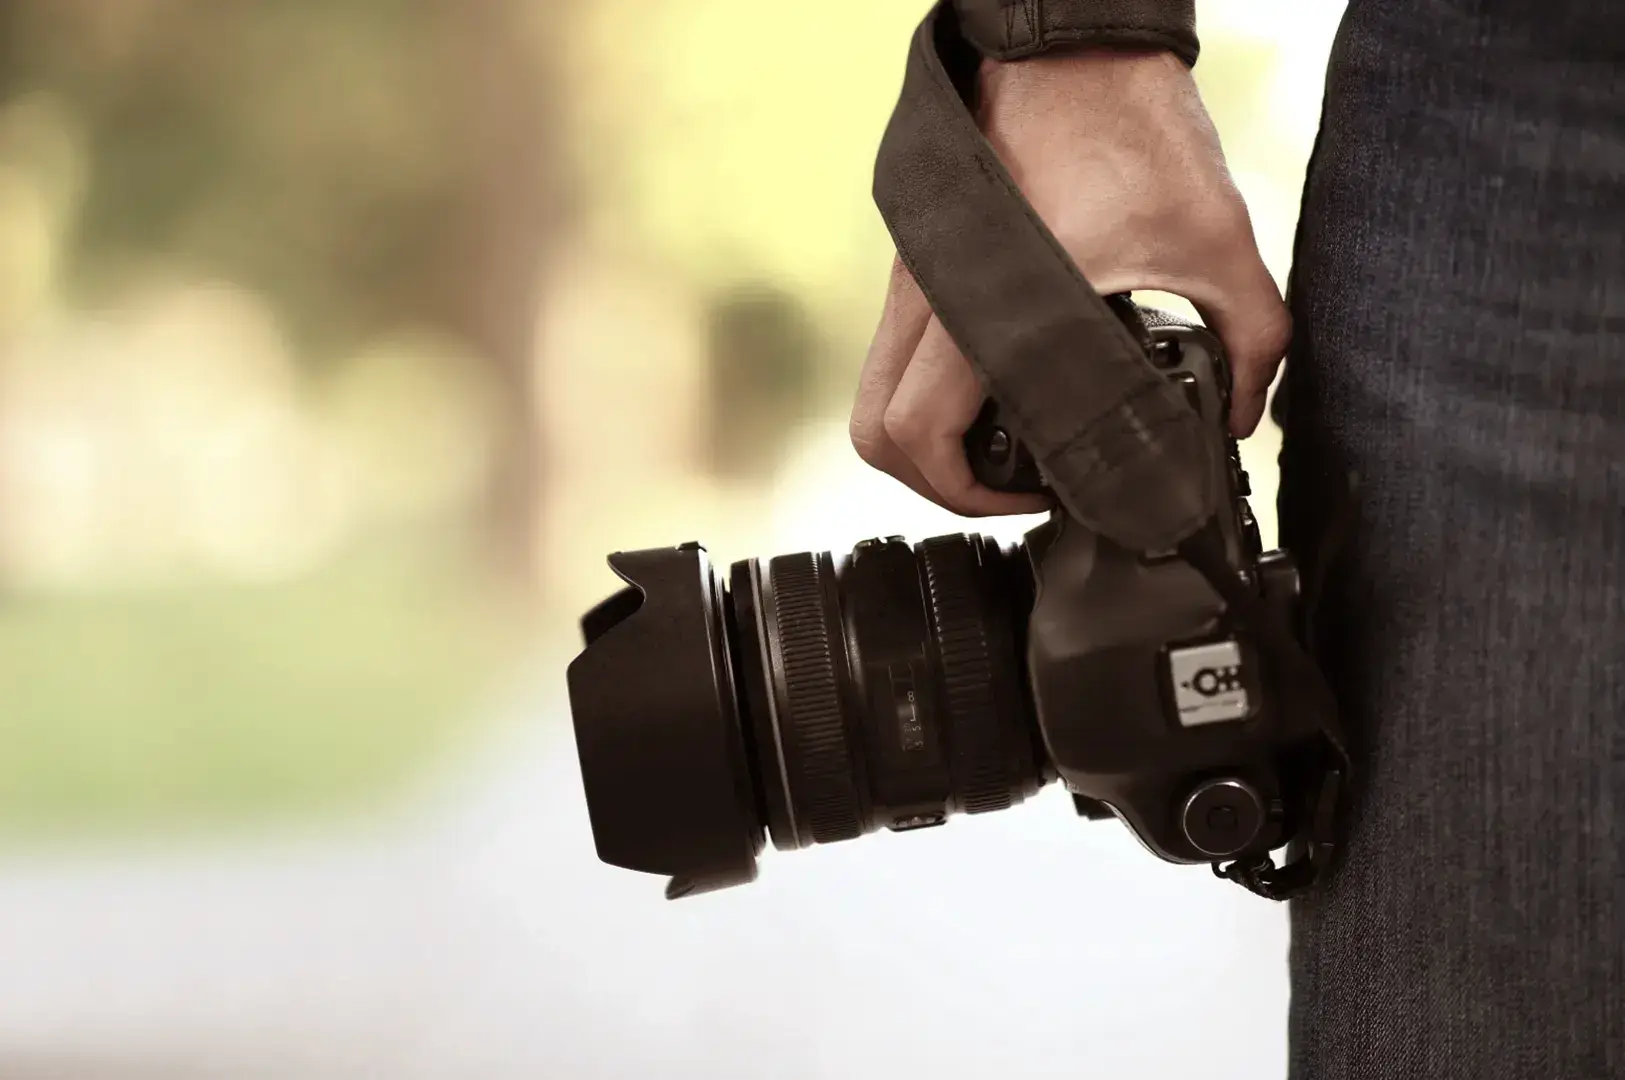
Let’s clear up a common misunderstanding: Weather-sealed cameras are not waterproof cameras. Weather sealing means the camera body has extra resistance against moisture and dust. It may have rubber gaskets around buttons, doors, and joints. This helps during light rain, mist, drizzle, or damp conditions. But it does not mean you can stand in a tropical downpour at Marina Bay for twenty minutes and expect everything to be fine.
I think weather sealing is worth considering if you shoot outdoors often as a travel photographer. But I do not think every beginner needs to buy the most expensive system immediately.
What weather sealing is good for
Weather sealing helps when:
- You shoot in light drizzle
- You work near sea spray at East Coast Park or Labrador Nature Reserve
- You photograph after rain when surfaces are wet
- You shoot events outdoors
- You move through humid areas often
- You travel with your camera in unpredictable weather
What weather sealing does not do
Weather sealing does not protect you from:
- Heavy tropical rain
- Submerging your camera
- Leaving gear wet inside a closed bag
- Changing lenses in rain
- Moisture entering through non-sealed lenses
- Poor storage at home
Pro tip: If your camera body is weather sealed but your lens is not, treat the whole setup as not fully protected. Moisture finds the weakest point.
Beginner mirrorless cameras can survive Singapore with careful handling. I’ve seen basic cameras last years with good storage and habits, and expensive gear get fungus from poor care. Weather-sealed bodies vary in price:
- Beginner mirrorless kits: SGD 900–1,500
- Mid-range bodies: SGD 2,000–3,500
- Professional systems: SGD 4,000+
Buy based on shooting frequency, not fear.
My Practical Camera Gear Singapore Setup
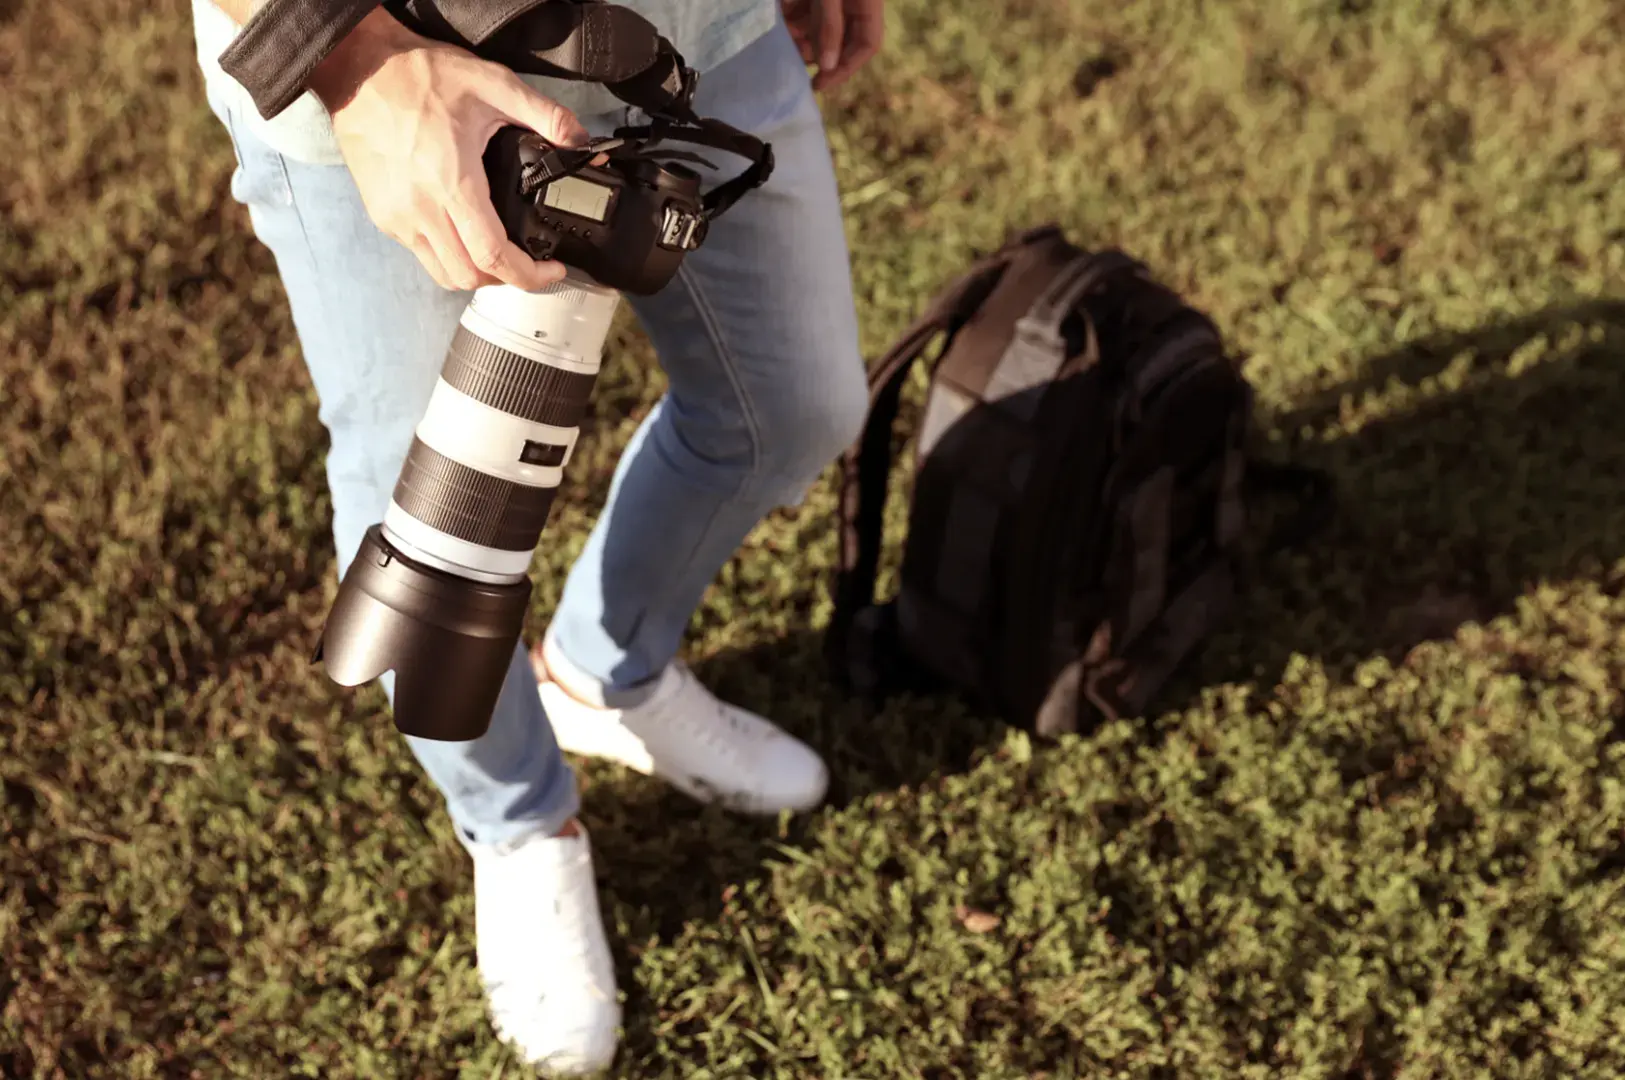
For most outdoor walks, I prefer a small setup. Singapore punishes overpacking. I made this mistake once during a long street photography route from Bugis to Kampong Glam, then toward Little India and Arab Street. I packed three lenses, a tripod, a full water bottle, a power bank, a rain jacket, and too many “just in case” accessories. By the second hour, I was tired, sticky, and less curious. The photos got worse because I was thinking about my shoulders more than the light.
Now, I usually keep things simple.
My usual outdoor kit
For a casual two-hour walk, I’d suggest:
- One camera body
- One 35mm or 50mm lens
- One spare battery
- One microfiber cloth
- One small towel
- One portable umbrella
- Two silica gel packs
- One ziplock bag for emergencies
- One bottle of water
- A lightweight sling bag
This is enough for most street, travel, and lifestyle shooting in Singapore. If I am shooting paid work, I add a backup body, extra cards, a rain cover, and sometimes a compact LED light. But for personal walks, less gear keeps me more alert.
Insider knowledge: A lightweight sling bag between SGD 50 and 150 is often more useful than a huge camera backpack. If you shoot often in rain, waterproof backpacks usually cost around SGD 150 to 400, but check the zippers and base carefully.
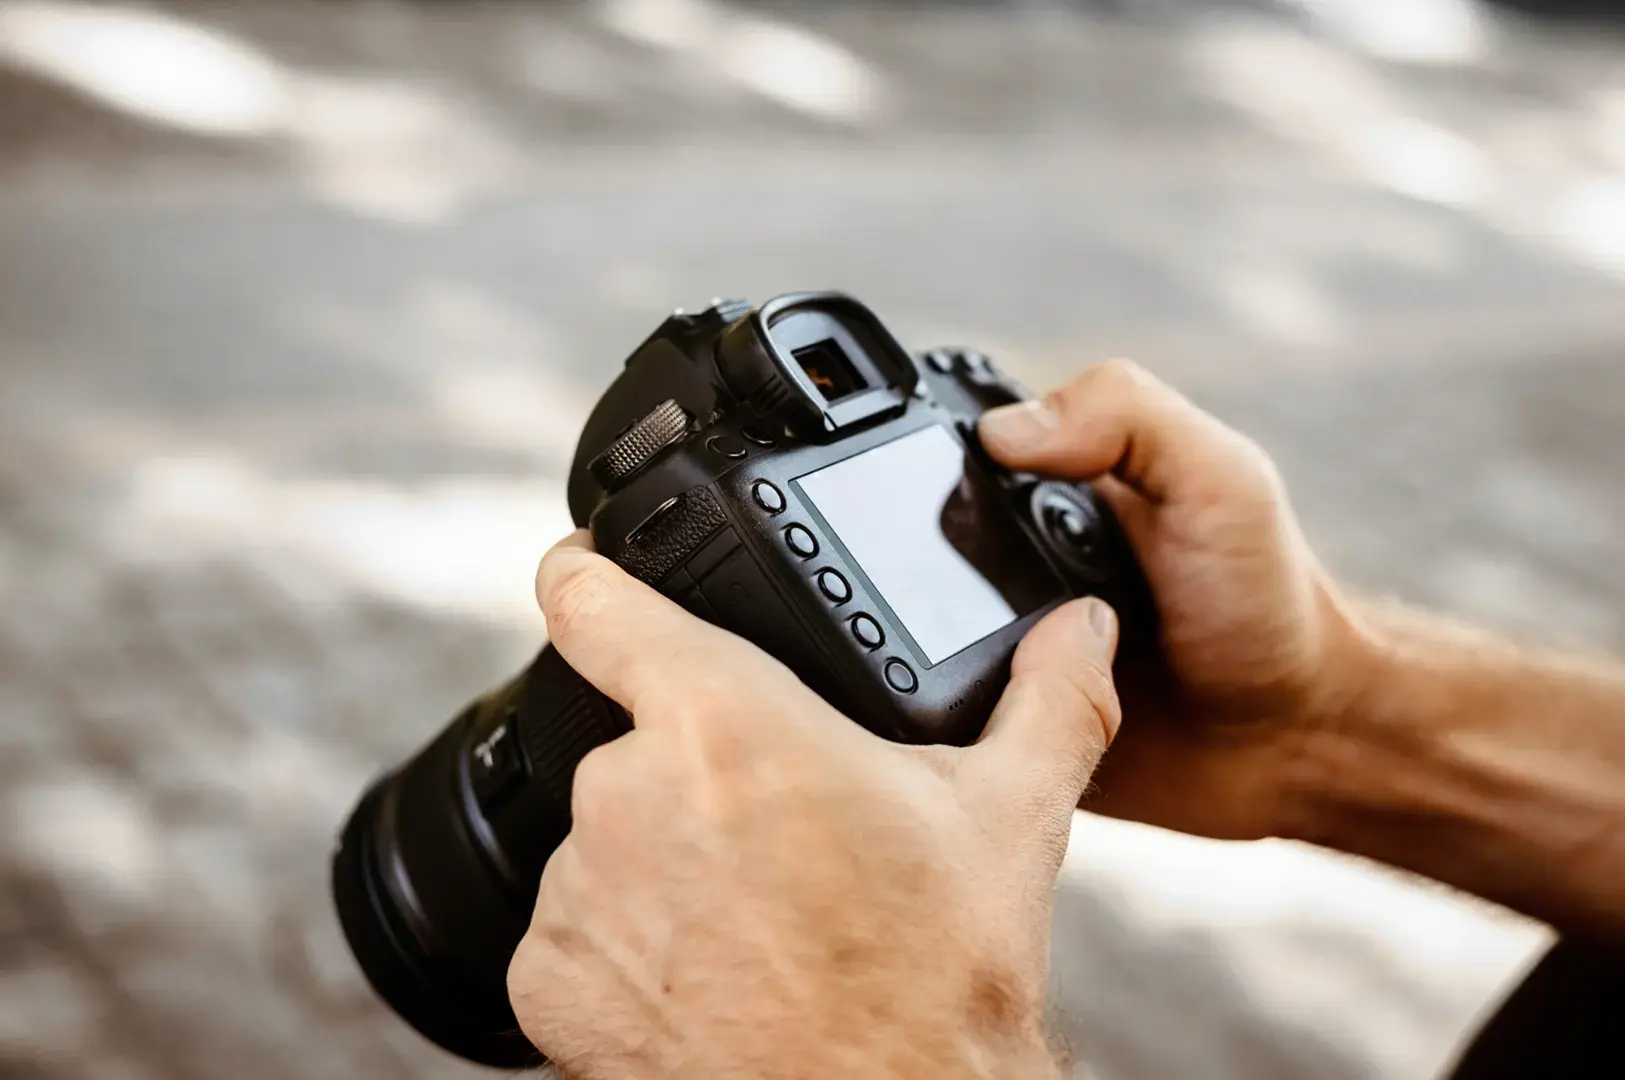
How to Prevent Lens Fogging in Singapore
Lens fogging happens when cold gear meets warm, humid air. You see it when you leave an air-conditioned MRT station, mall, hotel lobby, café, or restaurant and step outdoors. It is common at places like Jewel Changi Airport, Orchard Road malls, Chinatown MRT, and Marina Bay Sands. First-timers often think their camera broke. Usually, it just needs time.
What to do before stepping outside
If your camera has been in cold air-conditioning:
- Keep it inside your bag before going outdoors.
- Step outside and wait five to ten minutes.
- Let the camera warm up gradually.
- Open the bag only after the temperature has balanced.
- Avoid removing the lens immediately.
This feels slow, especially when the light looks good. But it is better than wiping fog for ten minutes and missing the shot anyway.
What not to do
Avoid breathing on the lens. Avoid aggressive wiping. Avoid changing lenses while everything is fogging. You may push moisture around instead of solving the problem.
Mistake I made: I once kept removing my lens cap outside a cold café near Tiong Bahru because I was impatient. The front element fogged, then the viewfinder fogged, then I started worrying about internal condensation. Now I wait. Five quiet minutes can save the whole shoot.
After-shoot care routine
After a humid or rainy shoot, I do this:
- Remove the camera from the bag.
- Wipe the exterior with a dry microfiber cloth.
- Let the camera air-dry before storage.
- Remove batteries if I will not use it for a while.
- Check straps and bag interiors for dampness.
- Store gear in the dry cabinet.
Do not toss damp gear straight into storage. That is how small problems become expensive repairs.
Best Times to Shoot Without Suffering
The best camera gear is still useless if you are too tired to notice good light. For photography in Singapore, I prefer early morning or late afternoon.
Best outdoor windows
- 6:30 AM to 9:00 AM: cooler air, softer light, fewer crowds
- 5:30 PM to 7:00 PM: warmer light, better atmosphere, more people
- After rain: reflections, softer contrast, moodier streets
I avoid 11:00 AM to 3:00 PM unless I want hard shadows. Midday sun creates squinting, blown highlights, and sweat. It also makes long walks feel twice as heavy.
If you are shooting around Marina Bay, go early. If you are shooting Haji Lane or Kampong Glam, weekdays are calmer. If you want covered shooting, Jewel Changi Airport and National Gallery Singapore are useful, but check rules around tripods, flash, and professional setups.
Common Mistakes to Avoid
I say this gently because I’ve made many of these mistakes myself.
Mistake 1: Carrying too much gear
- Three lenses sound useful but can weigh you down in humid walks.
- Do this instead: bring one prime lens or a standard zoom for flexibility.
Mistake 2: Trusting “weatherproof” marketing too much
- Water-resistant isn’t waterproof; cheap bags often overpromise.
- Do this instead: choose bags with sealed zippers, waterproof base, and breathable padding.
Mistake 3: Changing lenses outdoors too often
- Exposes camera to dust, moisture, and risks rushed handling.
- Do this instead: pick your lens before leaving shelter; change only under cover with dry hands.
Mistake 4: Forgetting permissions
- Large setups may be restricted in malls, parks, or private spaces.
- Do this instead: keep gear discreet; check rules for commercial shoots beforehand.
Mistake 5: Relying too much on presets
- Humidity alters colors and contrast; presets can ruin rainy shots.
- Do this instead: adjust white balance and clarity per scene to preserve mood.
Mistake 6: Being too shy to stop and wait
- Waiting creates better frames despite crowd awkwardness.
- Do this instead: stay put for 10 minutes and observe how people move through light.
Singapore Camera Gear FAQ
Do I need a weather-sealed camera?
Not always. It helps for frequent outdoor shooting but doesn’t replace rain covers, dry storage, and common sense. A well-protected beginner camera can survive.
What’s the best camera bag for tropical weather?
A lightweight sling for short walks or a waterproof backpack for longer ones. Look for sealed zippers, a waterproof base, and good ventilation.
Mirrorless or DSLR?
Both work. Mirrorless is lighter for humid walks, while DSLRs might have better battery life. Choose based on comfort and lens selection.
How can I shoot in the rain safely?
Use an umbrella, a rain cover, or stay under shelter like walkways and bus stops. Avoid changing lenses outdoors.
Is a dry cabinet necessary?
Yes, if you own more than basic gear. For serious hobbyists in Singapore, a dry cabinet is essential maintenance, not a luxury.
Conclusion: Protect the Gear, But Keep Shooting
Planning your camera gear for Singapore can seem daunting. The humidity, rain, and heat might make you want to stay inside. But Singapore’s climate makes you a more attentive photographer. You learn to slow down, watch the weather, and respect the elements instead of fighting them. The goal isn’t to protect your camera so much that you never use it; it’s to build habits that let you shoot with confidence.
My advice: start with a light, well-protected setup, store it properly, and get outside often. Progress happens when you keep walking, noticing, and learning how to photograph this humid, rain-washed country.
Remember to always check or even visit beforehand, the details of locations and bring the right lenses for your day. Whether you are shooting in Yishun, Little India, or Arab Street, the city offers impressive moments waiting to be captured in JPEG or RAW. Sort your gear in order, focus on the light, and don’t miss the chance to explore this world-class street photography destination.
If you have more questions, contact me and I’ll try my best to respond immediately, but for more info about a professional shoot in Singapore, check more of my blogs at SG Nomad Photographer!