

There is a particular kind of photograph I often notice in cafes: the coffee is sharp, the table disappears gently behind it, and somewhere in the background there is just enough suggestion of the room to tell me where I am. Nothing feels accidental.
That, more than an aggressively blurry background, is what good depth of field photography means to me. It is deciding what deserves clarity and what can be allowed to fall away. For food and cafe photography, understanding depth of field in photography gives you much more control over that decision.
What Is Depth of Field in Photography?
Depth of field is the range of distance within a photograph that appears acceptably sharp. Your camera focuses most precisely on a particular focal plane, but sharpness does not simply stop at that point. It gradually falls away in front of and behind it.
- A shallow depth of field, or shallow DOF, keeps a relatively small area sharp. Think of a slice of cake as the foregrounded object in clear focus while the tables behind it dissolve into a soft blur.
- A deep depth of field, or deep DOF, keeps a larger portion of the scene recognisable. That can be useful when the entire subject matters, perhaps a breakfast spread where you want the coffee, toast, and eggs all to hold some detail.
The question I prefer asking is not, “How blurry can I make this?” It is, “What needs to remain sharp for this photograph to work?” That small shift changes how you approach almost every other camera setting.
How Lens Aperture Affects Depth of Field
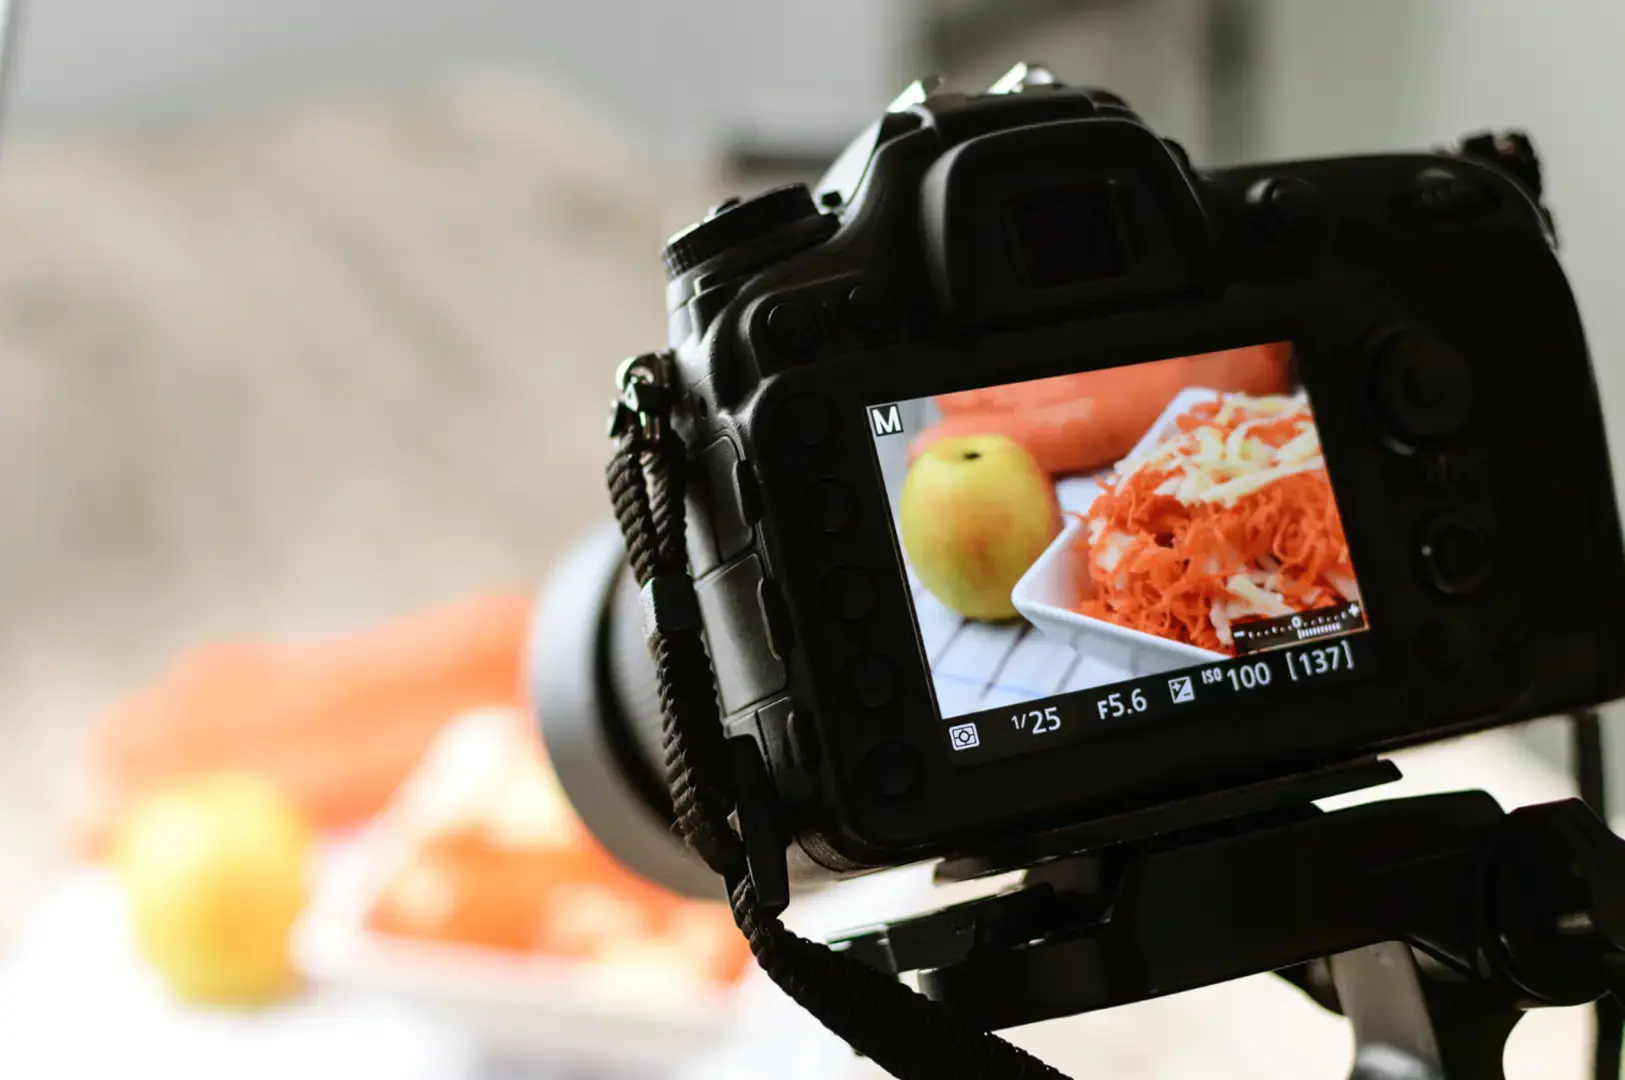
Your lens aperture is usually the easiest place to begin. A wide aperture, such as f/1.8 or f/2.8, generally creates a shallower depth of field. A narrow aperture, such as f/8, increases the depth and allows more of the scene to appear sharp.
Before You Shoot: The numbers confuse beginners because they feel backwards. Smaller f-number, wider opening. Larger f-number, narrower opening.
For food photography, I would treat these as starting experiments rather than fixed rules:
Subject | Aperture to try first |
|---|---|
Single coffee or drink | f/2–f/2.8 |
Pastry or cake slice | f/2.8–f/4 |
Full plated dish | f/4–f/5.6 |
Several dishes together | f/5.6–f/8 |
Wider cafe scene | f/5.6–f/11 |
A very shallow depth can look beautiful on a small camera screen, but inspect the final image carefully. At f/1.8, the front strawberry on a cake may be perfectly sharp while the cream and garnish a few centimetres behind it are already soft. Sometimes that is exactly what you want. Sometimes it simply means you opened the aperture too far.
Before You Shoot: Put one cup on a table and photograph it at f/2, f/4, f/5.6 and f/8 using the same lens, camera position, and focal point. Compare the four images side by side. You will understand how depth is affected by aperture faster than you will from memorising a DOF equation.
Remember that aperture is also part of the exposure triangle. Move from f/2.8 to f/8 inside a dim cafe and your camera needs to compensate with a slower shutter speed, higher ISO, or both. Camera shake and shallow depth of field are different problems, even if both can leave parts of an image looking soft.
Subject Distance Can Control Depth as Much as Your Settings
One of the most useful lessons in photography depth of field is that aperture is not working alone. The distance of your point object matters enormously: the closer you focus, the shallower the depth generally becomes. Move farther away at the same aperture and more depth becomes available.
You can see this immediately with food because we tend to work close. Photograph a bowl from very near at f/2.8 and you may struggle to hold the entire rim and toppings in sharp focus. Step back slightly, and the desired depth can become easier to achieve without dramatically changing your aperture settings.
Your focus distance matters too. So does where you place the focus point.
If I am photographing a layered cake, I would rather focus on the detail that explains the cake, perhaps the exposed layers or garnish, than automatically choose the nearest edge. Technique should always follow attention.
Focal Length Lens, Camera Position, and Background Blur
Focal length is another area where simple rules often create confusion. You may hear that a longer focal length always creates shallower depth. The reality is more nuanced because changing the lens focal length often changes camera position, magnification, and subject image size at the same time.
For cafe photography, I think the practical distinction matters more. A wide angle lens or shorter focal length tends to include more of the surroundings. A longer lens or telephoto lens can make distant background elements appear larger and produce a visually softer, more compressed background. But before buying another camera lens, try changing the physical arrangement. Move your food farther away from the background.
A coffee cup photographed 10 centimetres from a wall may leave that wall fairly recognisable. Place the same cup so you are photographing along the length of the cafe, with the distant background several metres away, and you can produce much stronger background blur without even changing aperture.
This is one reason I think learning camera position is more useful than chasing gear early on. The same principle applies when choosing a camera lens: focal length changes how you organise space, not merely how close something appears.
Before You Shoot: If your lens only opens to f/4 or f/5.6, do not assume a blurry background is impossible. Increase the distance between your food and the background first.
DOF Limitations: When Shallow Depth Becomes Too Shallow
The temptation with food is to shoot everything wide open. I would resist it.
Imagine three brunch dishes arranged diagonally across a table. Eggs sit closest to the camera, pancakes behind them, then a cup of coffee. At f/2, maintaining acceptable sharpness across all three becomes difficult. You could stop down to f/5.6, but there is another solution: change the arrangement so the important parts of each dish sit closer to the same focal plane.
This is where composition begins to control depth. The same issue becomes more obvious in macro photography. Get close enough to coffee beans, chocolate texture, or individual crumbs and the DOF limitations become severe. At high magnification, tiny changes in focus matter.
For more advanced close-up work, focus stacking can combine several images captured at different focus distances to create greater apparent depth. It is useful, but I would not reach for it until you understand what a single frame can do.
Before You Shoot: Likewise, concepts such as hyperfocal distance, hyperfocal distance calculators, and maximum depth are valuable in areas such as landscape photography, where landscape photographers often want near and far objects sharp simultaneously. They are rarely where a beginner needs to start with a plate of pasta.
Using Deep Depth of Field for the Cafe Around the Food
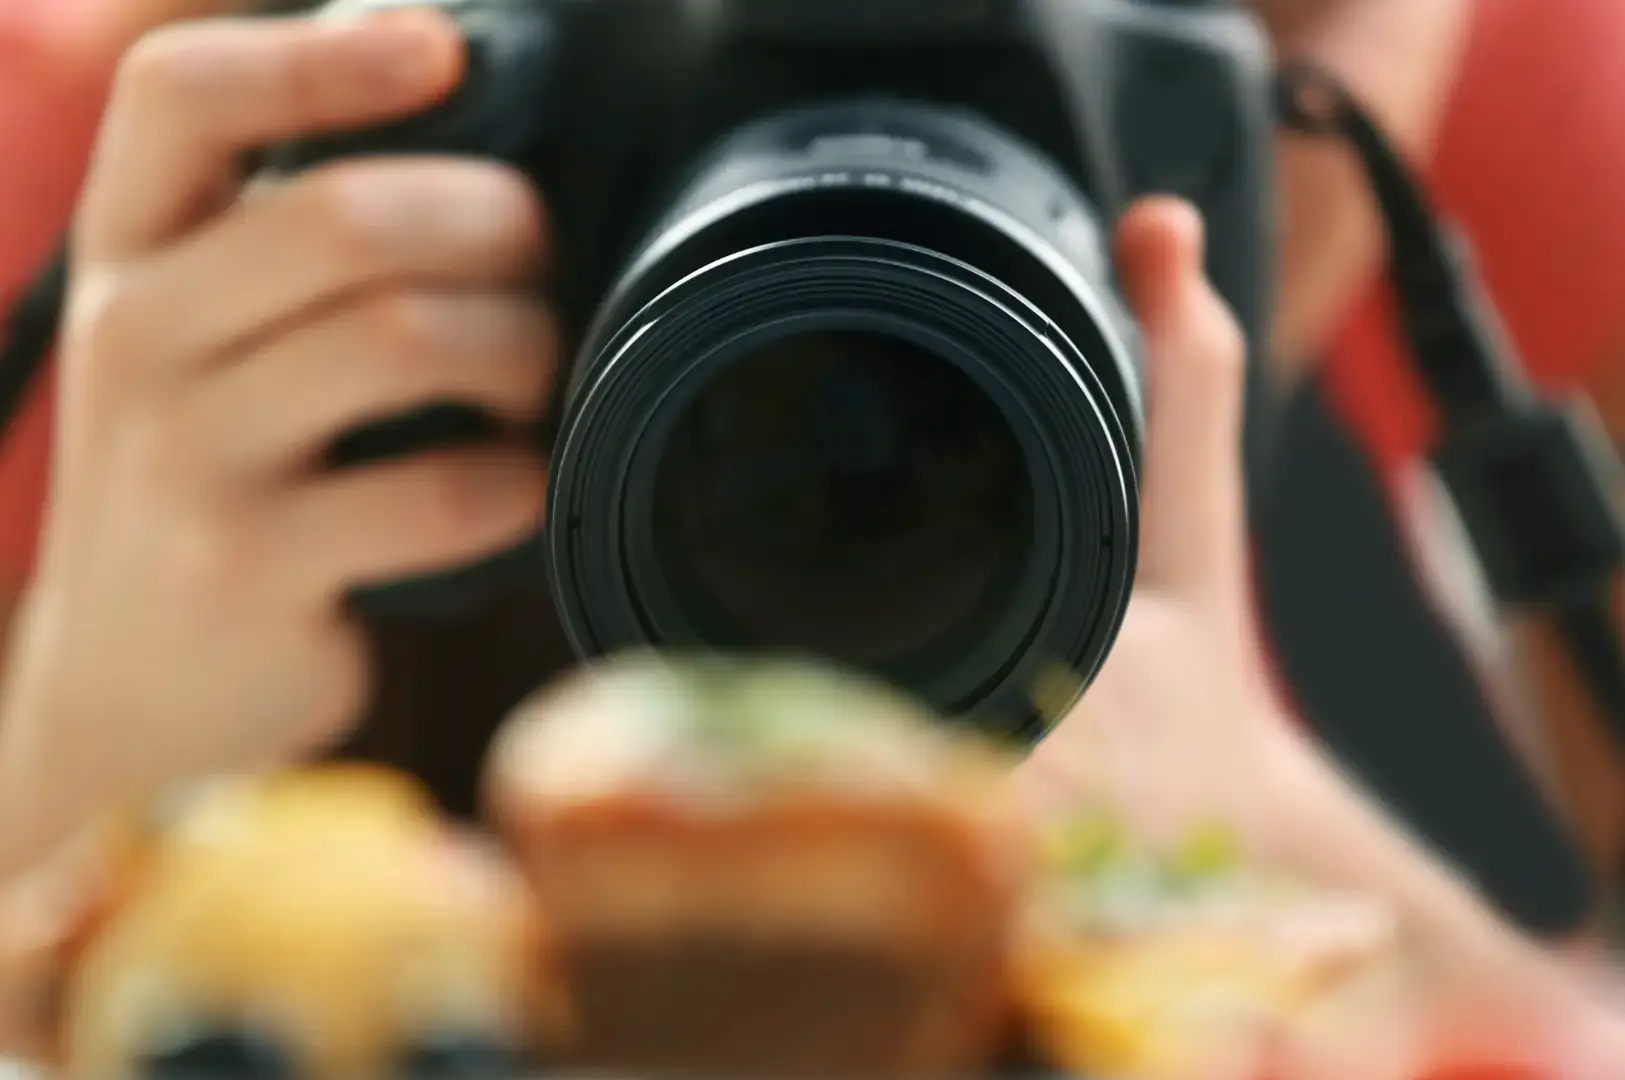
Not every cafe photograph needs a blurry background; sometimes the room is part of the story. If you are photographing tiled walls, communal tables, window light, and the movement behind the counter, a deeper depth of field may tell you more about the place than isolating one cappuccino at f/1.8. This is where a narrower aperture, greater focus distance, and wider framing can help. Just watch your shutter speed as the light changes.
Before You Shoot: Singapore cafe light changes quickly. A table beside a window may be brightly lit one moment, then noticeably dimmer when cloud cover moves in. If you stop from f/2.8 to f/5.6 to gain more depth, check your exposure again rather than assuming your previous camera settings still work.
And when the photograph becomes more about the room than the cup, how cafe design influences photography in Singapore’s coffee spaces becomes part of the same conversation: furniture, windows, background distance, and sightlines all affect what eventually appears in the frame.
A Simple Way to Think About Depth of Field
When you next sit down with a coffee and a camera, forget about finding the “perfect” aperture for a moment. Choose what matters first. Set your focus point there. Decide how much of the subject needs to remain sharp. Look at the distance behind it. Then choose an aperture that supports that intention.
Aperture controls depth, but it does not work alone. Focal length, subject distance, focus distance, camera position and background distance all shape the final image. That is what I find most useful about understanding depth of field: you are not simply learning how to make the background blurry, you are learning what to leave visible.