
The first time I tried to take a picture of tiny shophouse café in Tiong Bahru, I ruined every shot in the first five minutes.
I stood at the doorway, screwed on my widest lens, and tried to capture the whole room in one frame as the subject. I wanted it all — the counter, the corridor, the light on the tiles. What I got back was a mess. The walls bowed outward. The tables stretched like taffy. The floor looked enormous and empty, and the warm little room I loved somehow felt cold and cavernous.
I sat down, ordered a kopi, and just watched for a while.
That’s when it clicked. Small cafés don’t want to be shown all at once. They want to be noticed slowly, in pieces. The trick isn’t making a tiny space look big. It’s letting its smallness feel intentional — intimate rather than cramped.
So let me walk you through how I photograph Singapore’s compact cafés now, after years of getting it wrong, using photography techniques that emphasize composition and light.
Why Small Cafés Are Hard (and Worth It)
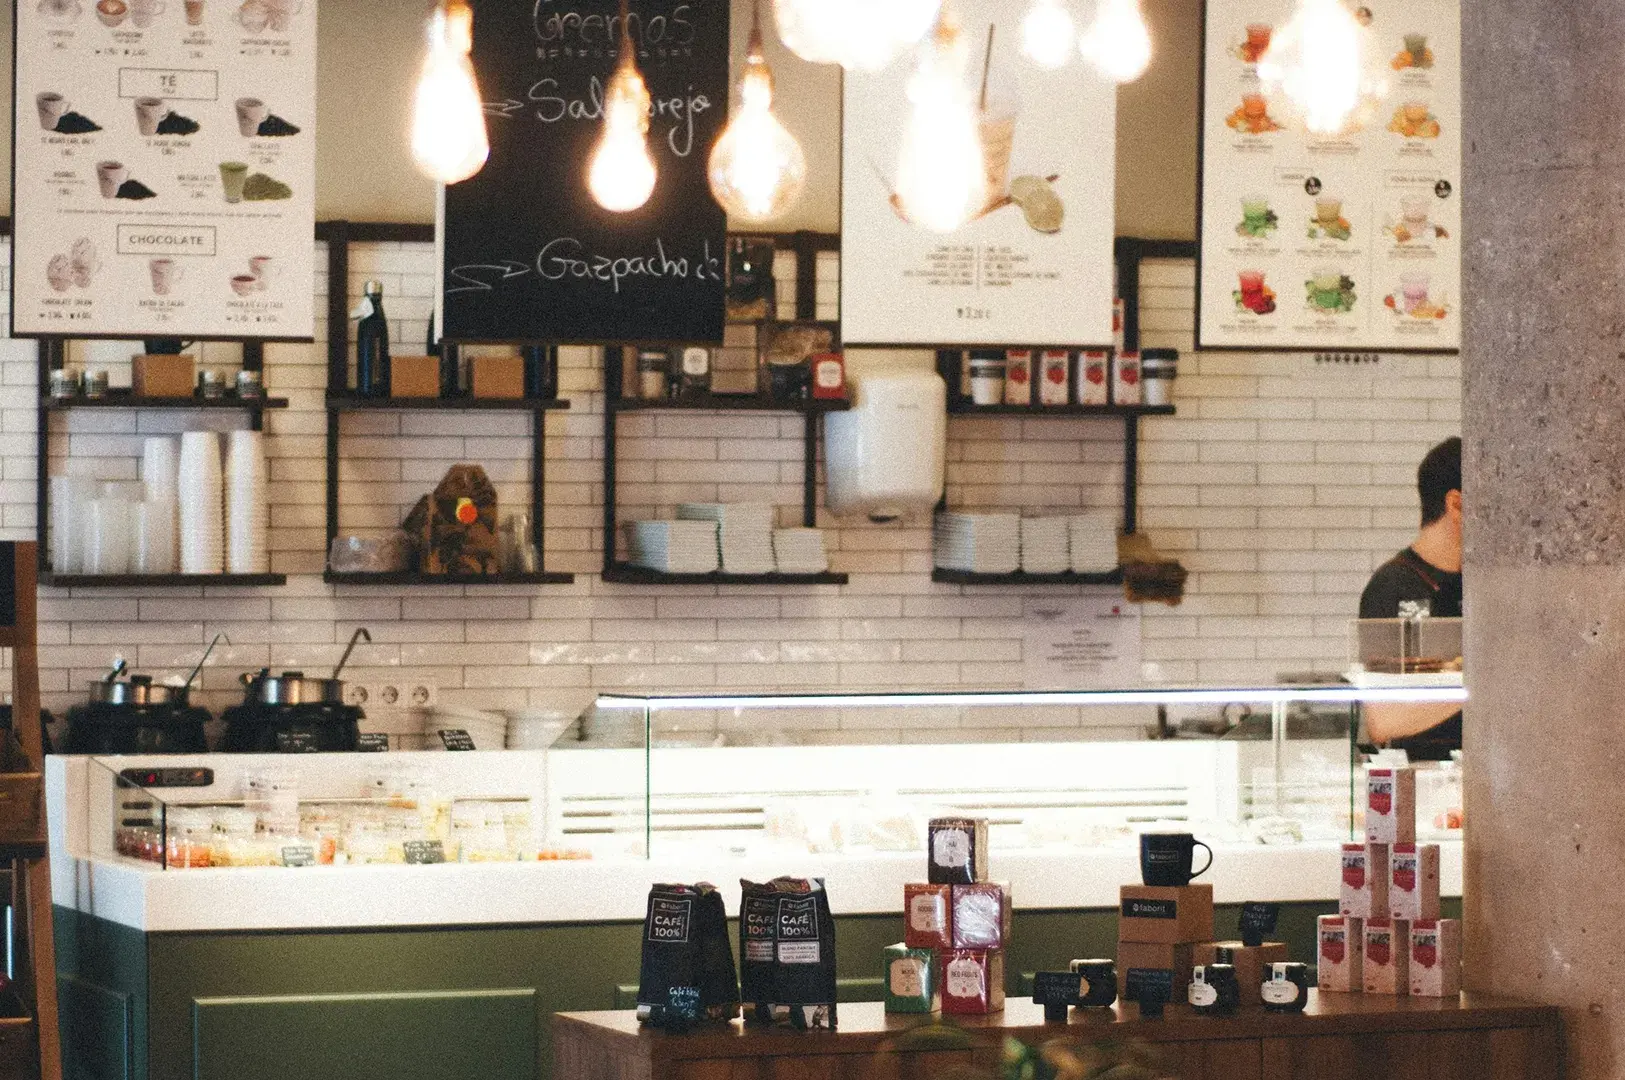
Most of Singapore’s loveliest cafés live in tight spaces — conserved shophouses, narrow boutique units, corners tucked into mixed-use buildings. Close tables. Short corridors. Not much room to step back.
Beginners often find these constraints challenging, but as a professional photographer, I see it as an excellent way to explore the art of framing and composition using key photography techniques. A narrow room with Peranakan tiles underfoot and a single window of morning light isn’t a flaw to disguise. It’s a key element of the story you want to tell. Your job is to frame that character honestly, without making the viewer feel like they can’t breathe.
That shift in thinking changed everything for me. It’s an important element in photography to embrace the scene as it is, rather than trying to manipulate it with heavy editing in Adobe Photoshop or other software.
Learn Photography: The Five-Step Process I Use Every Time
Step 1: Research before you go — Choosing the Right Lens and Focal Length
I never walk in blind anymore. Before visiting, I spend ten minutes looking at:
- Google Maps photos
- Instagram location tags
- The café’s own website
- Which way the windows face
- The seating layout and opening hours
I’m really asking one thing: where does the light come from, and how tight is the space? A café with a big east-facing window and a high ceiling is a very different shoot from a windowless corner unit in a mall. Understanding these technical aspects helps me plan my idea, the equipments, right lens, focal length, and camera gear to bring.
Step 2: Choose your timing carefully — Mastering Shutter Speed and the Exposure Triangle
I’d suggest weekday mornings, Monday through Thursday, roughly 8:00–10:00 AM. Mid-afternoon, around 2:30–4:30 PM, also works well. The tables are clean, the staff aren’t rushed, and the light is soft. If you’re photographing cafés after sunset instead, don’t be afraid of a little image grain. In dim interiors, embracing grain often preserves the atmosphere better than aggressively removing it. Read my guide on why grain can make candlelight photography more beautiful to understand when noise actually enhances a photograph.
Avoid Saturday brunch and Sunday afternoons. I once turned up to a small Everton Park café on a Sunday, hoping for quiet corners. Every seat was taken. I stood awkwardly in the doorway, camera hanging useless around my neck, and left twenty minutes later with nothing. Lesson learned the hard way.
Pro tip
If a café opens at 8:30, arrive at 8:30. That first half-hour after opening is gold — clean tables, gentle light, and staff who have time to say yes if you ask to shoot.
Step 3: Travel light — Using the Right Lens for Macro Photography and Bokeh Effect
In a small café, your gear is either invisible or a nuisance. There’s no in-between.
I bring one mirrorless camera body and a single lens. A 35mm focal length for the room, or a 50mm when I want to isolate details like latte art or a pastry on ceramic. Honestly, a good phone camera handles most of this beautifully too.
In my bag: a microfiber cloth, a spare battery, an extra SD card, a compact strap. That’s it.
What I leave at home: tripods, light stands, reflectors, and any second camera bag. A tripod in a narrow shophouse corridor is a tripping hazard, and staff will politely ask you to fold it up. I don’t blame them.
Insider knowledge
Wear neutral colours and comfortable shoes, and skip the bulky backpack. In a room this size, a bright jacket or a large bag makes you the clutter in someone else’s photo — and slows you down when you need to move quietly between tables.
Step 4: Observe before you shoot — Using Leading Lines, Negative Space, and the Golden Ratio
Sit down first. Order something. Watch.
I give myself five to ten minutes to notice how people move, where the staff walk, which direction the sun leans, where the reflections and shadows fall. The best composition almost always reveals itself after this pause, not before.
That ruined Tiong Bahru morning turned around the moment I stopped shooting and started watching. Once I saw where the light landed at 9 AM, the photo was obvious. This moment of focus and patience is an excellent way to learn photography.
Step 5: Compose small — Applying the Rule of Thirds, Shallow Depth
This is the heart of it. Don’t try to fit everything.
Instead of the whole room, I frame:
- one seating corner
- one table by the window
- the coffee being made
- the pastry display
- a single architectural detail — terrazzo floor, a tiled step, a worn brass handle
I blur backgrounds if applicable. Smaller stories feel larger. A single corner, well-seen, tells the viewer more about a café than a distorted wide shot of an entire landscapes ever could.
How to Make Tight Spaces Feel Open
A few techniques do most of the work here.
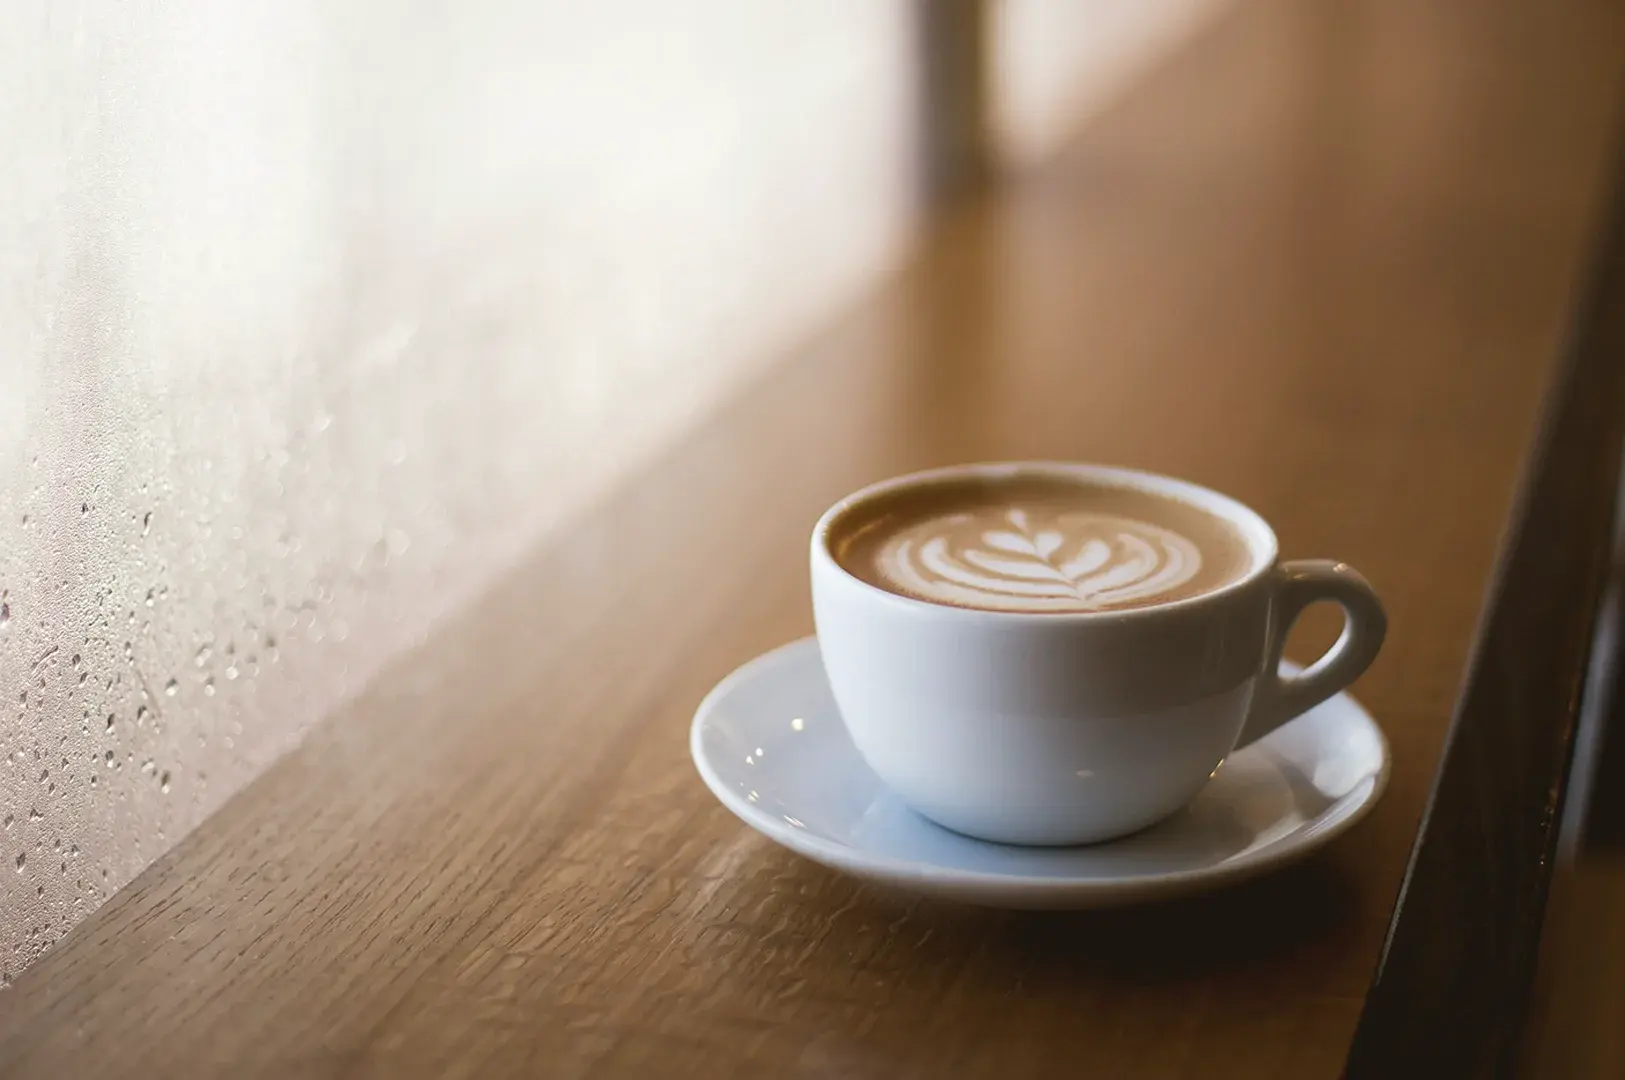
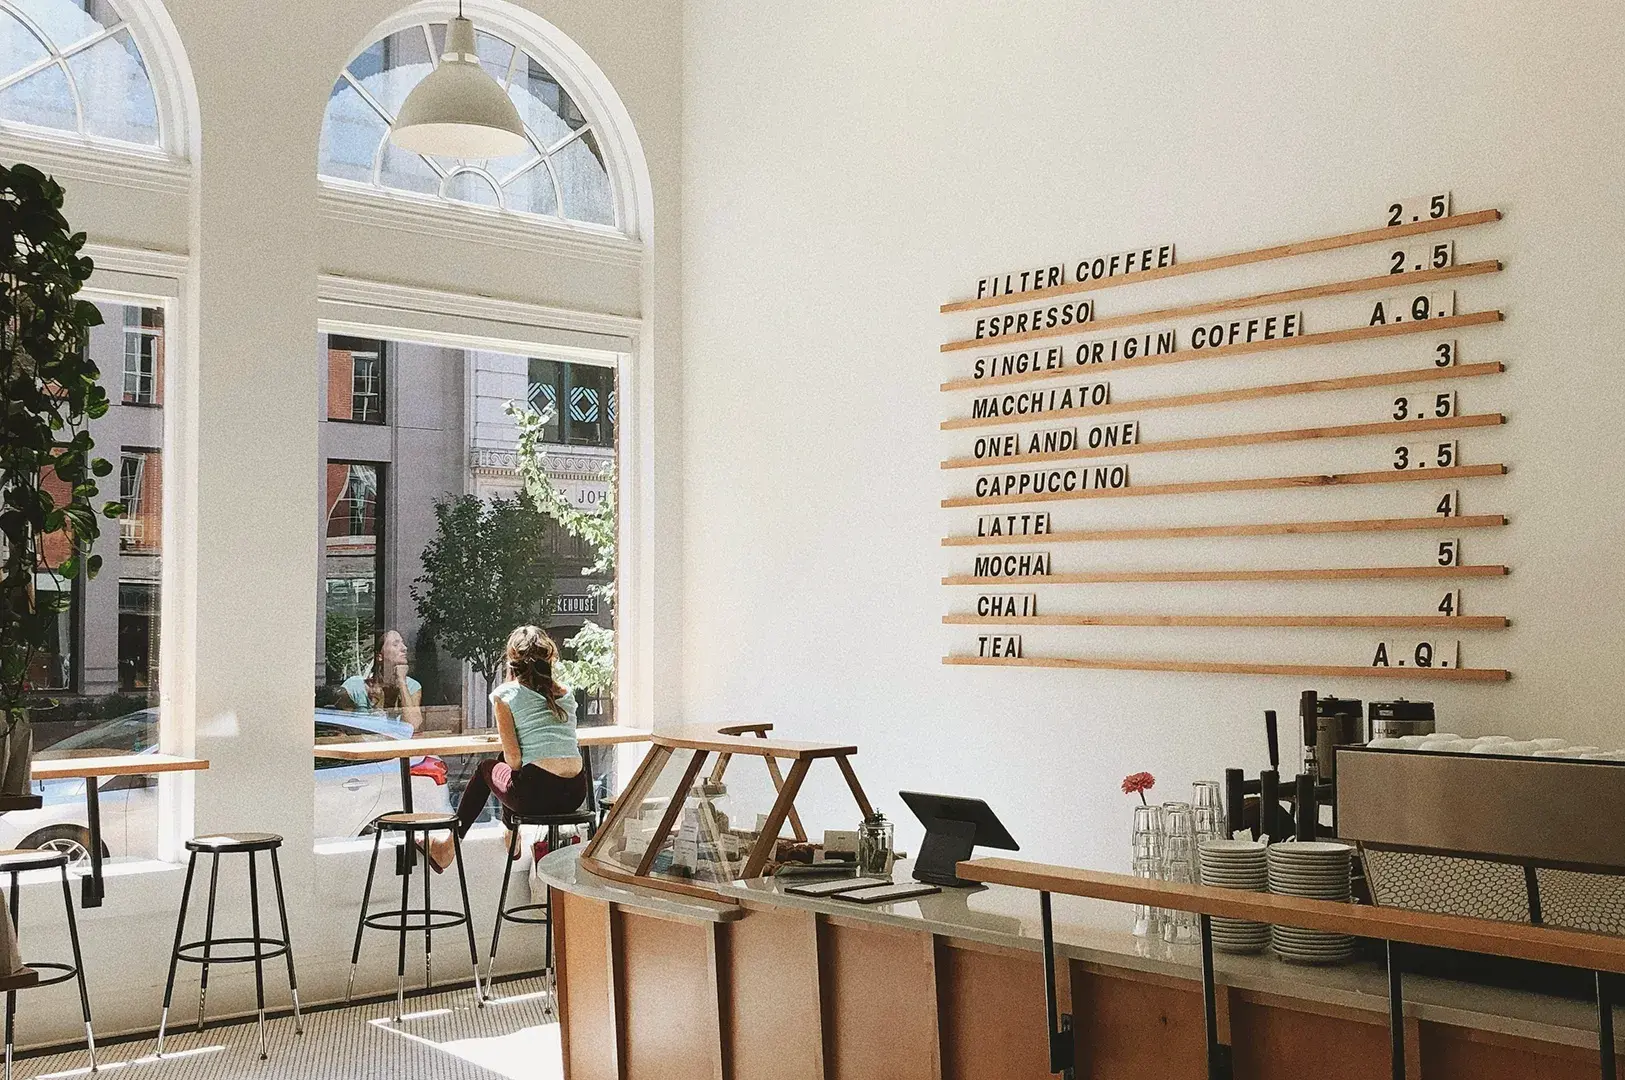
Use layers and leading lines. Put a coffee cup in the foreground, the table in the middle, and the window or barista behind. That depth tricks the eye into reading space, without needing a wide aperture or ultra-wide lens at all.
Let negative space breathe. An empty stretch of wall, a simple tabletop, an open window — these quiet gaps stop a frame from feeling packed. Negative space is a powerful tool in composition and an excellent way to make your images visually appealing.
Shoot diagonally. In a corner café in a mall where you can’t step back, angle across the room instead of straight on. The diagonal reveals depth and kills that flat, boxed-in look. This use of leading lines and perspective is key in many photography techniques.
Stay between 24mm and 35mm focal length. I know ultra-wide feels tempting in a small room. Resist it. Wider than 24mm and your walls lean, your tables warp, and the space stops looking real. Choosing the right lens and focal length is crucial to achieve a natural look. In post-prod, I either increase or reduce noise depending on what vibe I am going for. If you’re unsure which focal length suits your style, visiting a specialist camera shop to handle different lenses before buying can be incredibly helpful.
Common Mistakes to Avoid
I’ve made all of these.
Reaching for the ultra-wide lens. My first shophouse disaster. Wide glass distorts everything and exaggerates empty floor. Moderate focal lengths keep the room honest.
Believing Adobe Photoshop fixes composition. It doesn’t. Editing can’t remove clutter, straighten a leaning wall, or clear a messy tabletop. Get the frame right in-camera. Post-processing tools like Adobe Photoshop can enhance quality but won’t fix fundamental composition issues.
Waiting for a completely empty café. You don’t need one. A single person reading quietly or a barista pouring espresso adds warmth and life. Empty rooms often feel lifeless, not spacious.
Lingering too long. Experienced photographers rarely spend thirty minutes on one table. My rhythm is simple: observe, compose, capture, move on. Overstaying inconveniences staff and other guests.
Over-editing. Heavy HDR, orange highlights, cranked saturation — these scream “edited” and strip away the honest atmosphere you came for.
FAQ
How do I make a tiny café look spacious?
Stop trying. Instead, make it look intimate on purpose. Use a 35mm lens, layer your foreground and background, and let negative space do the breathing. A believable small room beats a distorted “big” one.
How do I avoid photographing strangers?
Frame around people rather than at them. If someone appears softly in the background, that’s usually fine and even adds life. But never photograph a customer up close without asking, and don’t ask people to move. When in doubt, wait for the seat to clear.
Do I need permission?
For personal, discreet photography, usually not. For commercial work — product shoots, influencer campaigns, anything involving models or extended setups — yes, ask first. Some cafés only allow proper shoots outside operating hours or with minimum spending.
Can I use a tripod?
In most small cafés, no. They block narrow walkways and disturb guests. I shoot handheld and lean on window light instead.
What does this cost?
There’s rarely a photography fee for personal shoots. Just buy something. Expect around S$5–8 for coffee, S$7–10 for specialty drinks, and S$4–9 for a pastry. If you settle in for longer, order food too. You’re a guest, not renting a studio.
A Few Final Words on Photography Techniques
You’re not there to make a small café look like something it isn’t. You’re there to notice it honestly — the tiles, the kopi cups on the counter, the one beam of light crossing a worn table.
So slow down. Go on a weekday morning. Bring one lens and a clean cloth. Sit for ten minutes before you lift the camera. Order a coffee and actually drink it.
The photographs that work aren’t the ones that cram the whole room in. They’re the ones that let a small space feel like exactly what it is — quiet, close, and lived-in.
Go find your corner. It’s waiting somewhere down a shophouse row in this city, holding its story, its light, and its life — all that makes it special.